Most of the buildlog for my Peugeot 206 CC with EW10J4 engine.
Because sometimes I shelve different parts, it may not be entirely in chronological order.
The main reason for sharing this is so that other 206 owners can maybe use this information to turn their car into a nice shitbrick.
I am very well aware that none of the things I’m doing to my car make sense from a financial aspect, however, it allows me to try and learn things for later when I want to build a nicer looking, more expensive shitbrick.
Additionally, I am priortizing reliability over comfort, so not everything done here may make sense for your car.
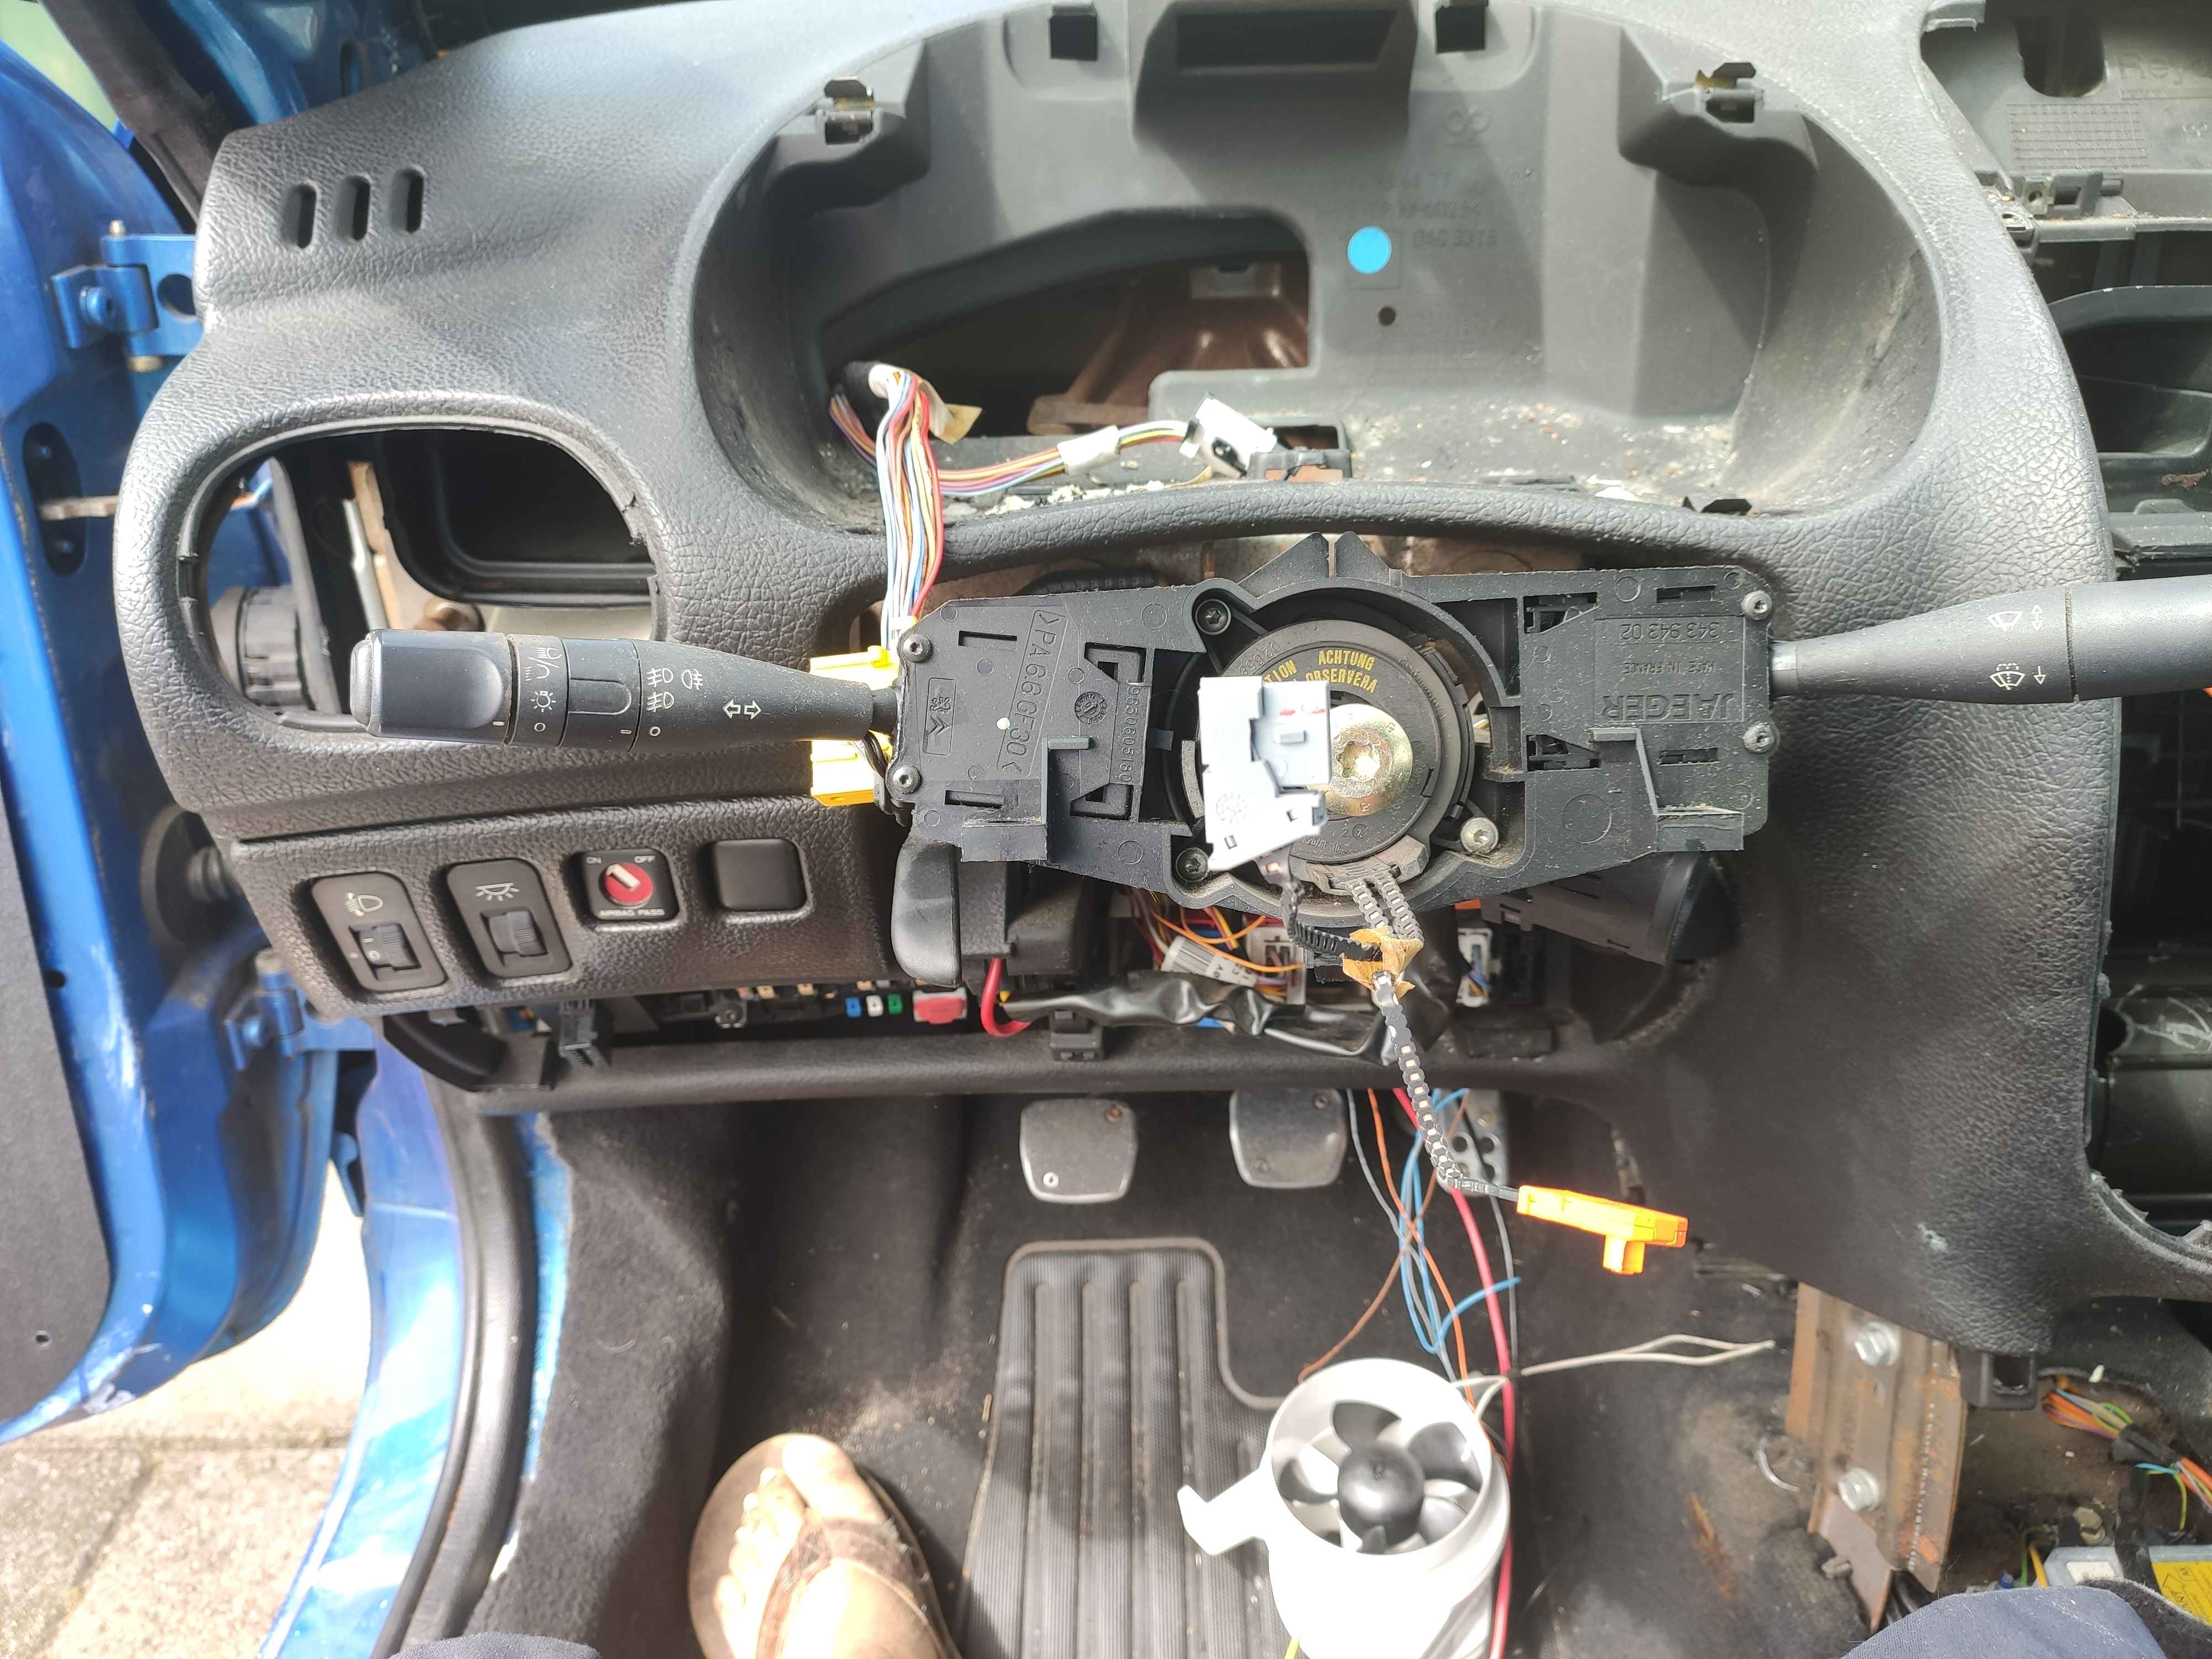
Unlooming some plugs
Since my climate control unit died (the fan died and was really stuck into place) and a bunch of other stuff broke, I decided to remove it (this happens later on the page).
In order to prepare it, I decided to already cut a bunch of cables and remove them to clean everything up a bit.
Please, do be more careful than I was, as I spent a good day or so trying to figure out my hazard lights because I cut them off by accident.
Due to the mid-dash also being gone (as that was the part that broke), I also have no radio head-unit and decided to also remove the radio wiring up-to the plug in the fuse-box.

The only wires that I kept were those for the hazard lights, which I rewired to the old radio control stick.
As this stick never worked for me (previous owner installed an aftermarket headunit), this felt like a good solution for now.
While this process didn’t give me much performance or anything, it just cleaned up a bit, made everything less likely to short-out and meant I didn’t have to deal with a bunch of cables when I eventually start removing the climate control unit itself.
K&N Airfilter
The airfilter was replaced with a K&N 33-2813.
This didn’t give me any noticeable performance but I got it on sale for just 2 euro more than an OEM paper air-filter, so it’s not too bad.
And maybe it’ll give me some extra performance after mapping it later, who knows.
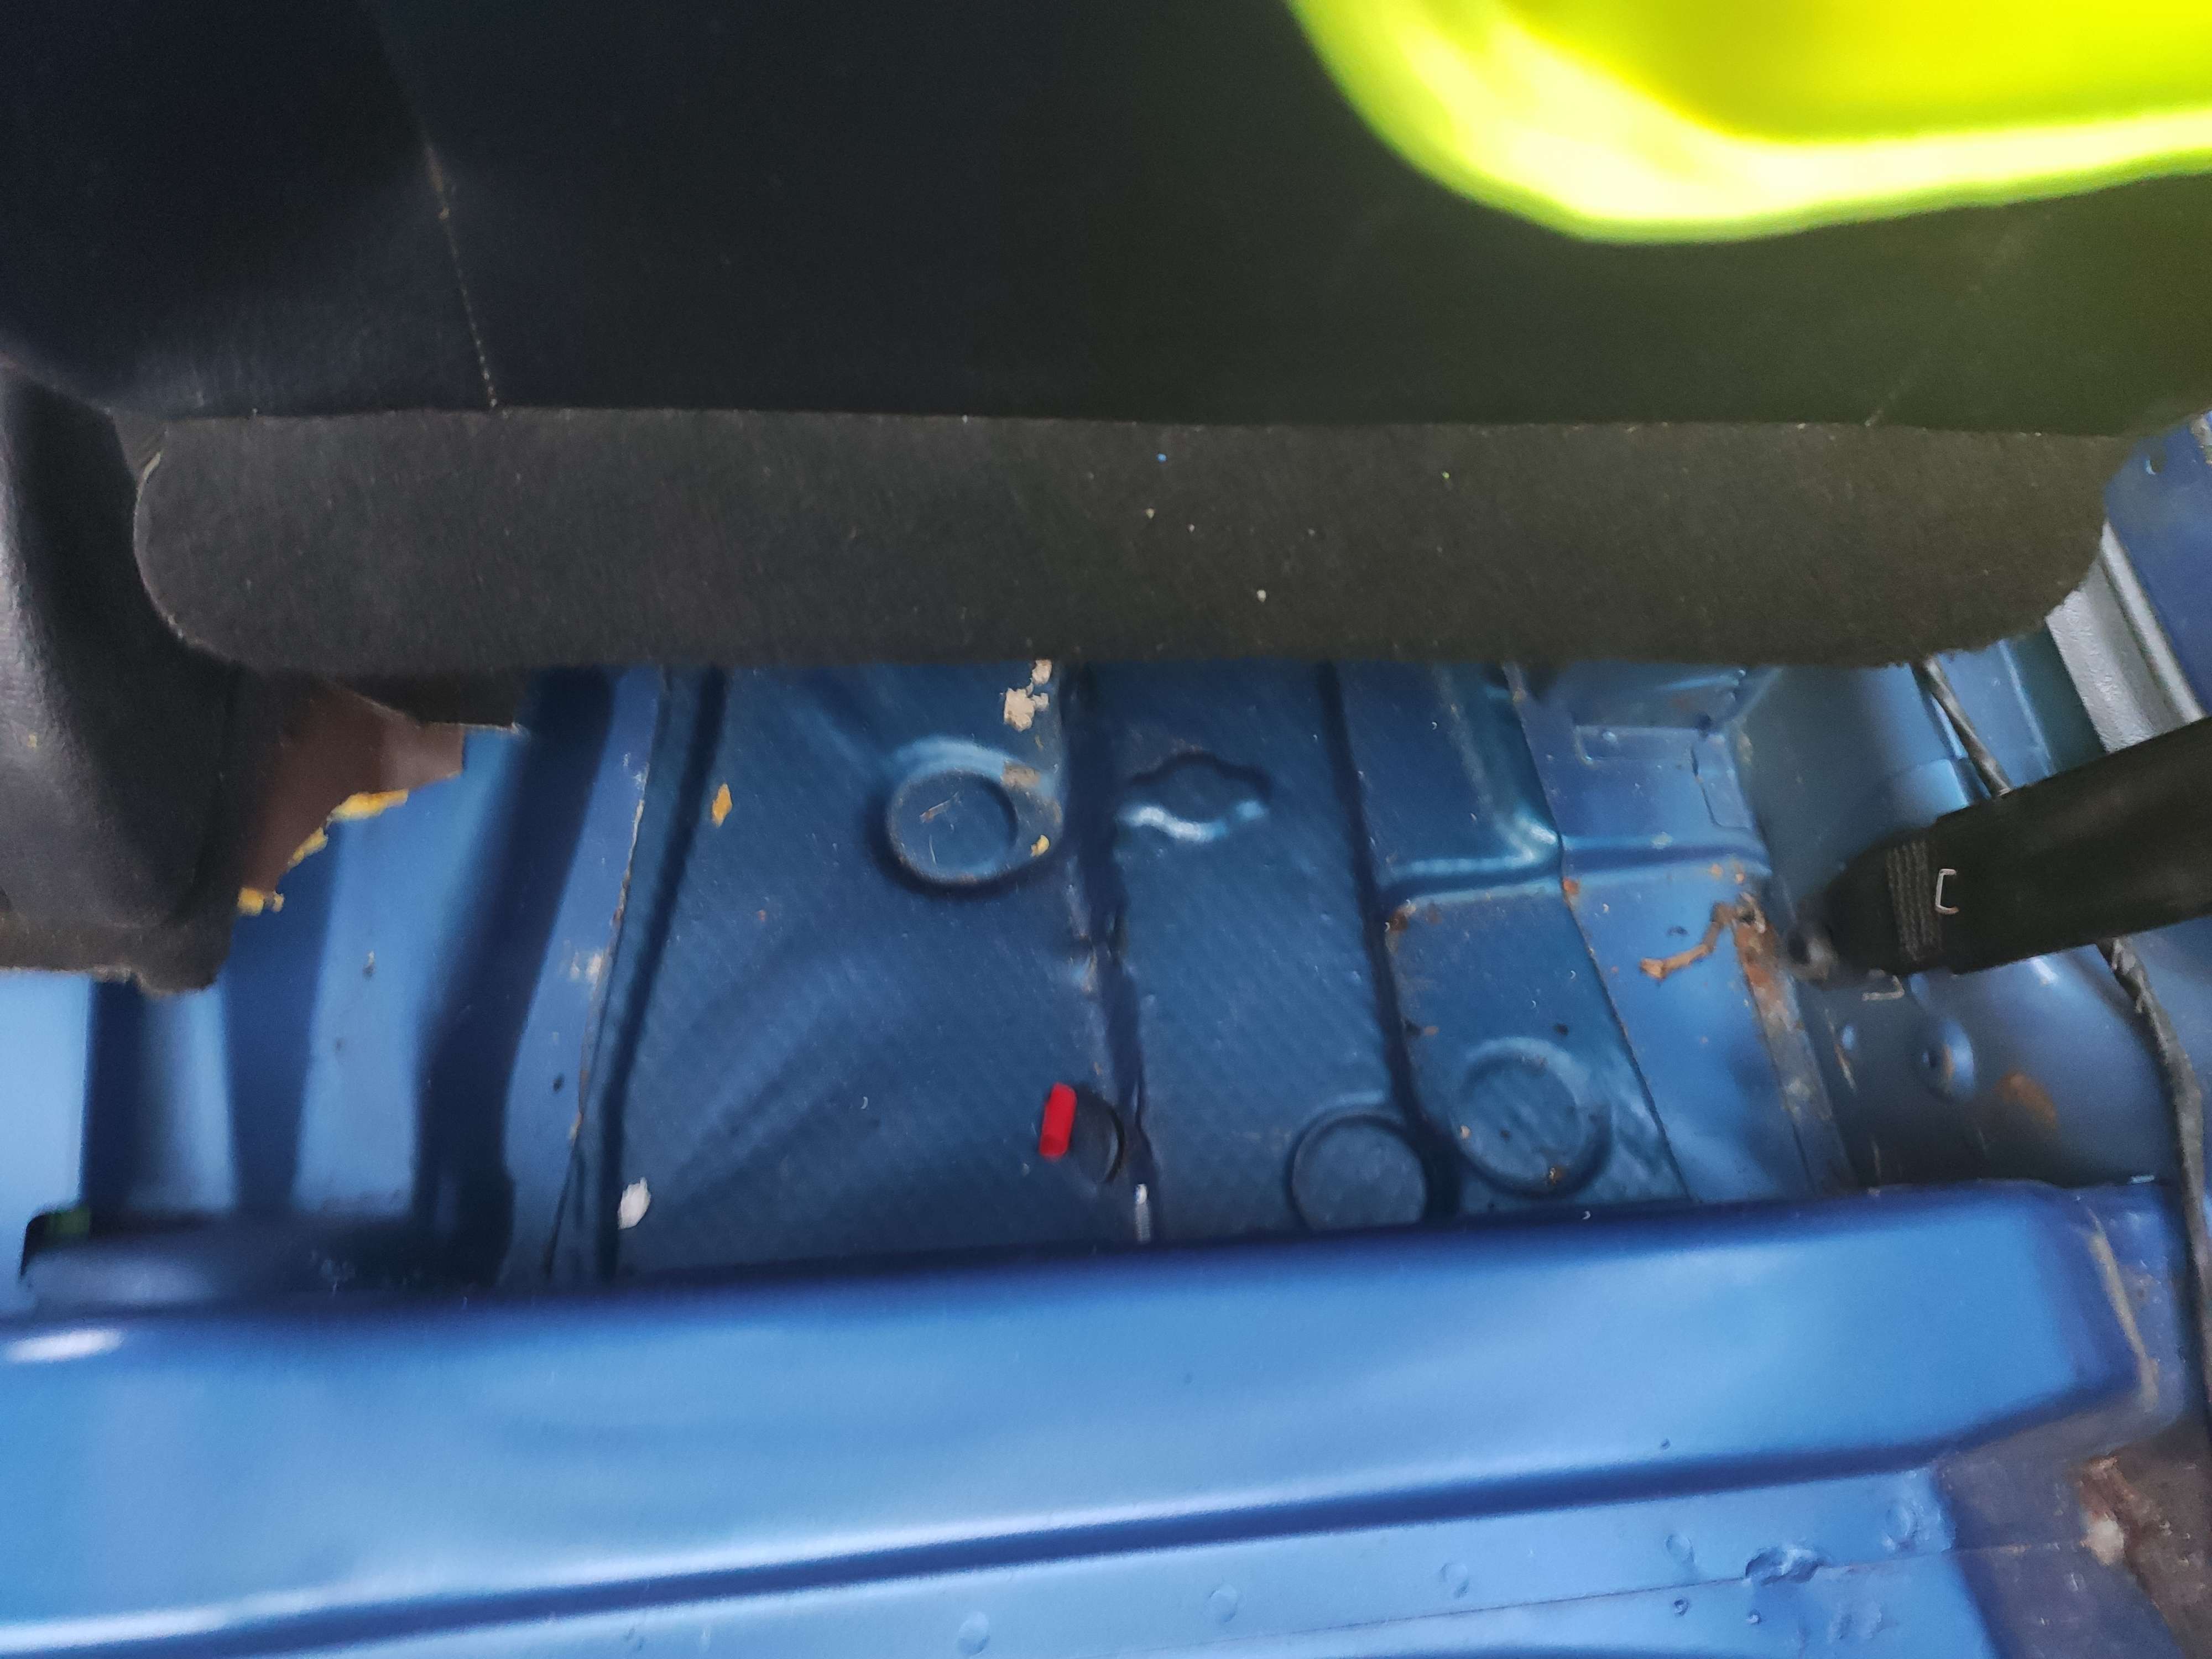
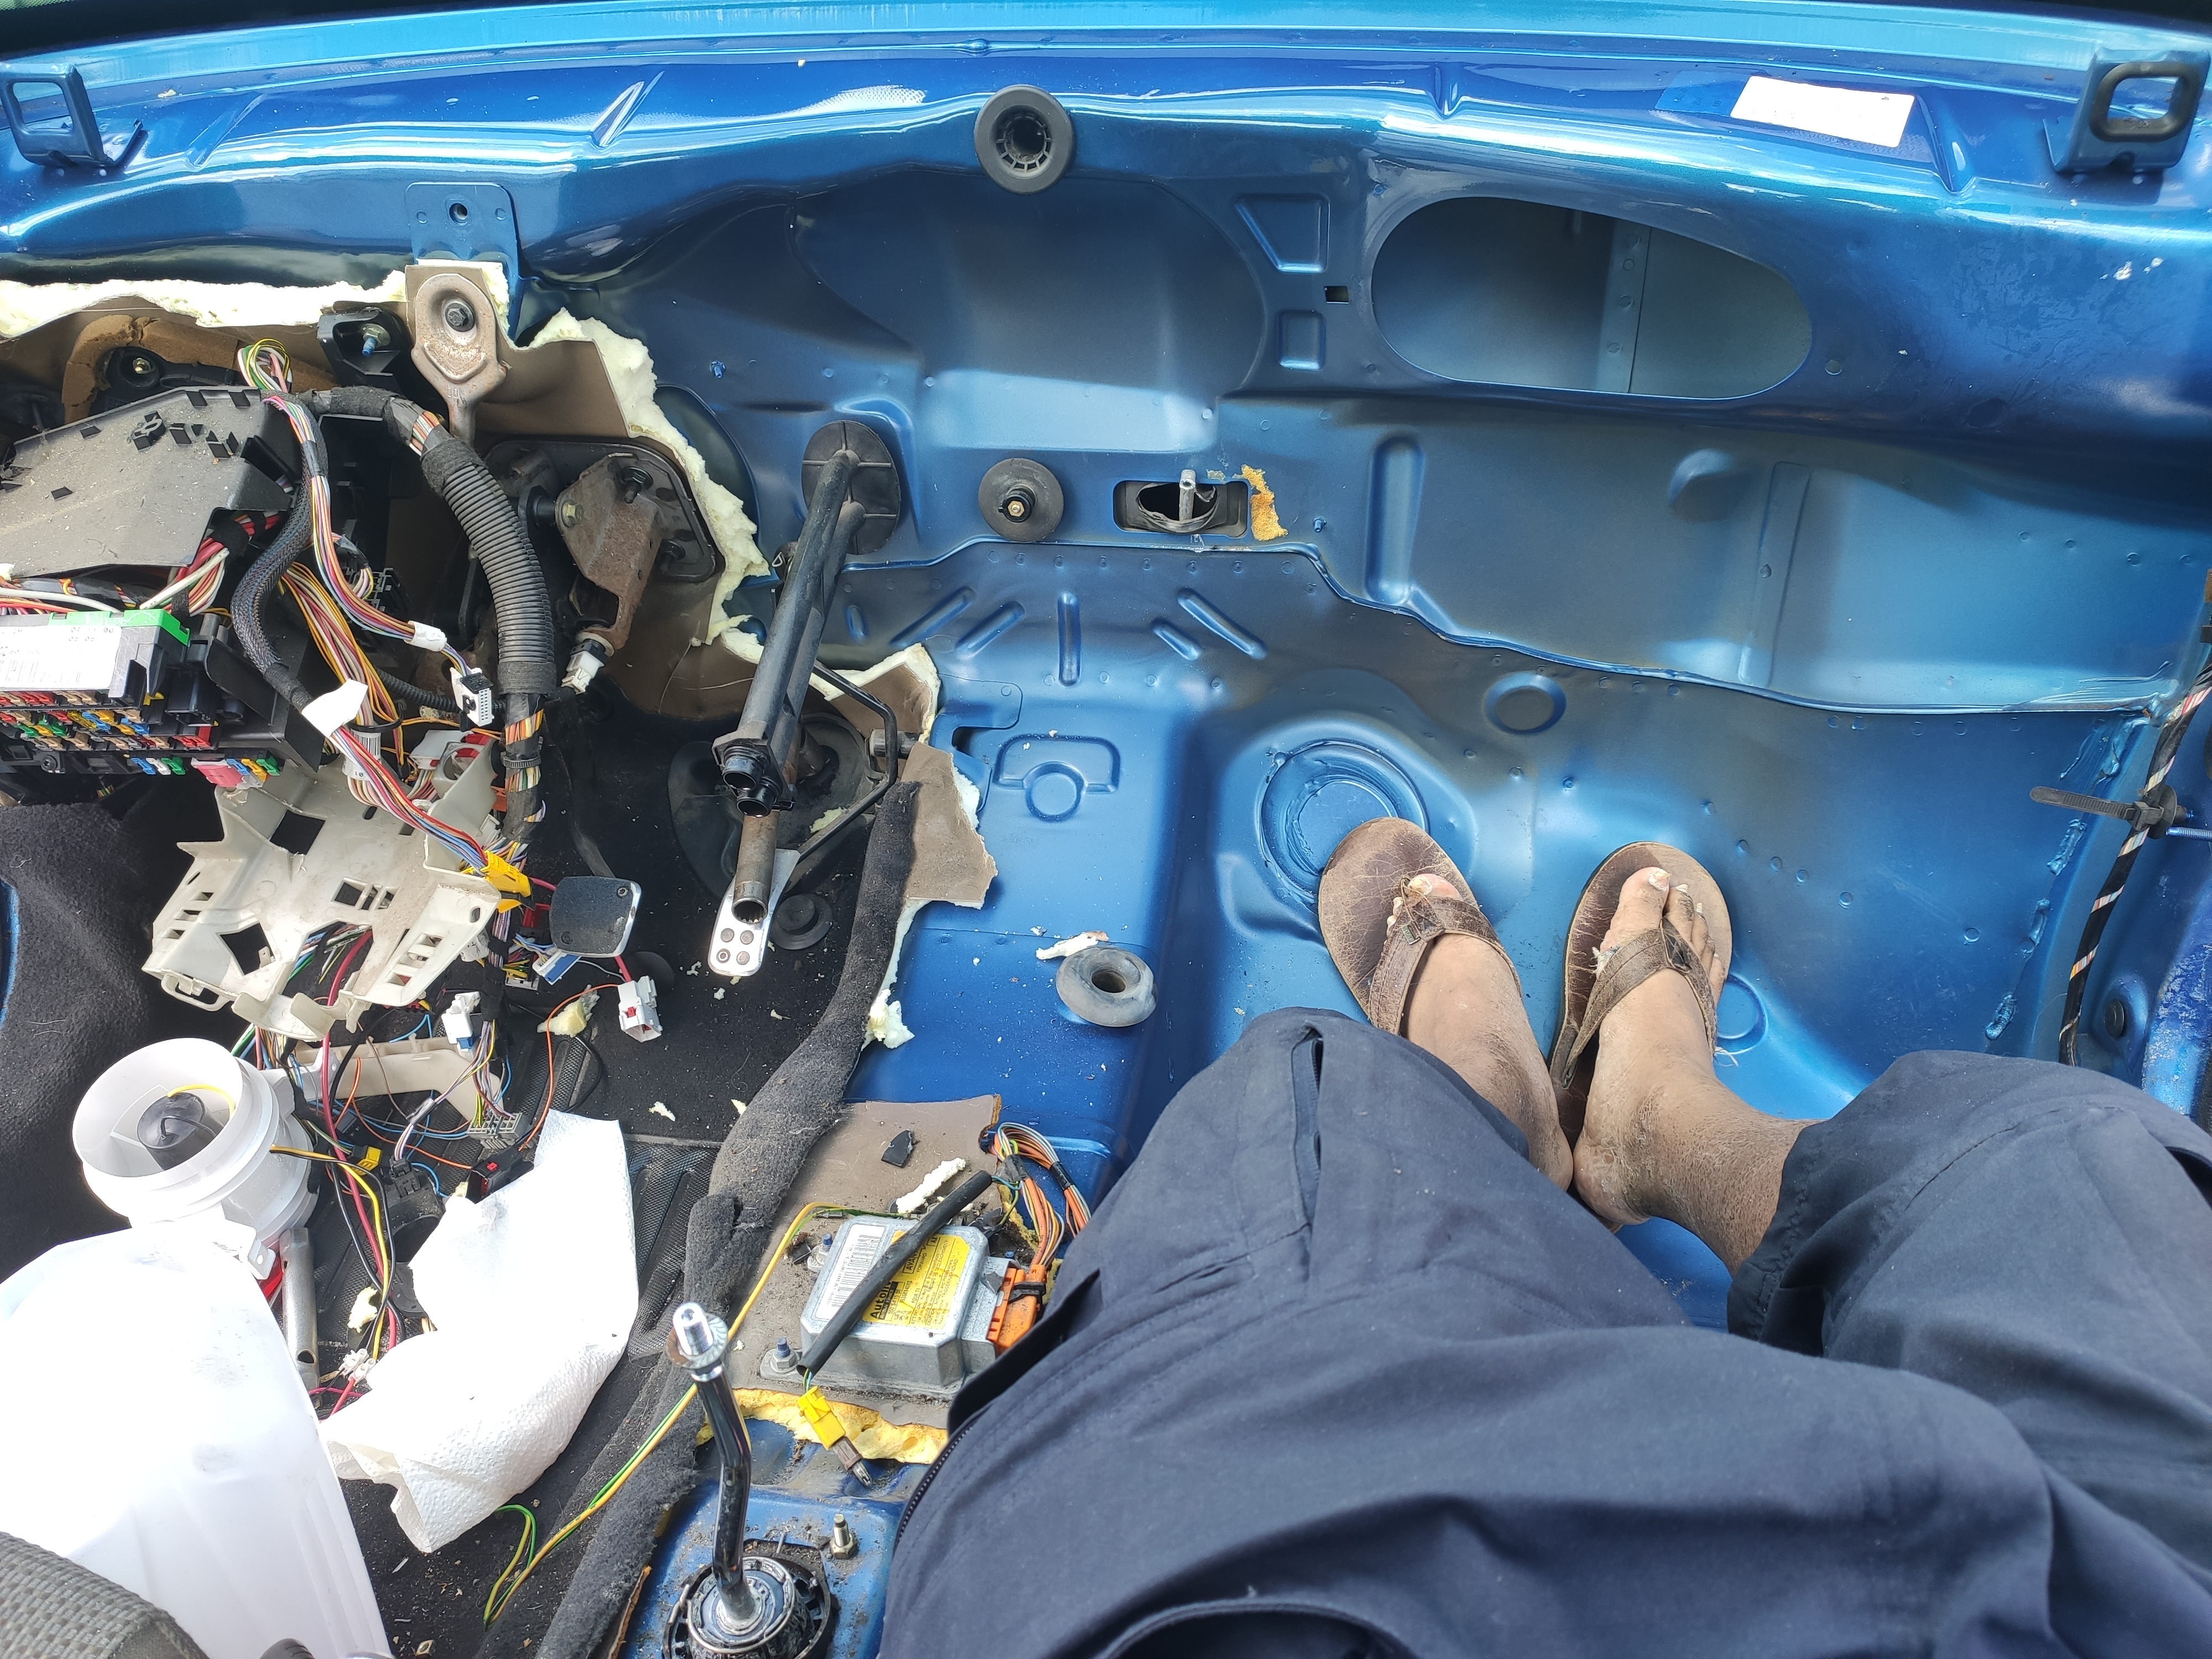
Interior stripping
Because the interior weighs quite a lot but doesn’t do much for me personally, I’ve opted to remove most of it.
Additionally, this had the benefit of showing me some rust spots I wouldn’t have found otherwise.
Sadly, I do not have pictures of removal of a lot of stuff so you’ll have to find this one out for yourself.
If you just gently pull at stuff, it should tell you where it’s being held in by more screws or bolts.
As for the removal of the carpets and a bunch of the insulation, I just carefully used a boxcutter to remove them.
Later, I also removed the speakers and the plastic bits holding them in place but I did not take pictures of that.

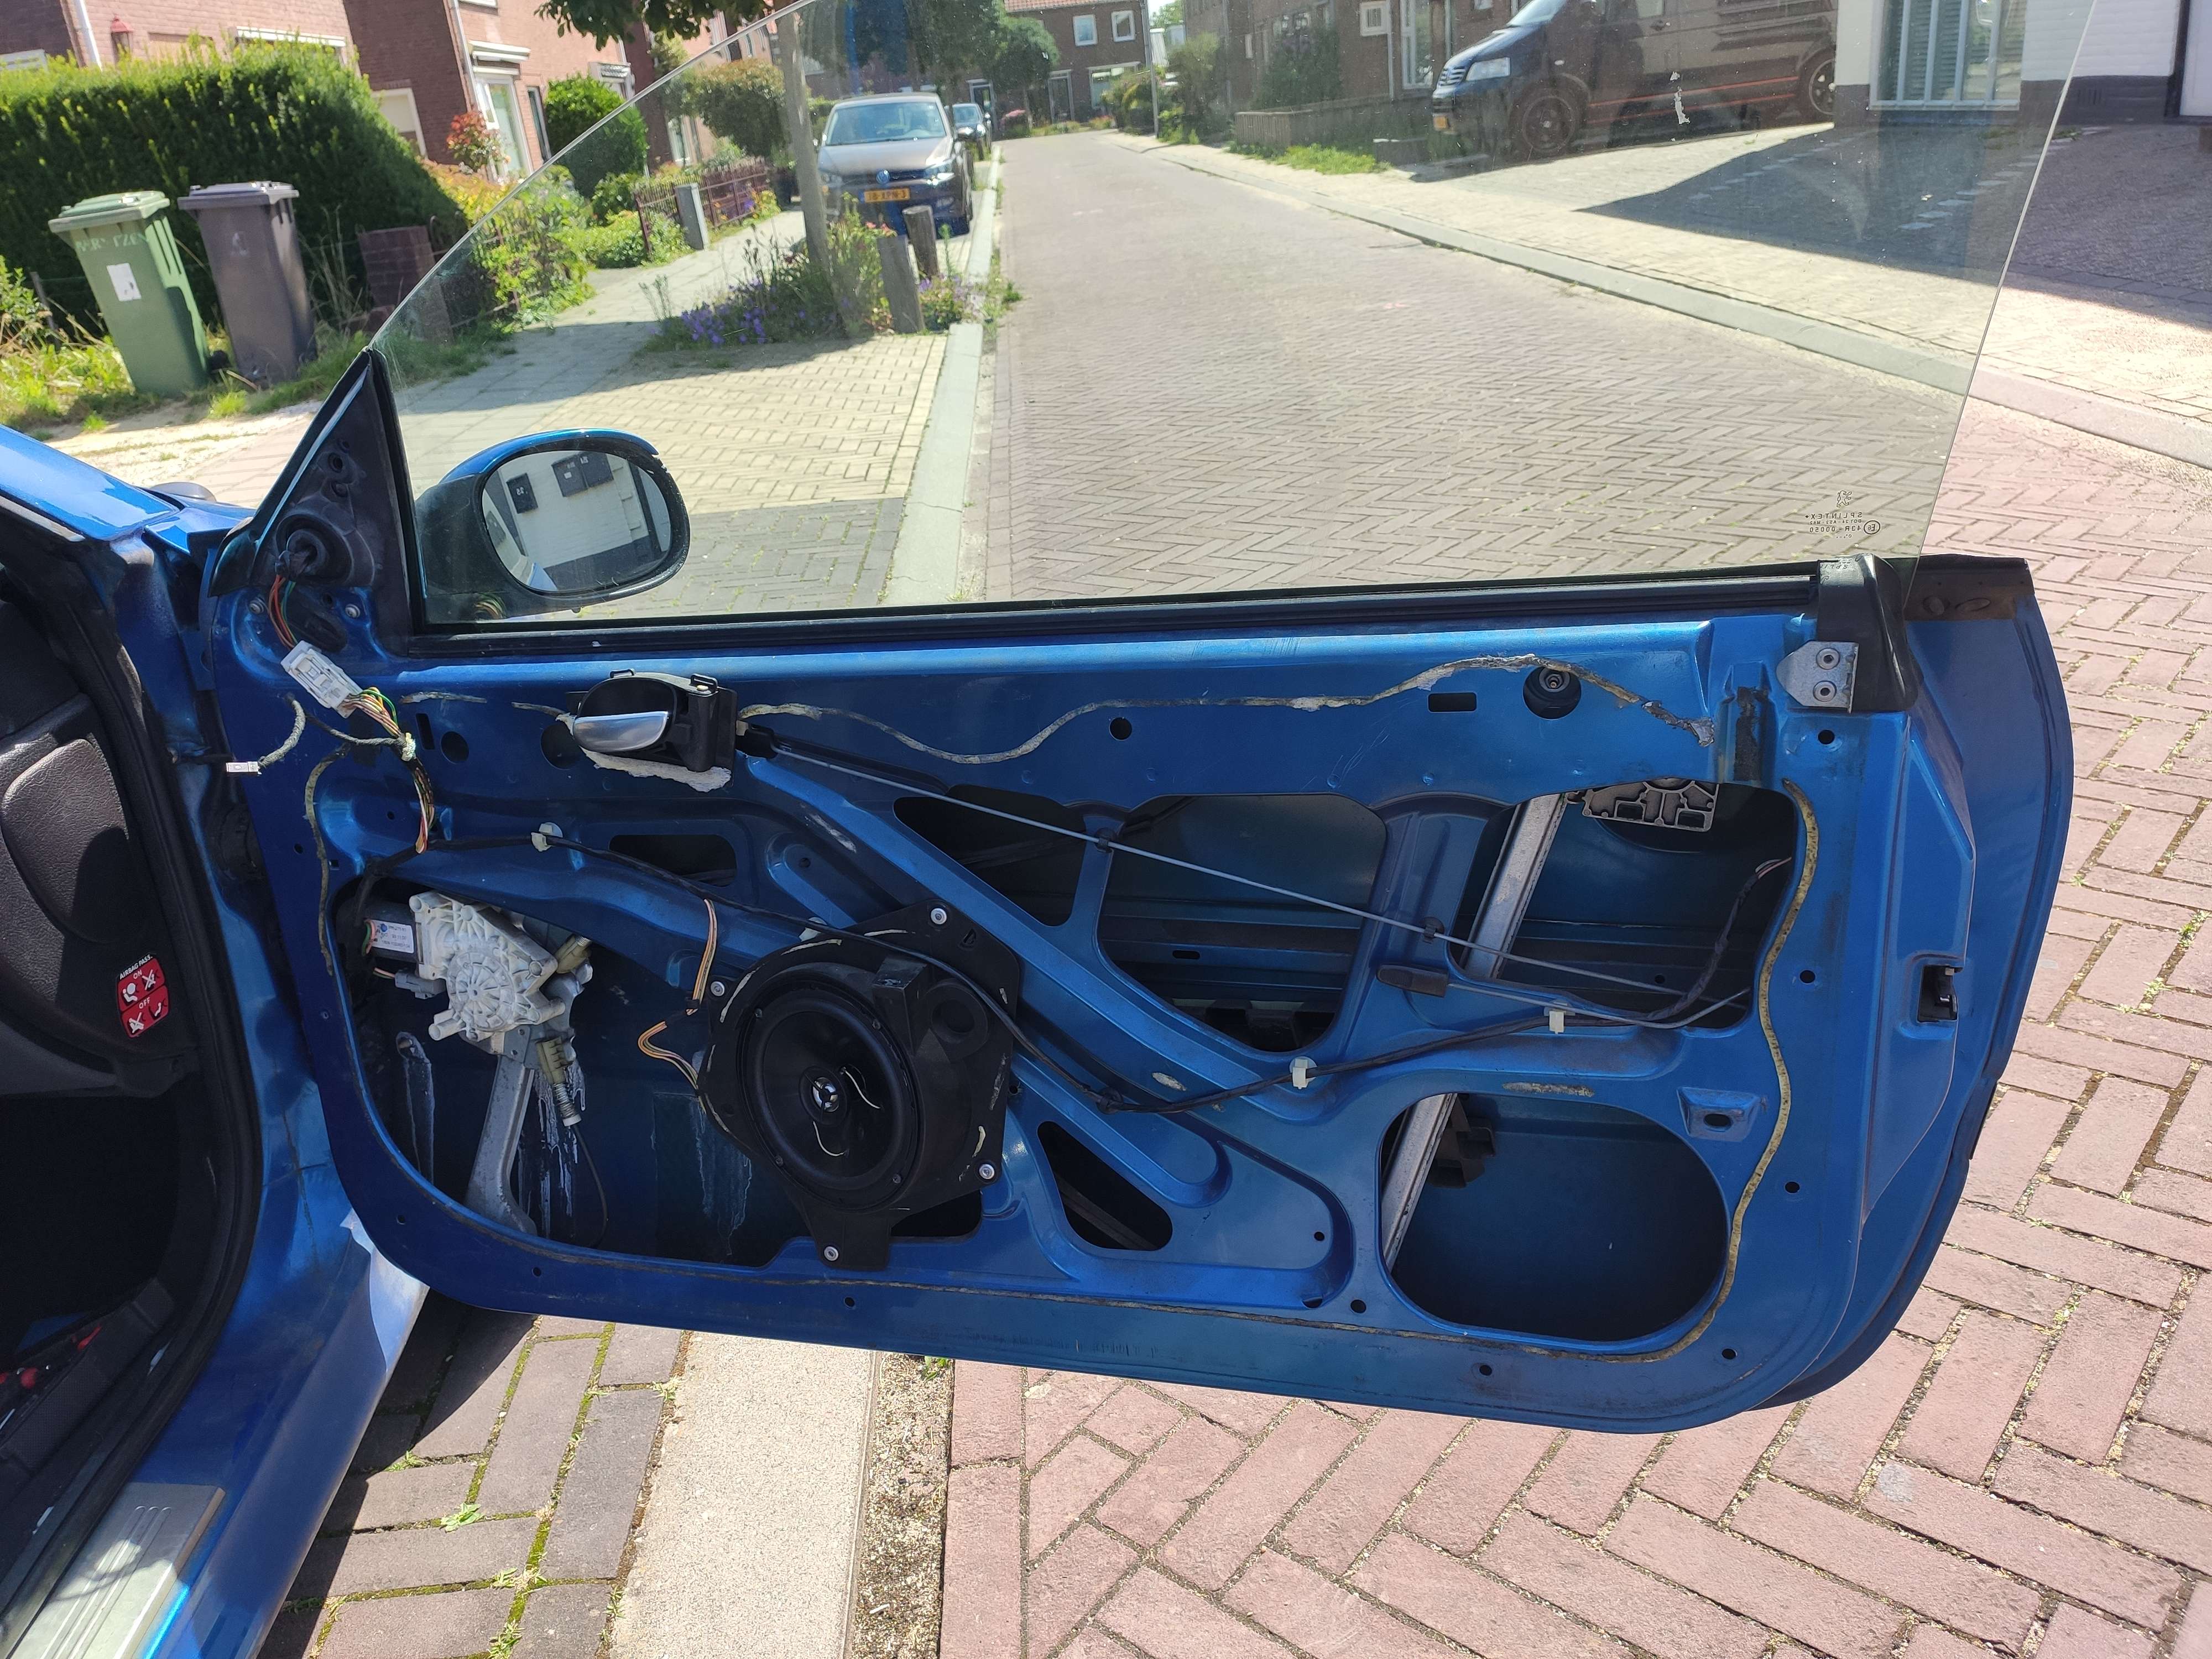
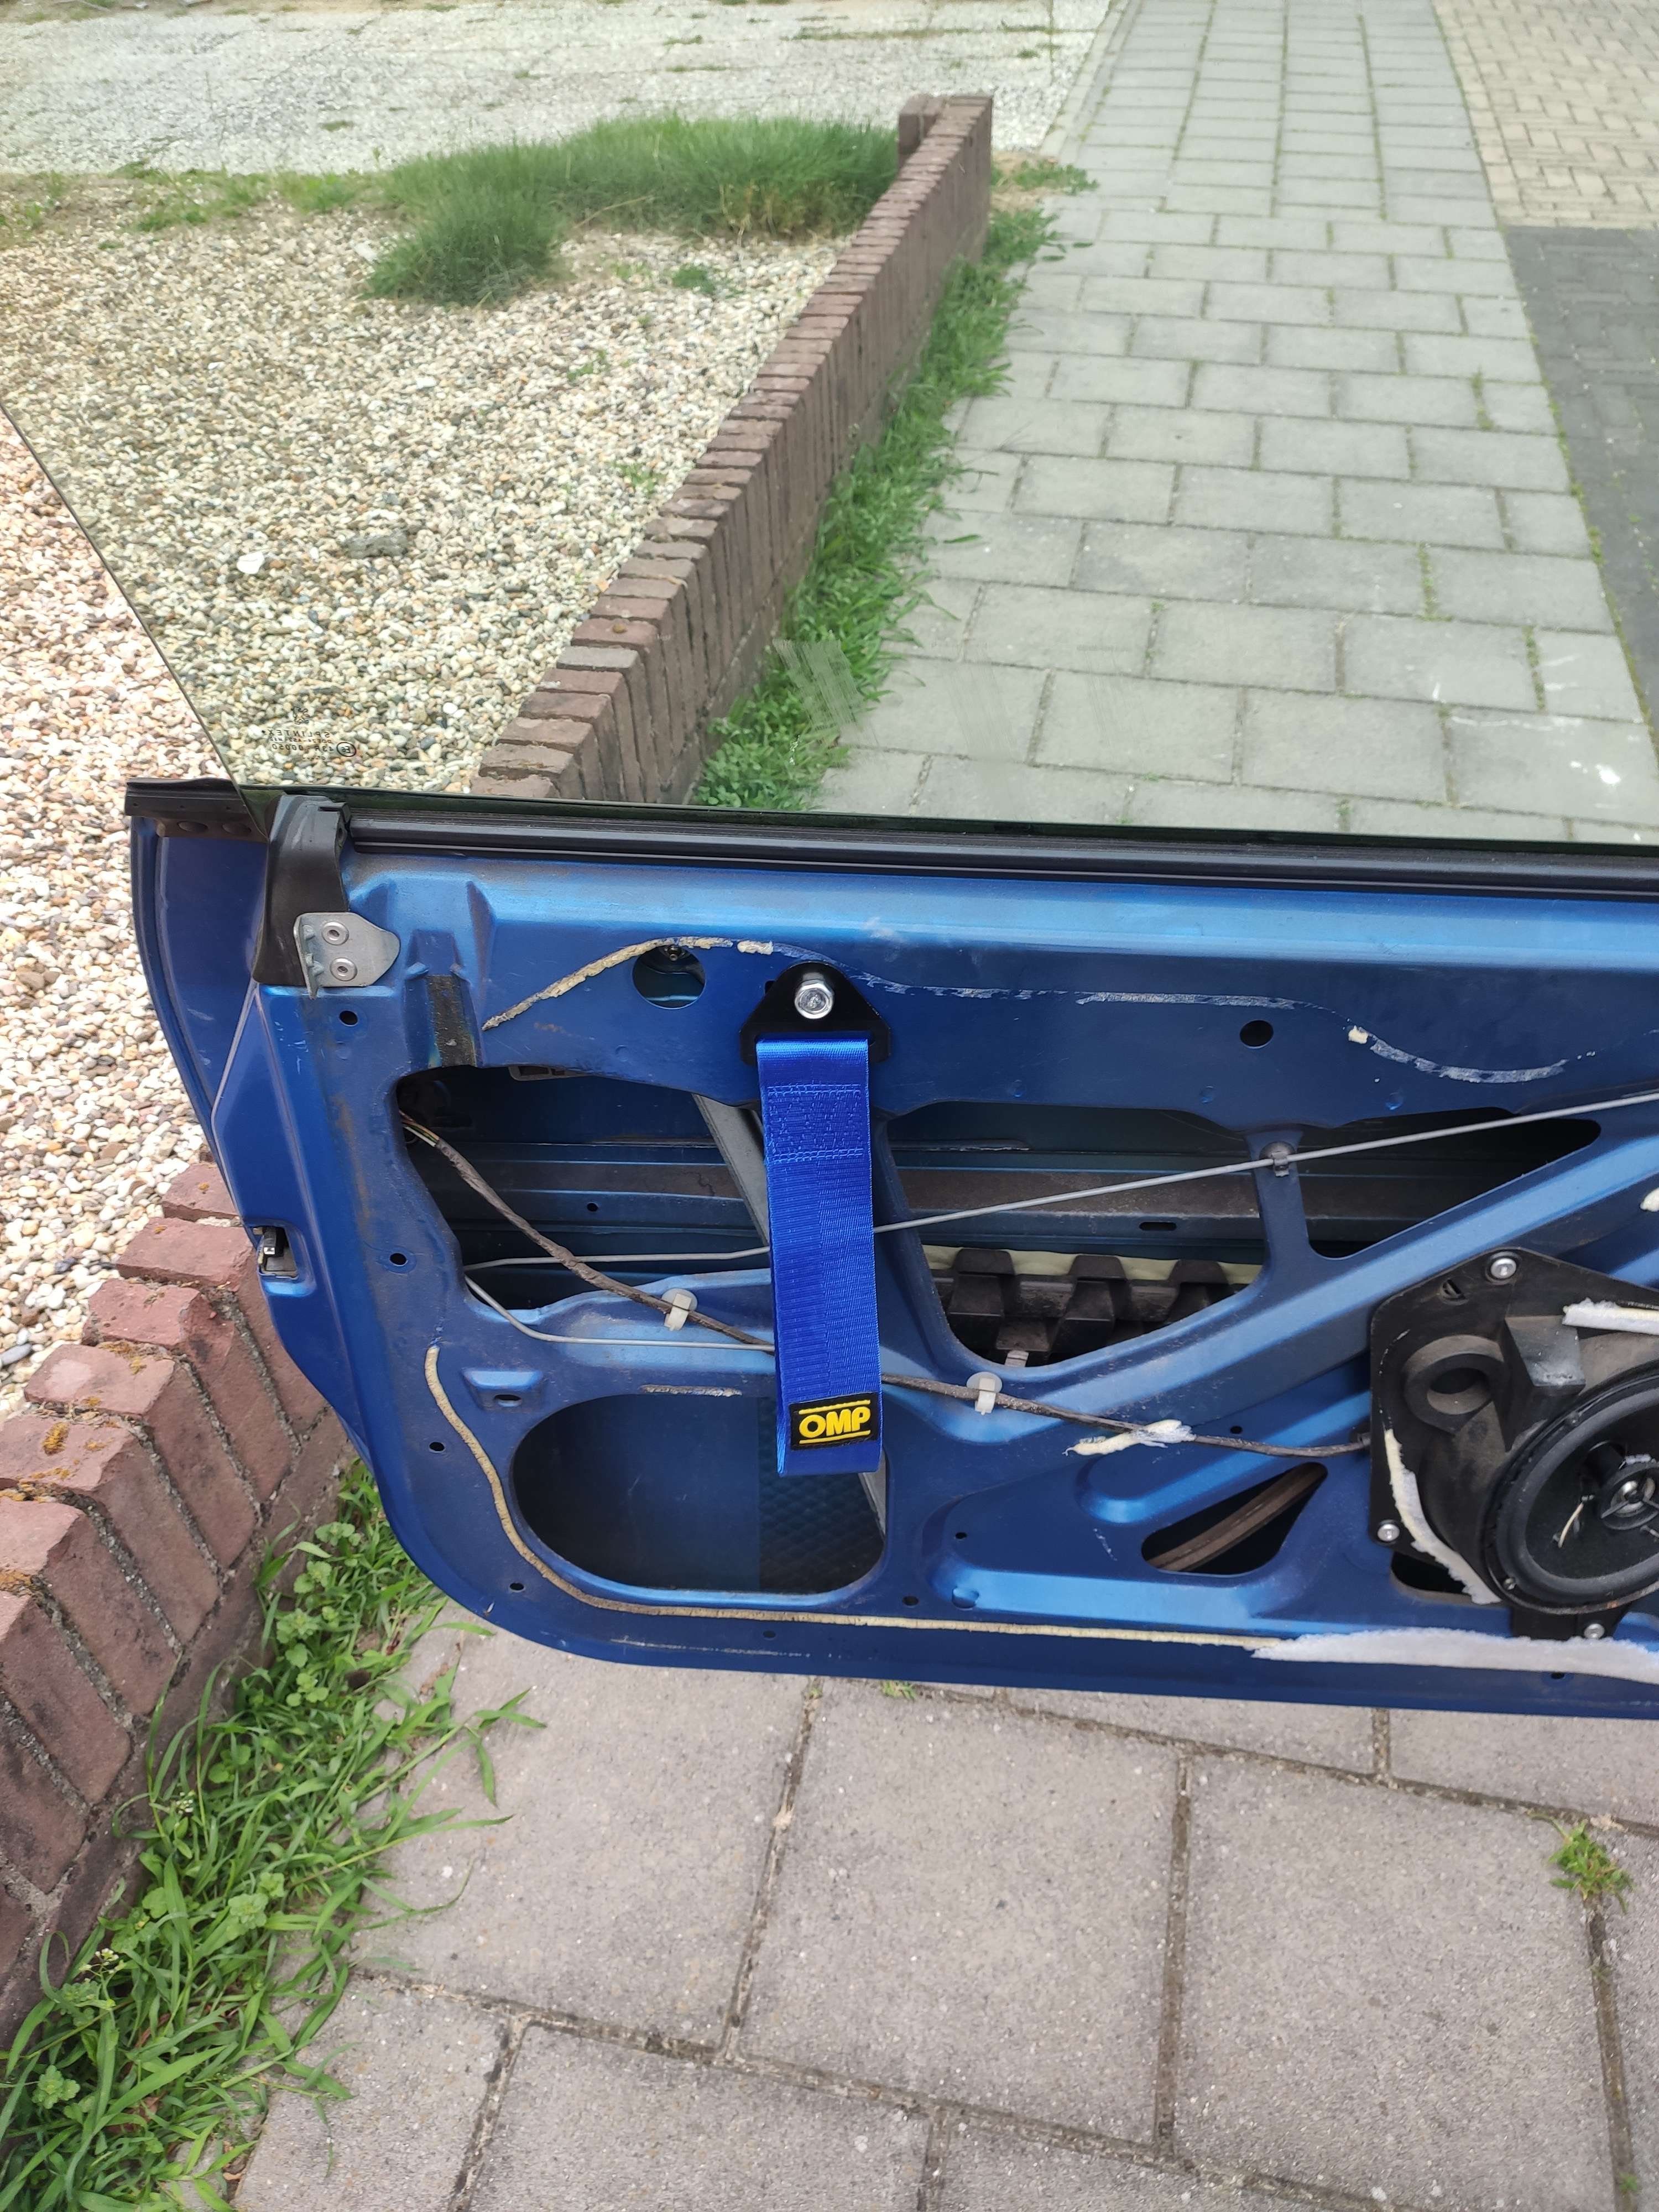
For the "door handles", I just used some OMP tow straps.
I’ll cover the doors in either some "cartonfibre", polycarbonate or something else at a later date.
ECU Replacement
In order to minimize risk of running into issues later, I opted to replace my ECU prematurely.
As I did not want to have to deal with re-doing any wiring harnesses for the engine, my only two options were the Megasquirt MS3 PNP from Pirata Motor and the VEMS PNP from DP Engineering.
Due to having limited experience with engine mapping and some weird things outlined on the site of the MS3 (such as CLT sensor not working as normal), I decided to go with the VEMS system.
That way, I at least had someone relatively local to turn to for help if need be.
For the options I chose:
-
OEM MAP sensor.
-
EGT upgrade without sensor (the sensor will be added at a later date).
-
With knock upgrade.
-
With wideband functionality and pre-calibrated Bosch LSU 4.9 sensor.
-
OEM air temperature sensor.
-
No internal memory card (I might add this myself at a later date).
-
No Bluetooth transmitter (I hate bluetooth).
Installation, however, required me to remove the original bracket and zip-tie the thing to some other bracket instead.
While this is not ideal, I’ll fix it at a later date… Maybe…
Engine base map
After playing with the VEMS for a while doing some road-tuning, I decided to bring it to DP Engineering.
Since my setup at this time is really easy to reproduce if you buy a stock EW10J4 car, you can download my VEMS config here.
It should work with any stock EW10J4, though it may require very minor tweaks here and there.
Sadly, DP-Engineering could only get 132hp out of the engine, this is probably due to wear on the block.
I might have the engine rebuilt someday but it’s fairly unlikely I will.
While doing some data logging, I noticed that my speed read out double what it should be and the gears shown were also incorrect as a result.
Luckily, this was an easy fix as I just had to go to Inputs → Speed Sensor and set the Speed sensor divider on the First Speed Sensor to 2.
The modified config can be found here.

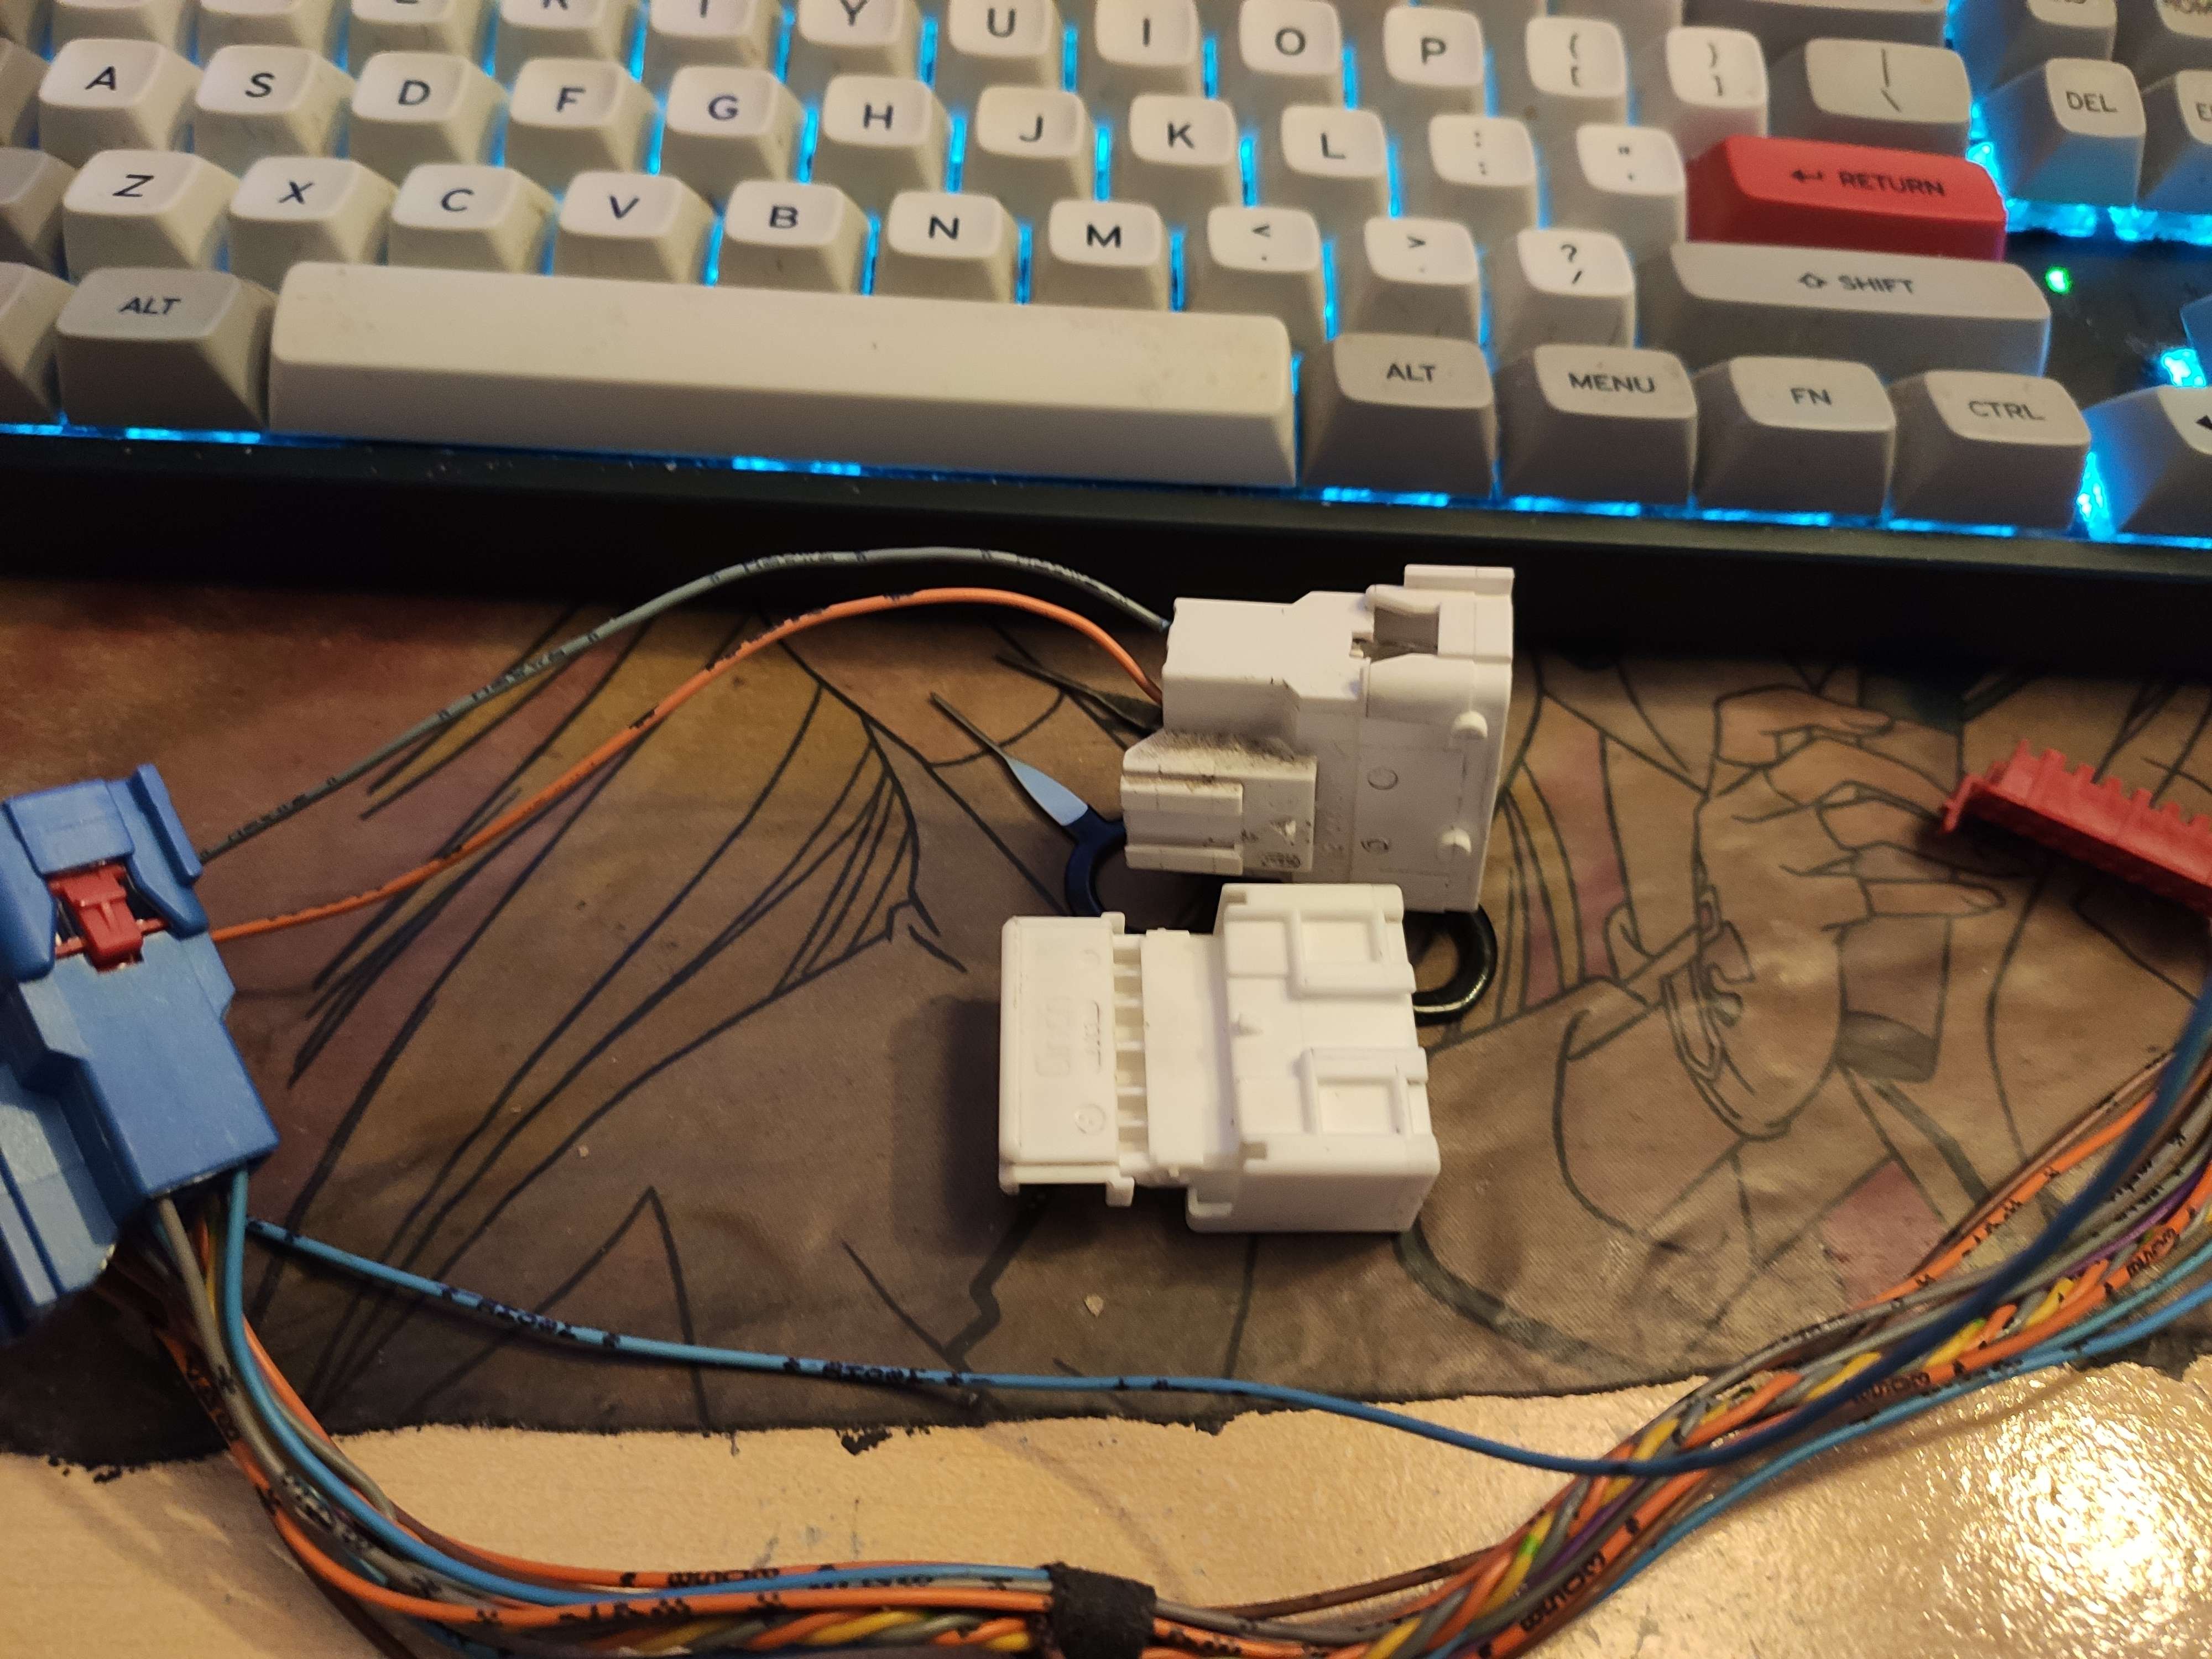
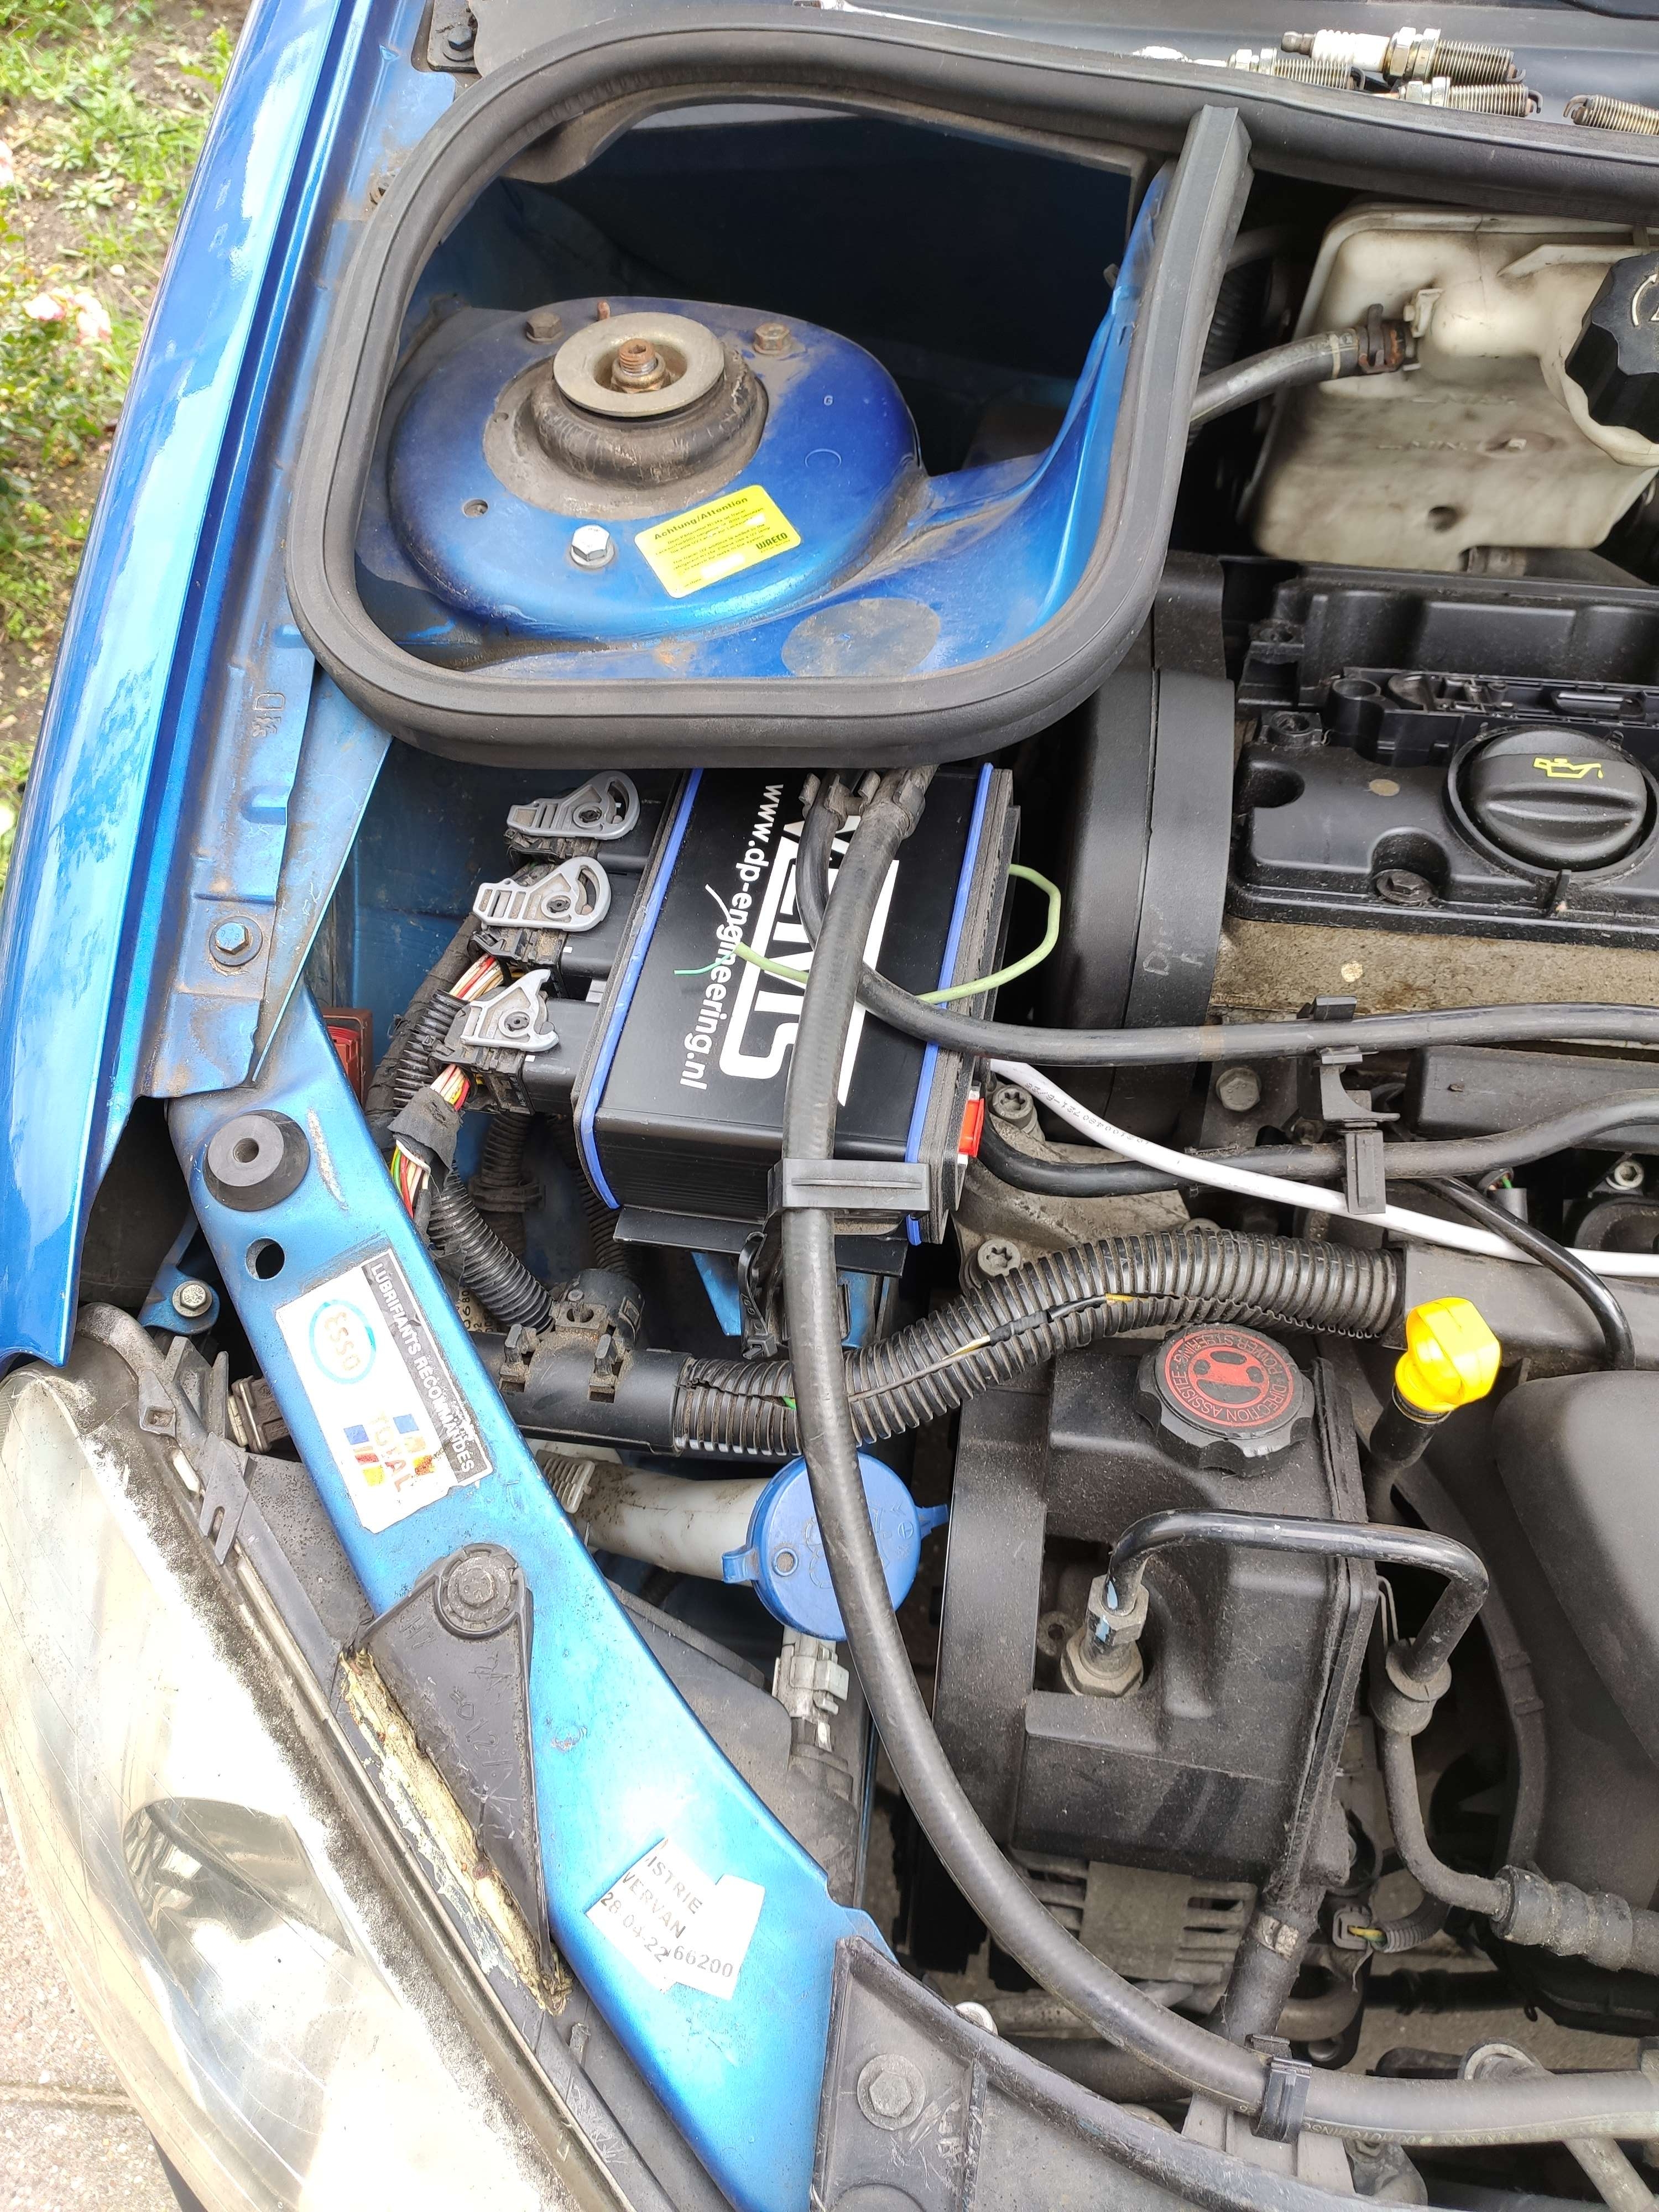
Custom PCV breather Hose
While working on the car, I accidentally broke the PCV breather hose.
This is due to the plastic having become brittle over the 22 years this car has been on the road and me trying to bend it away slightly.
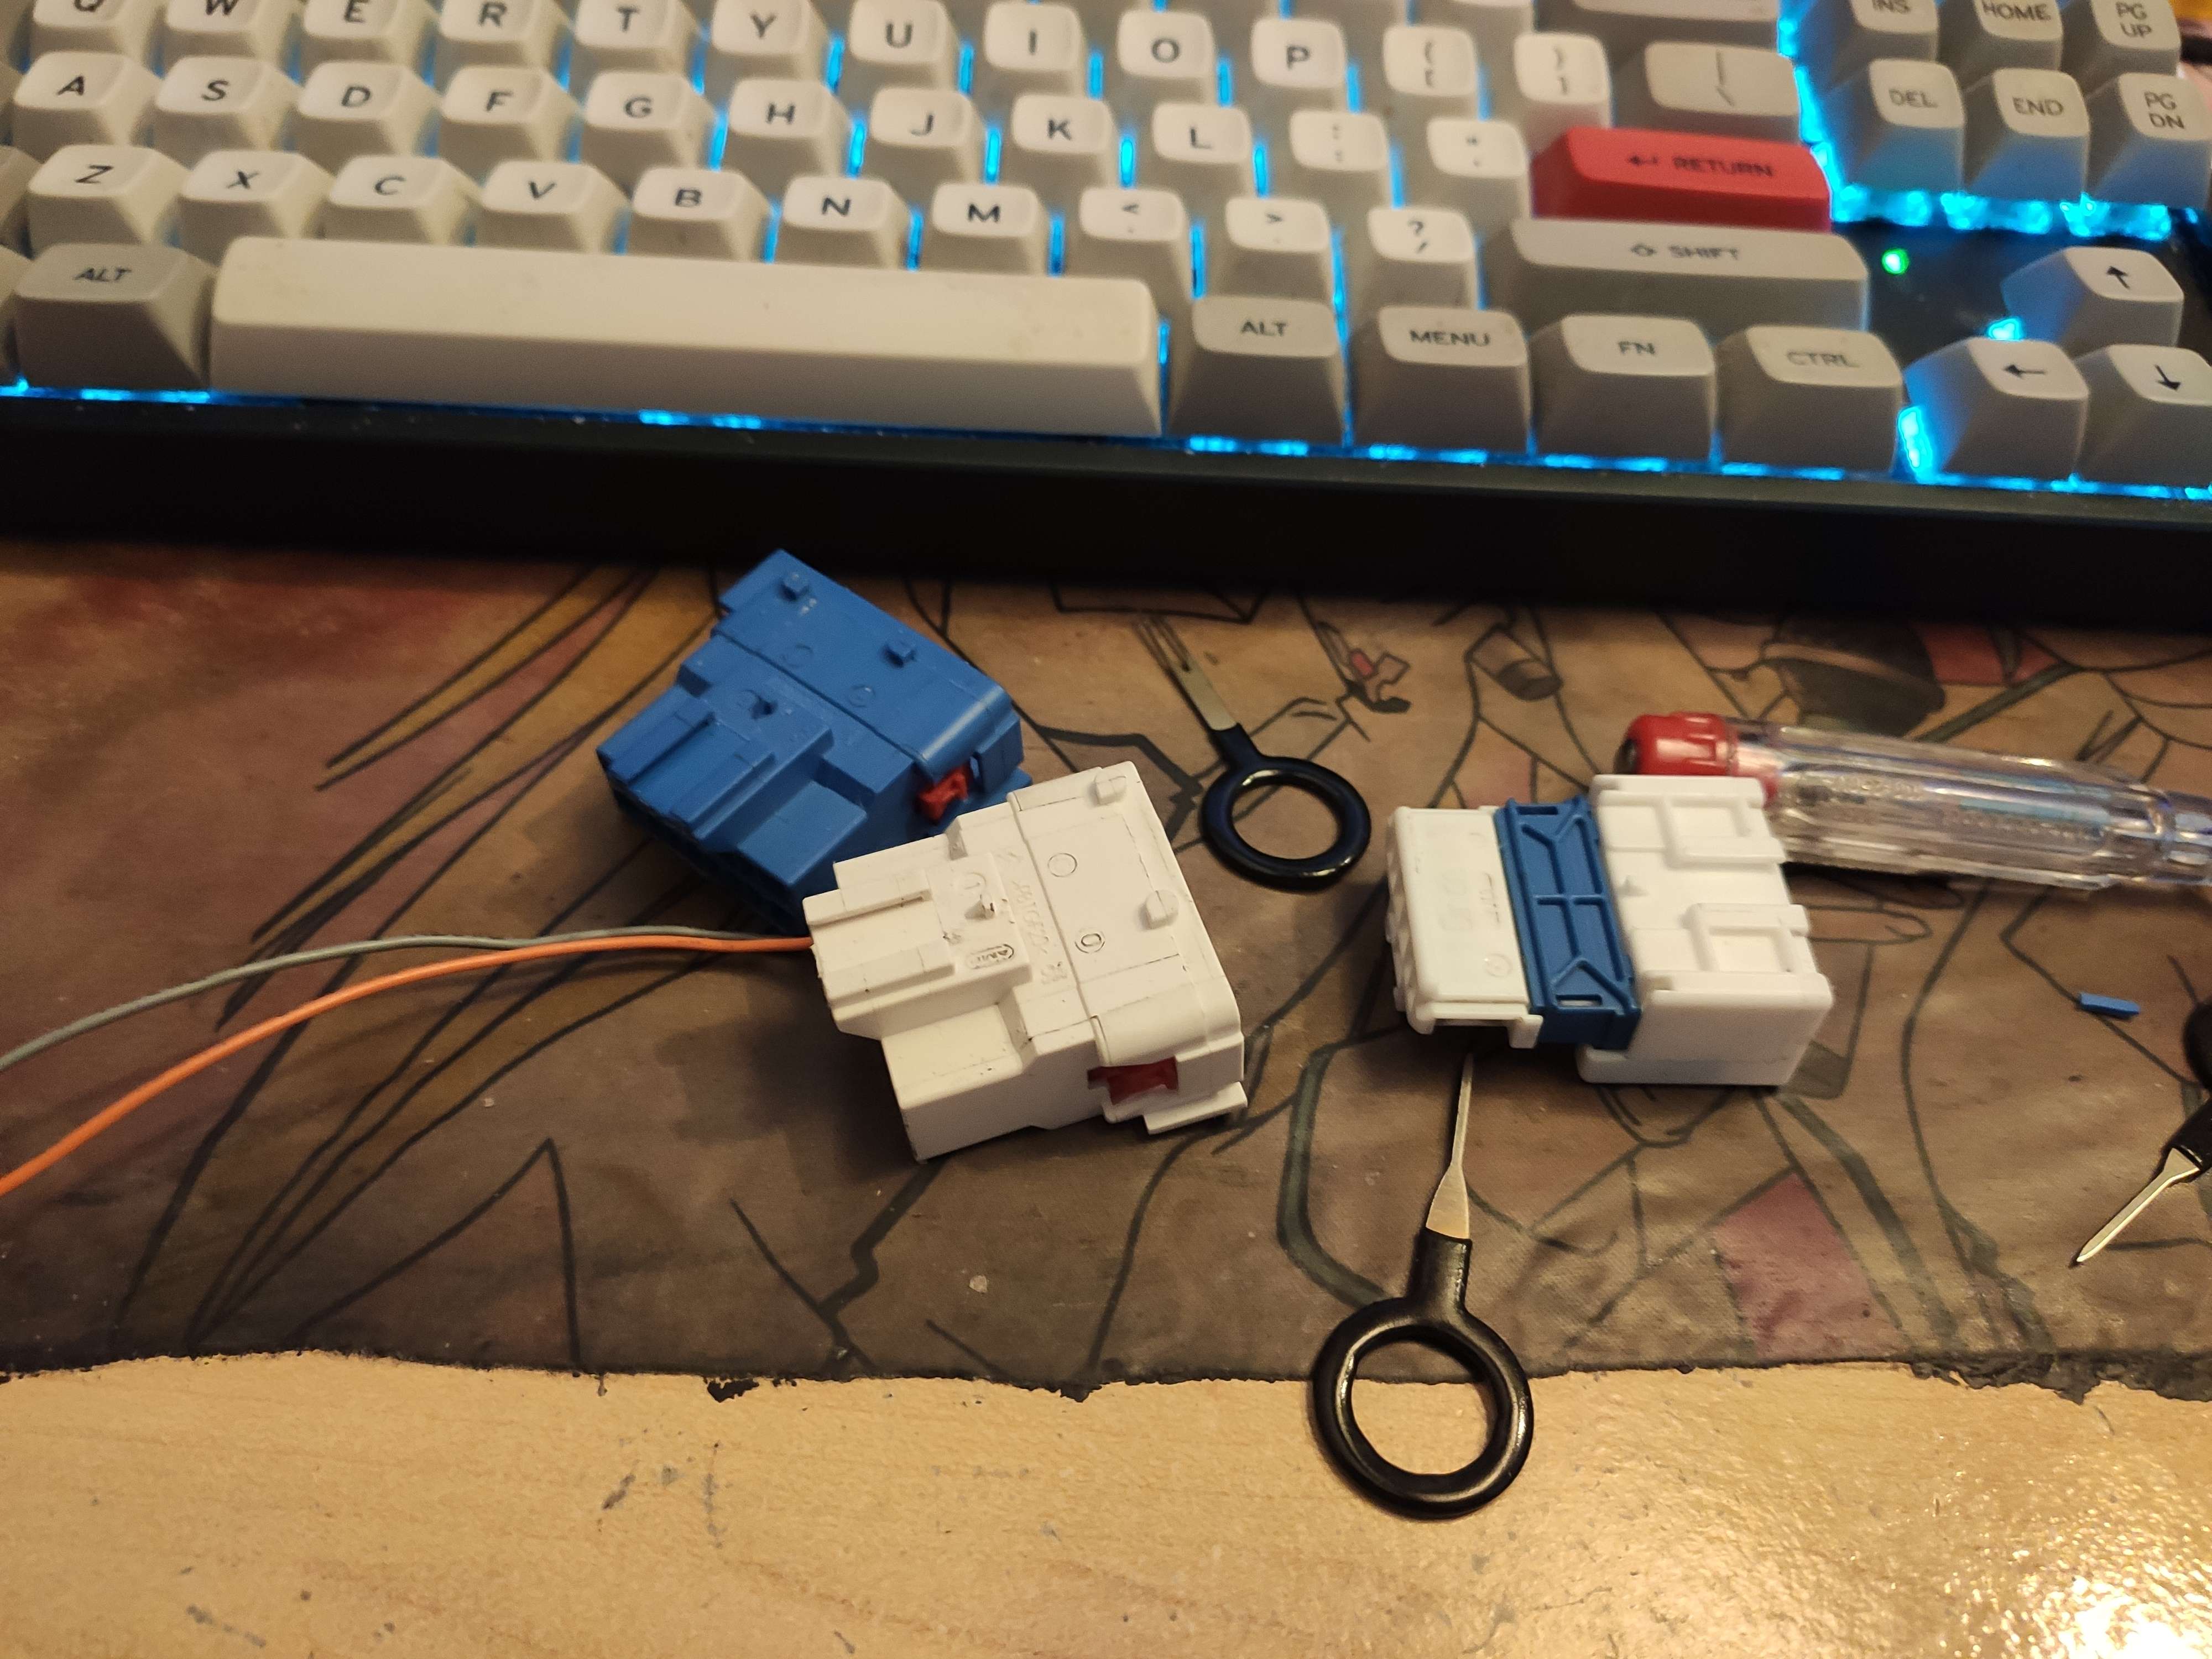
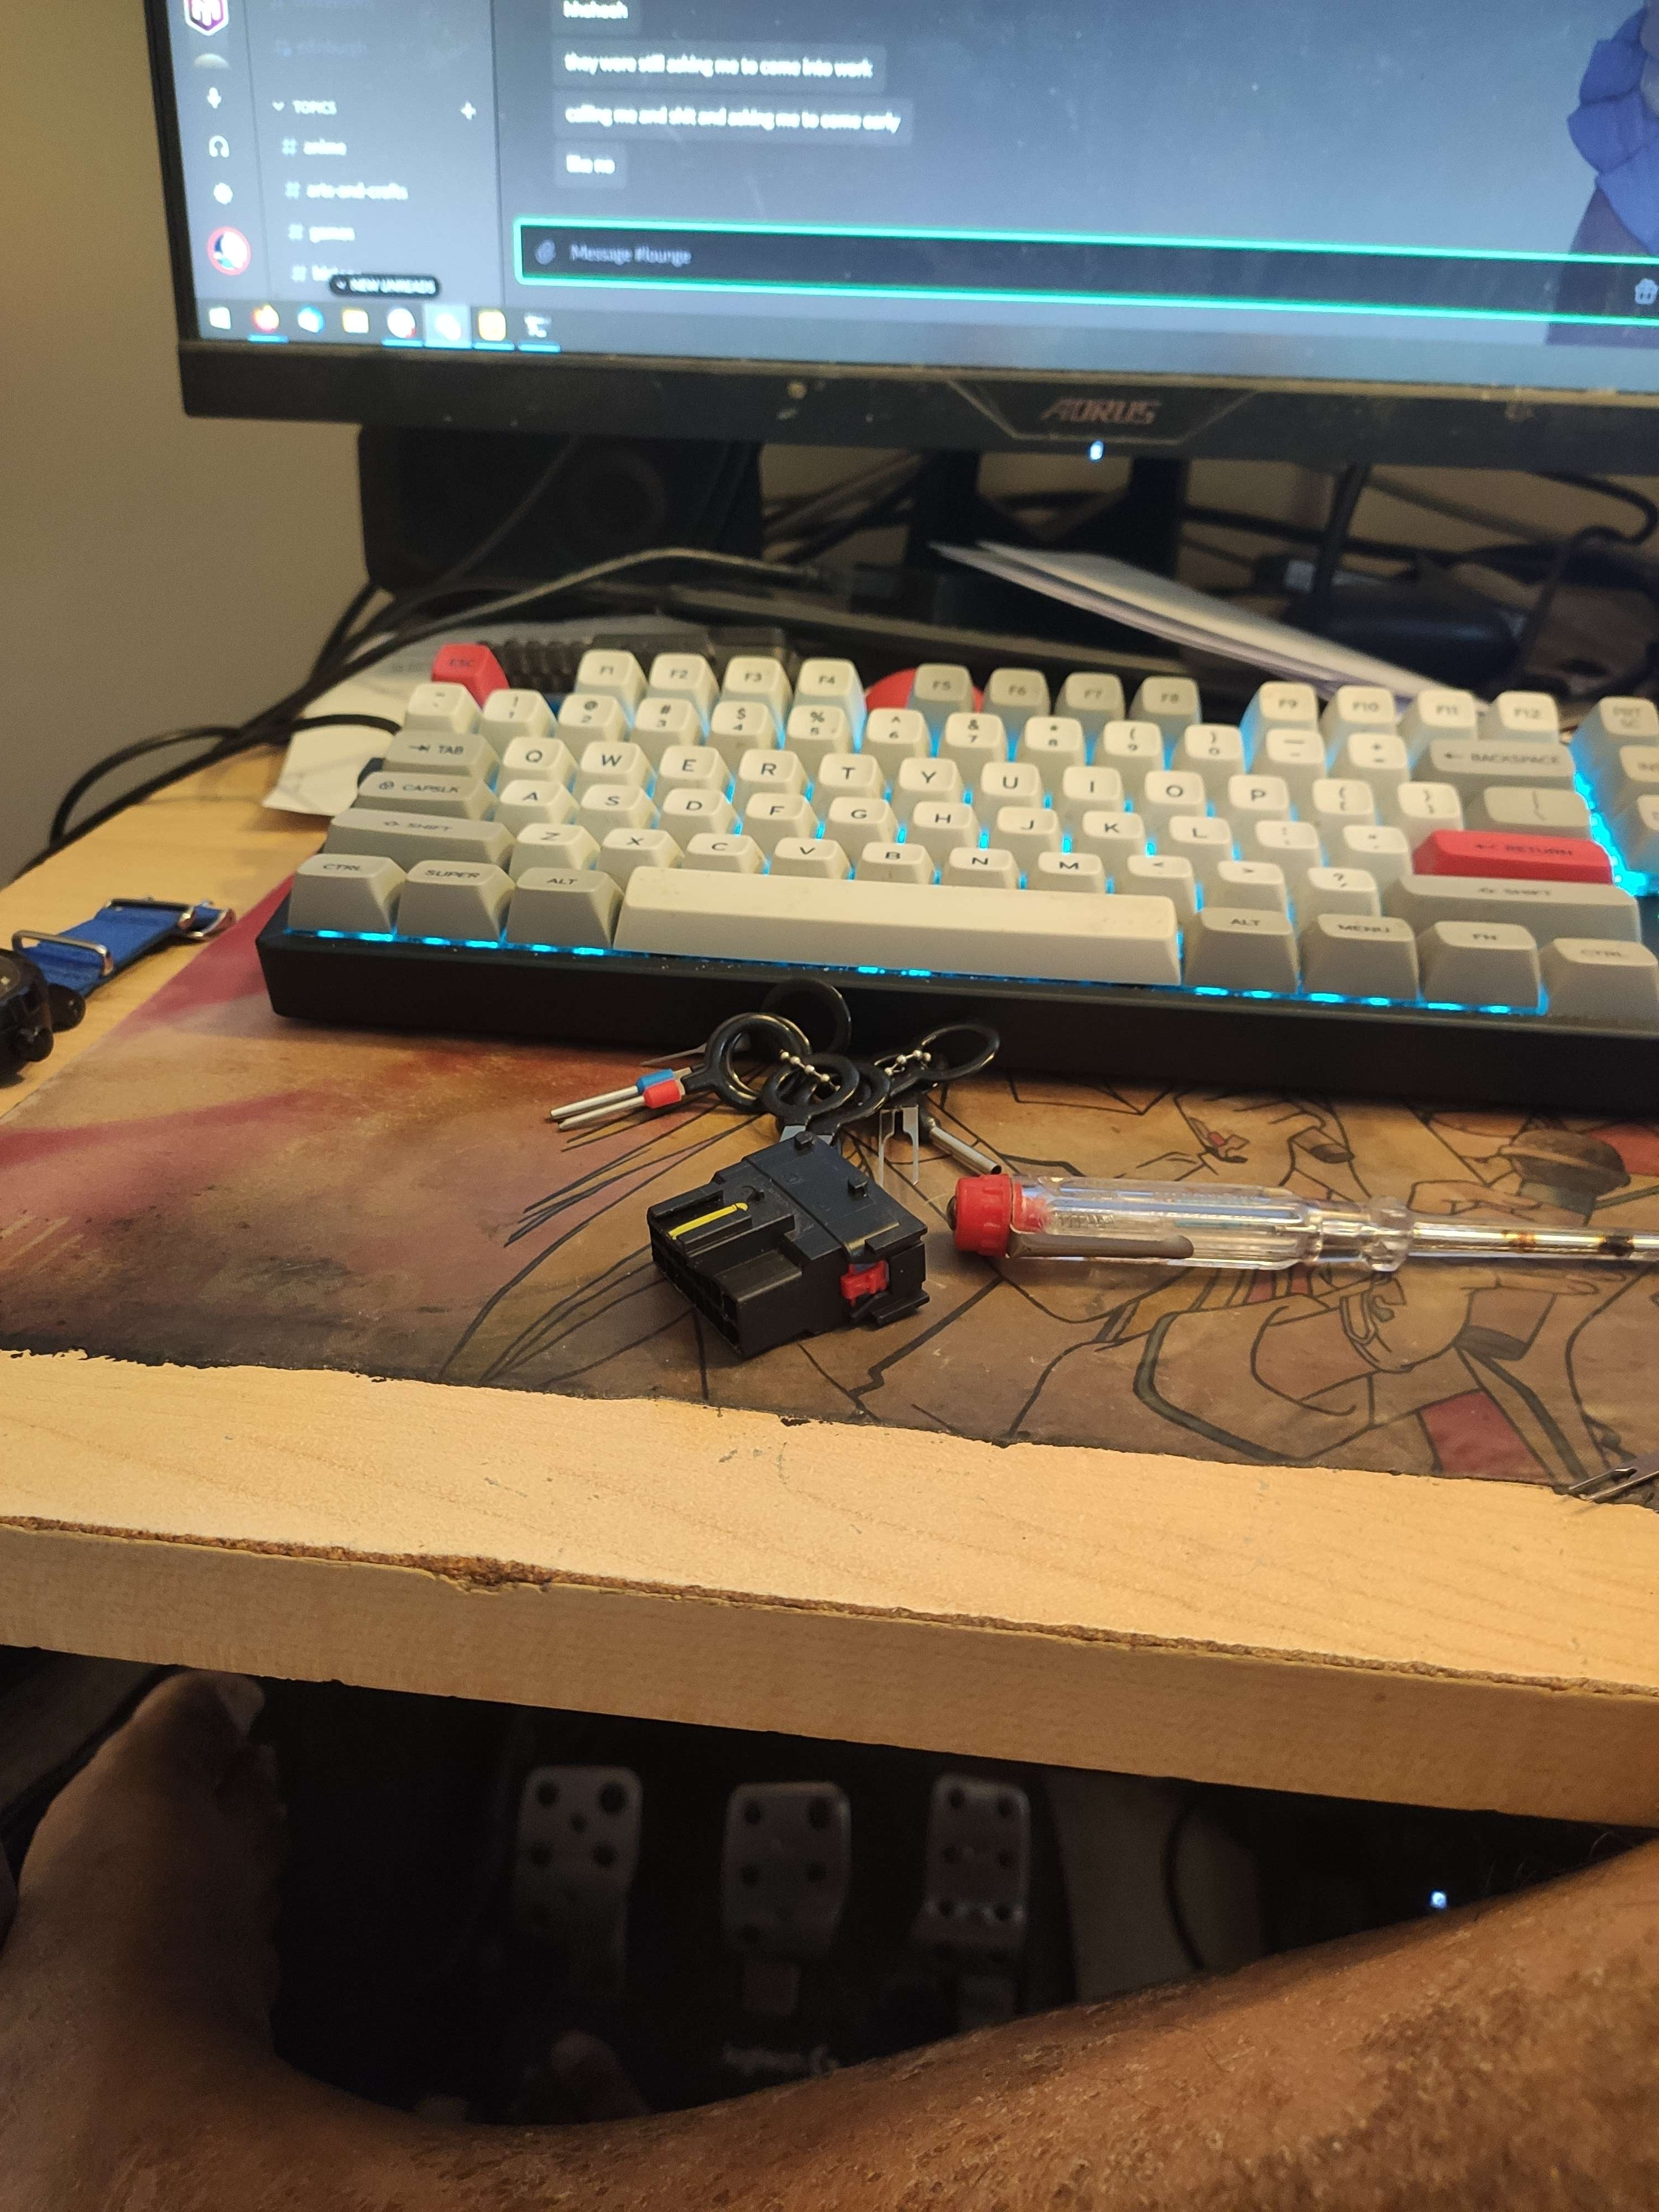
As a new PCV hose would cost nearly €50, I decided to instead take the plastic off the old plugs and make my own.
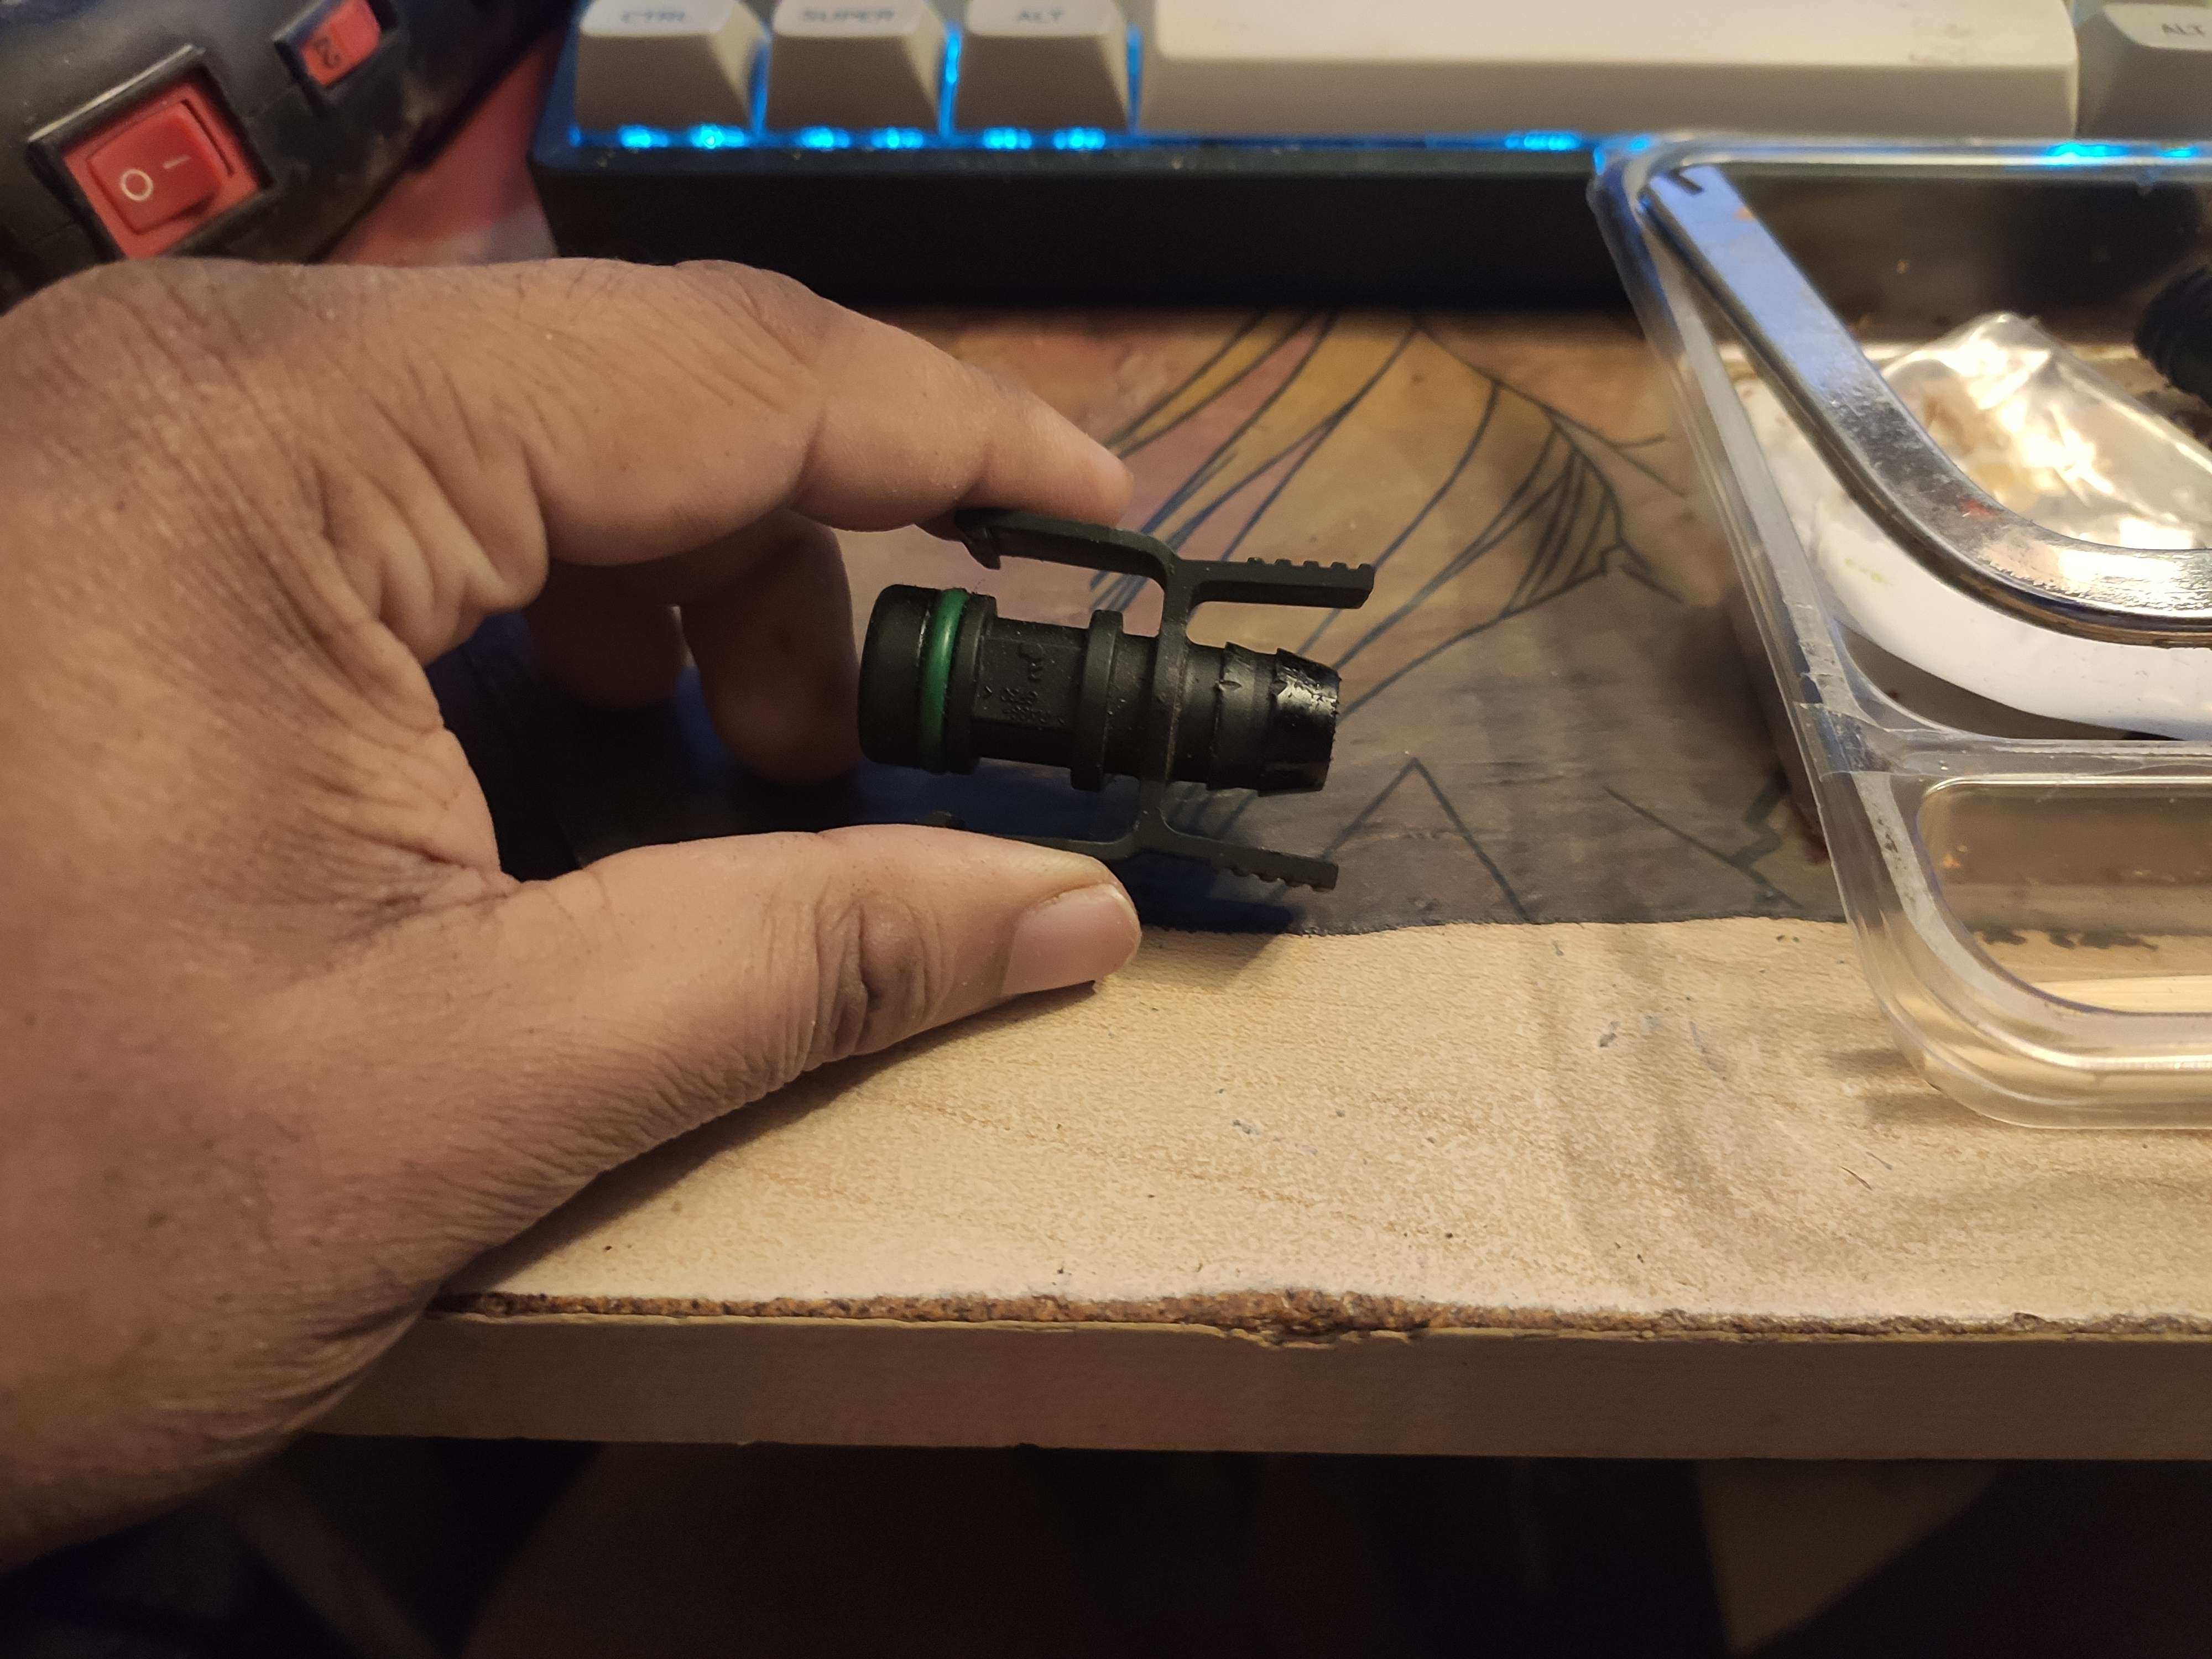
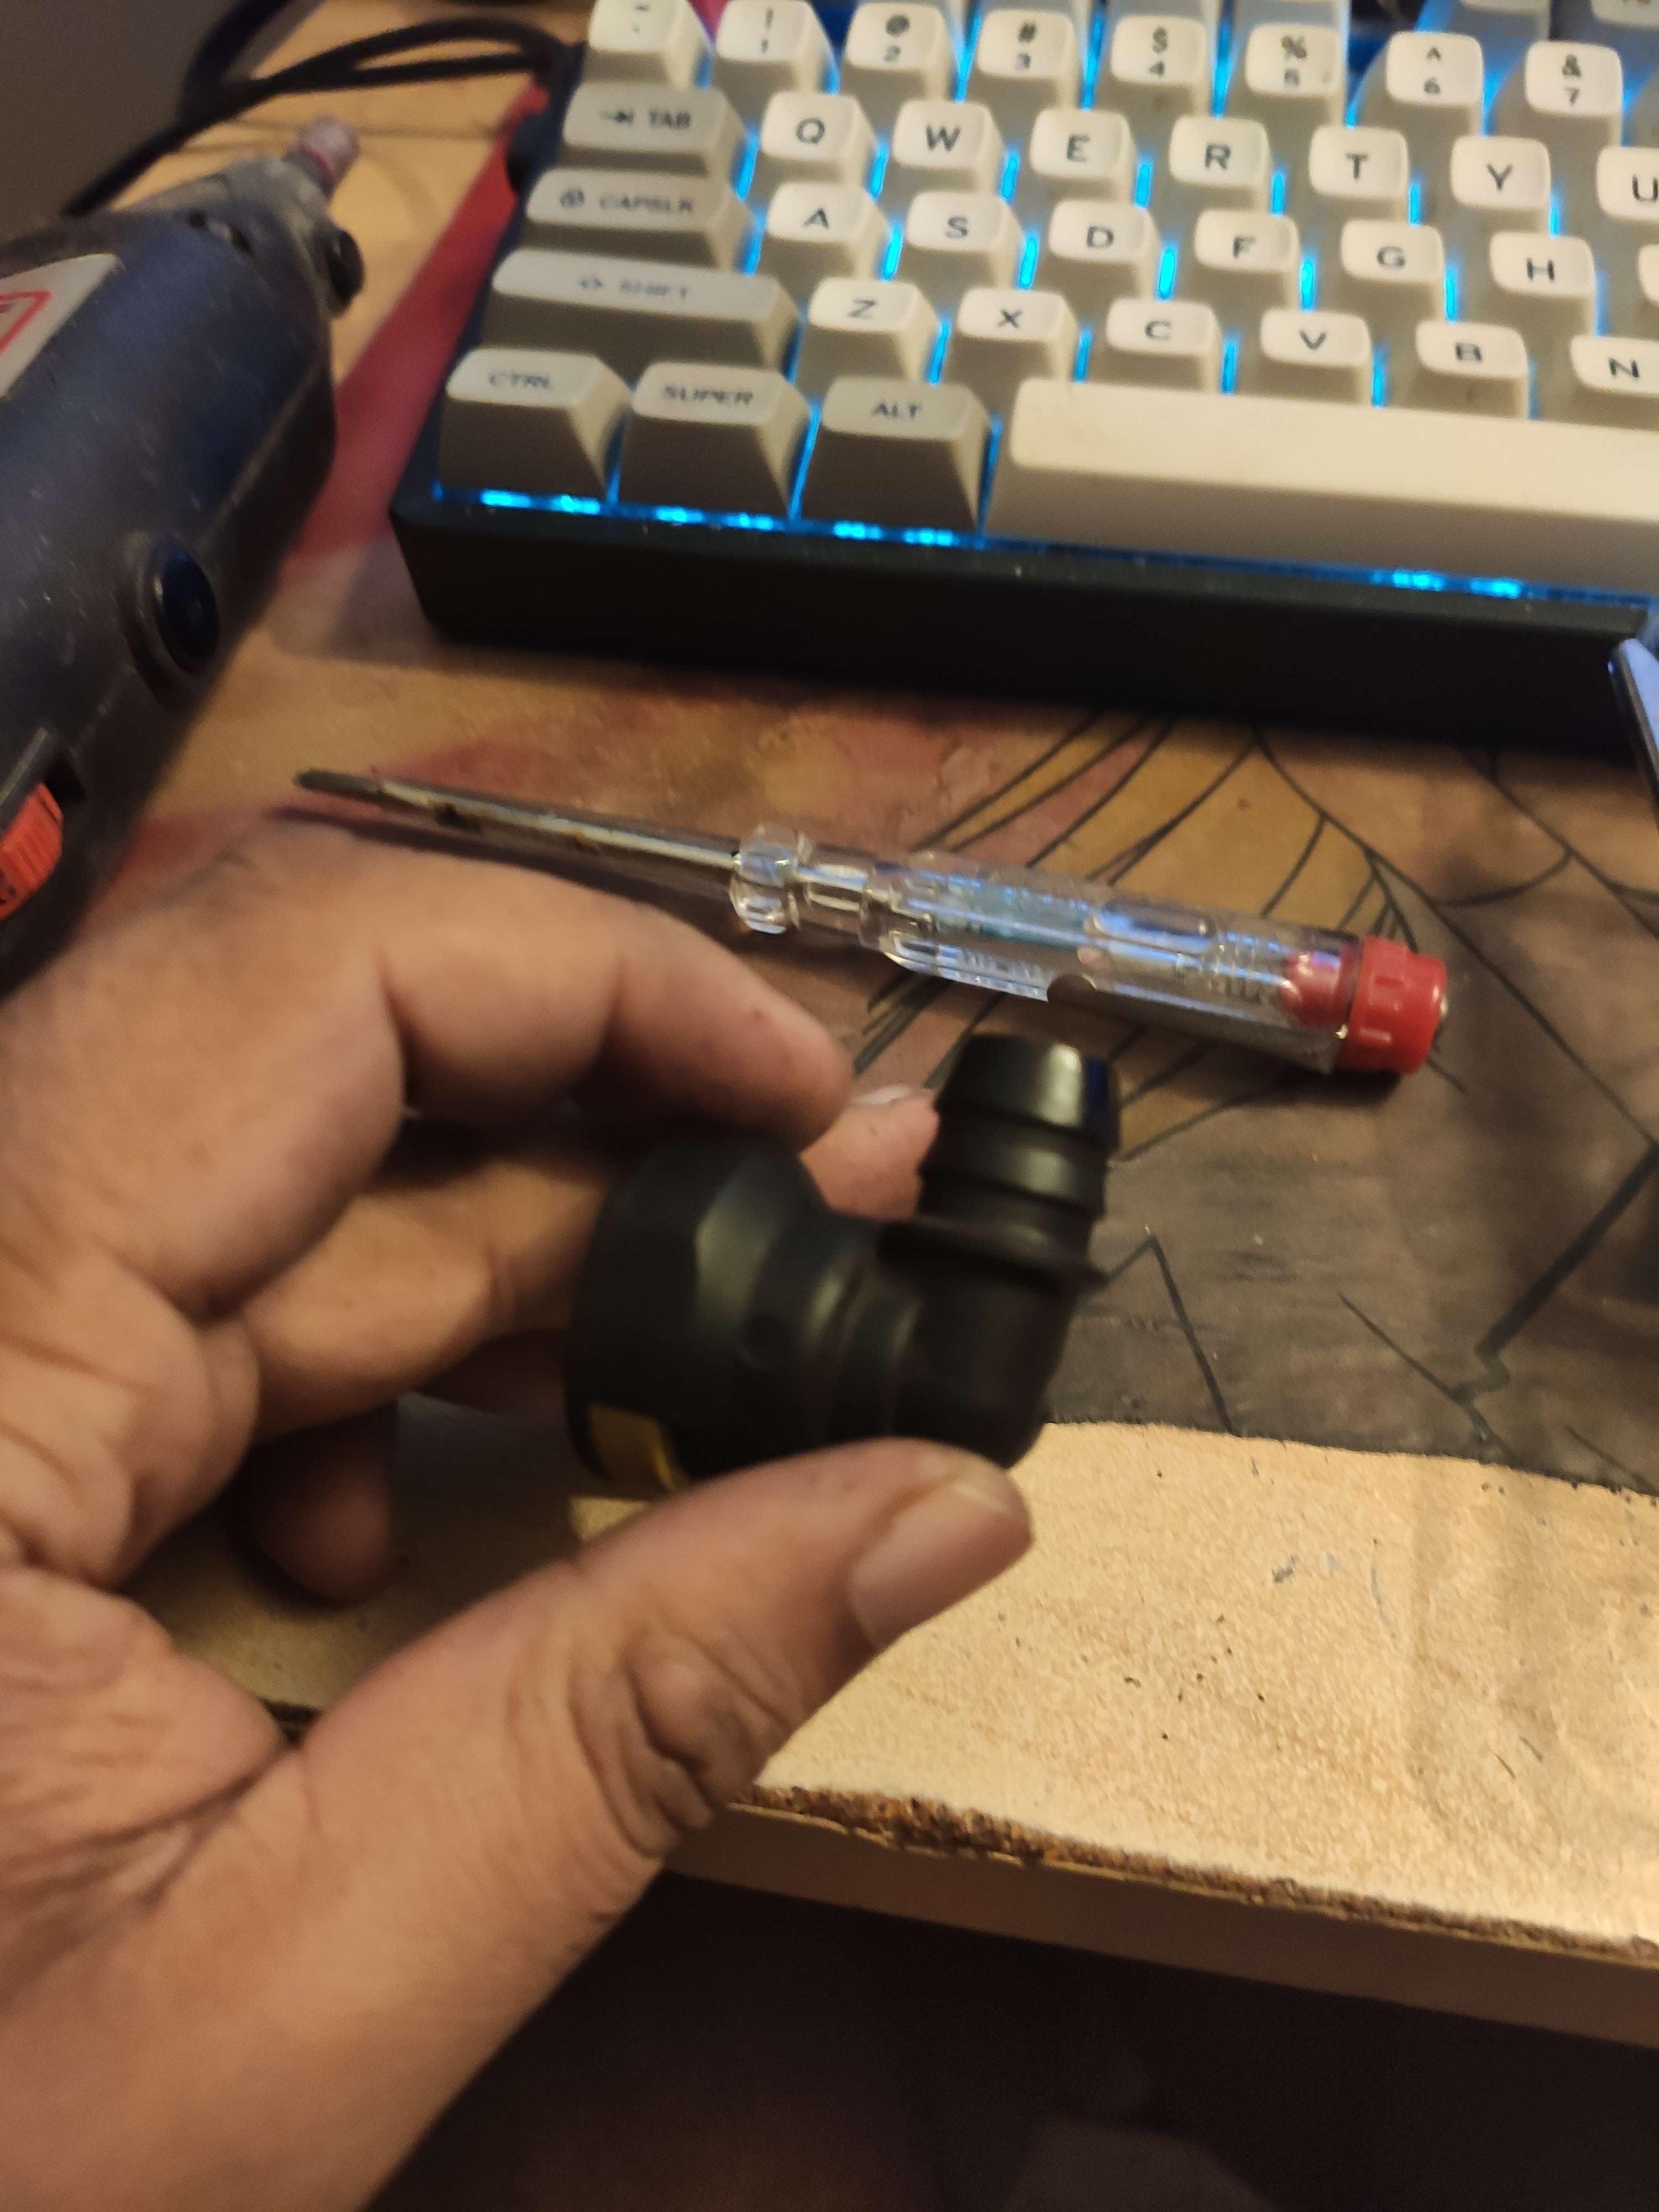
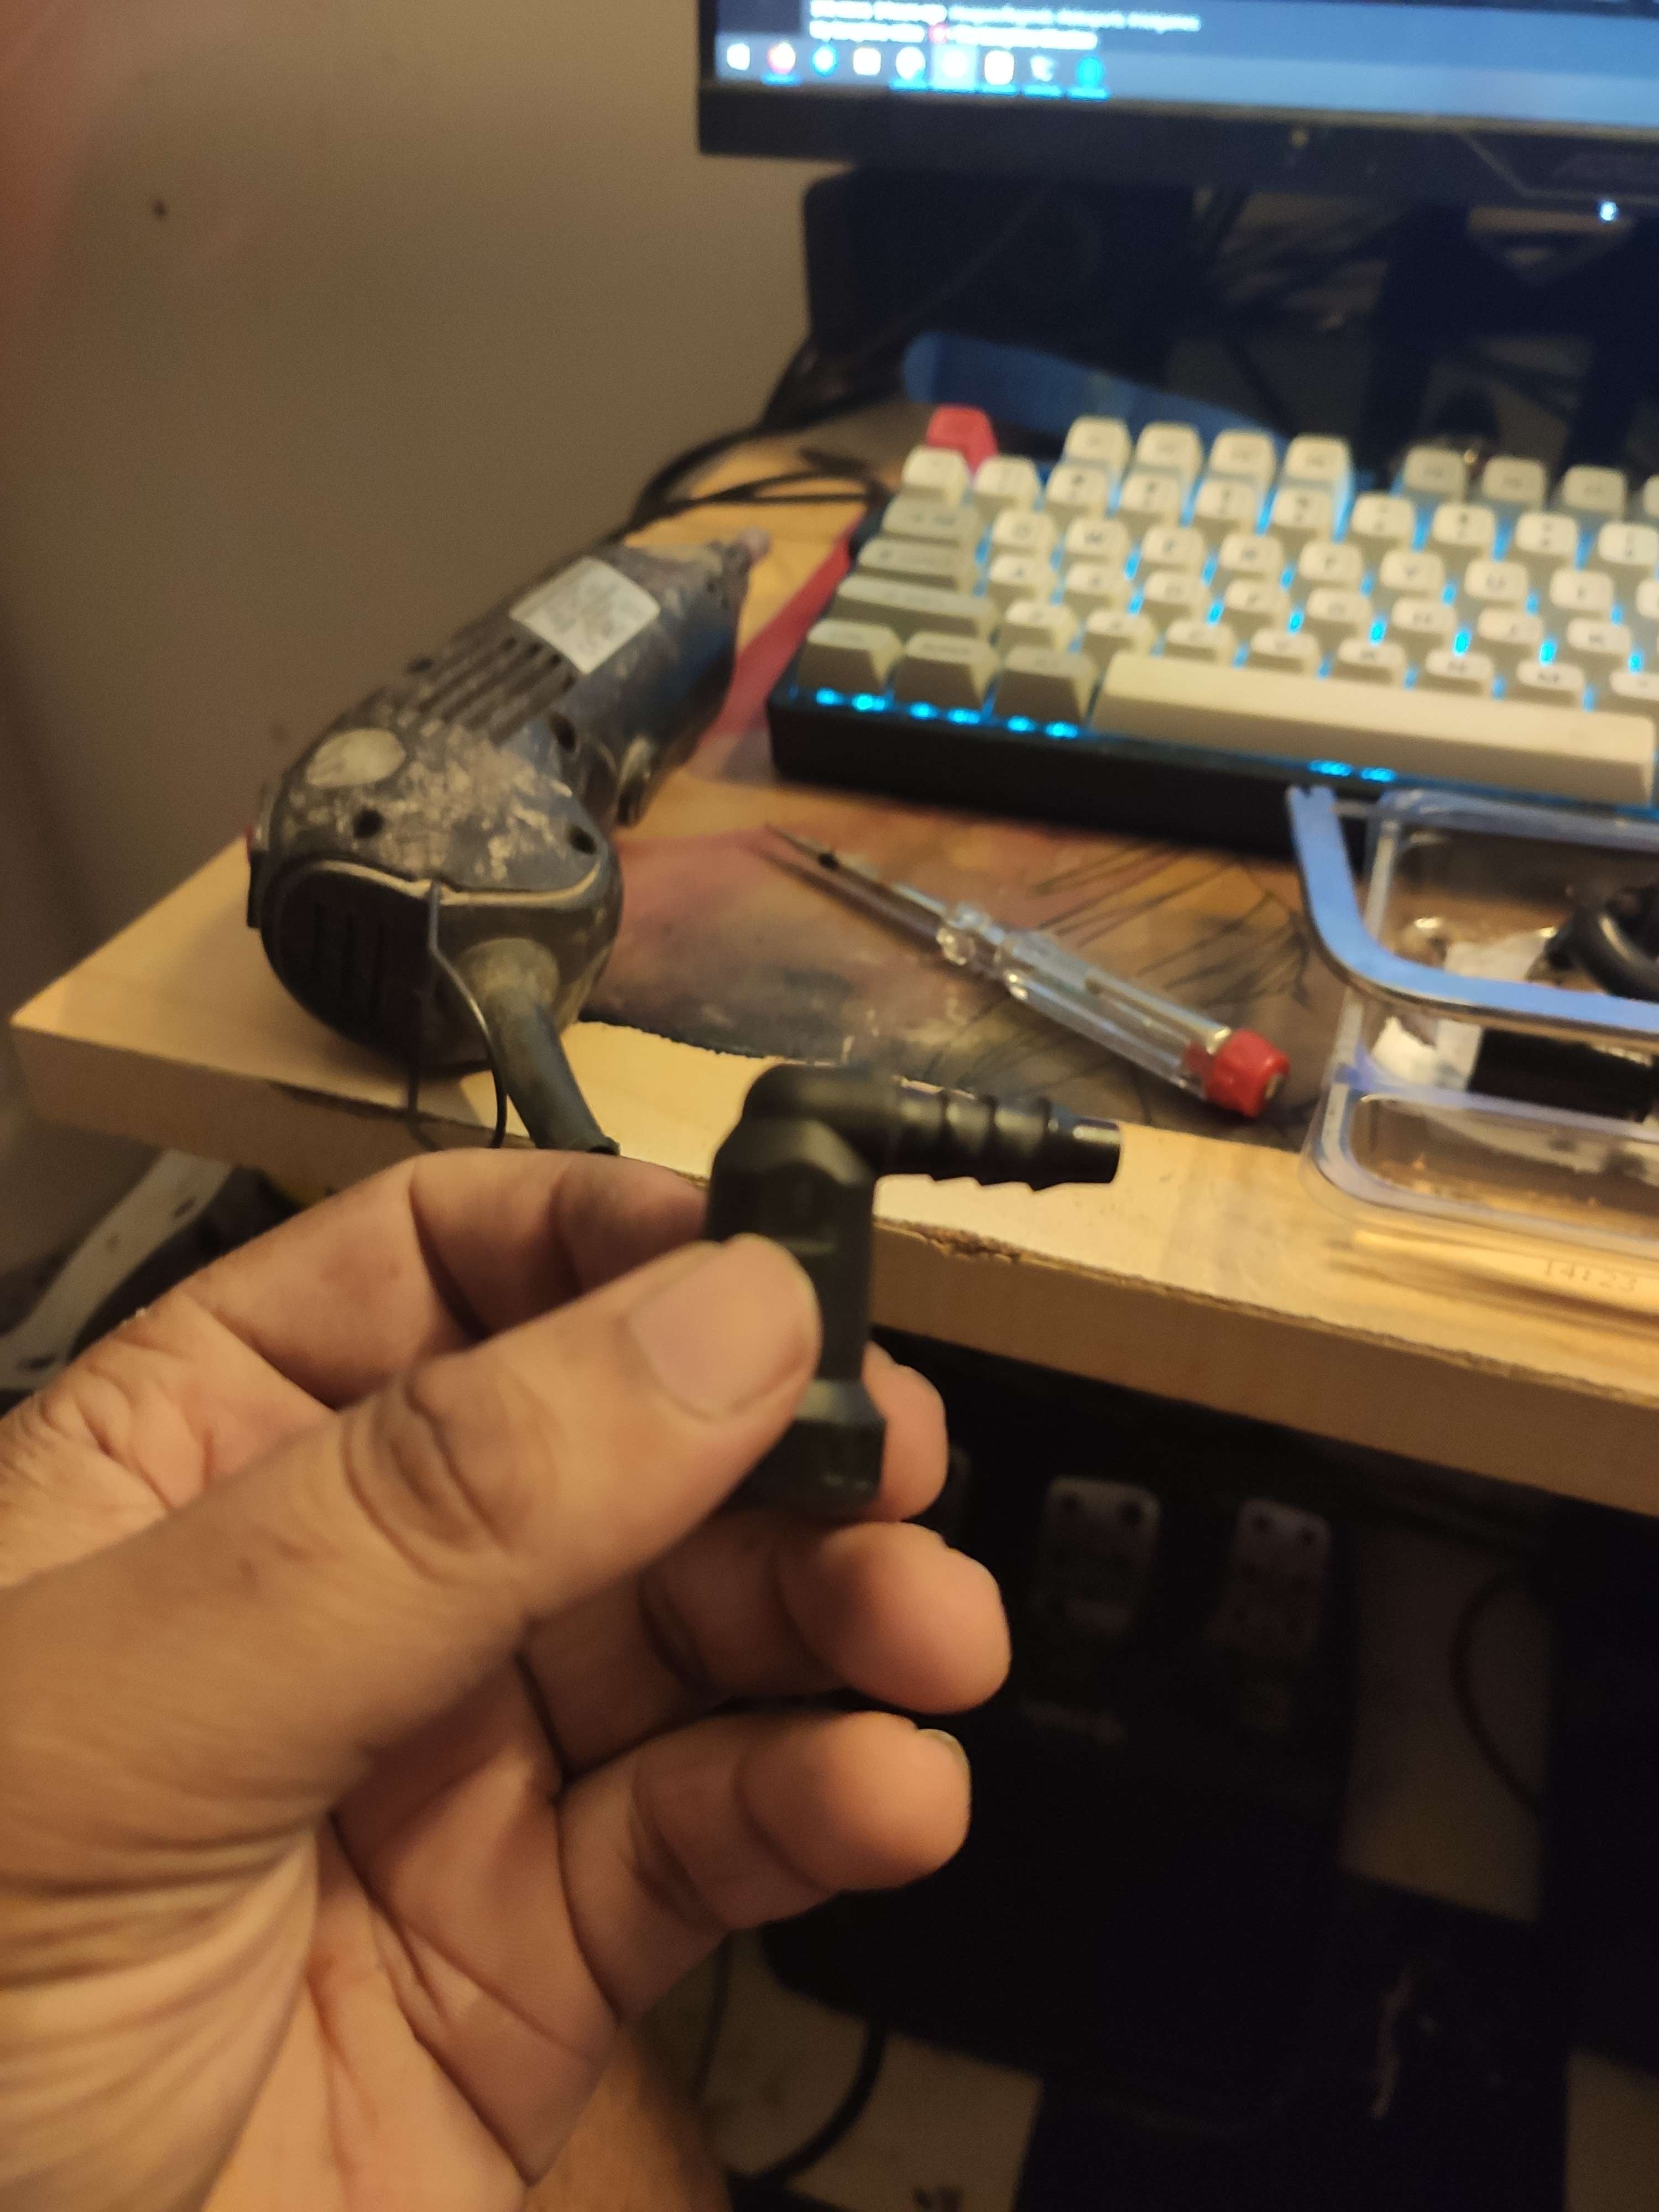
After I had freed the plugs, I needed to get the hosing to put it all together again.
So first, I needed to figure out the outer-diameter of the plugs (which will be the inner-diameter of the hosing).
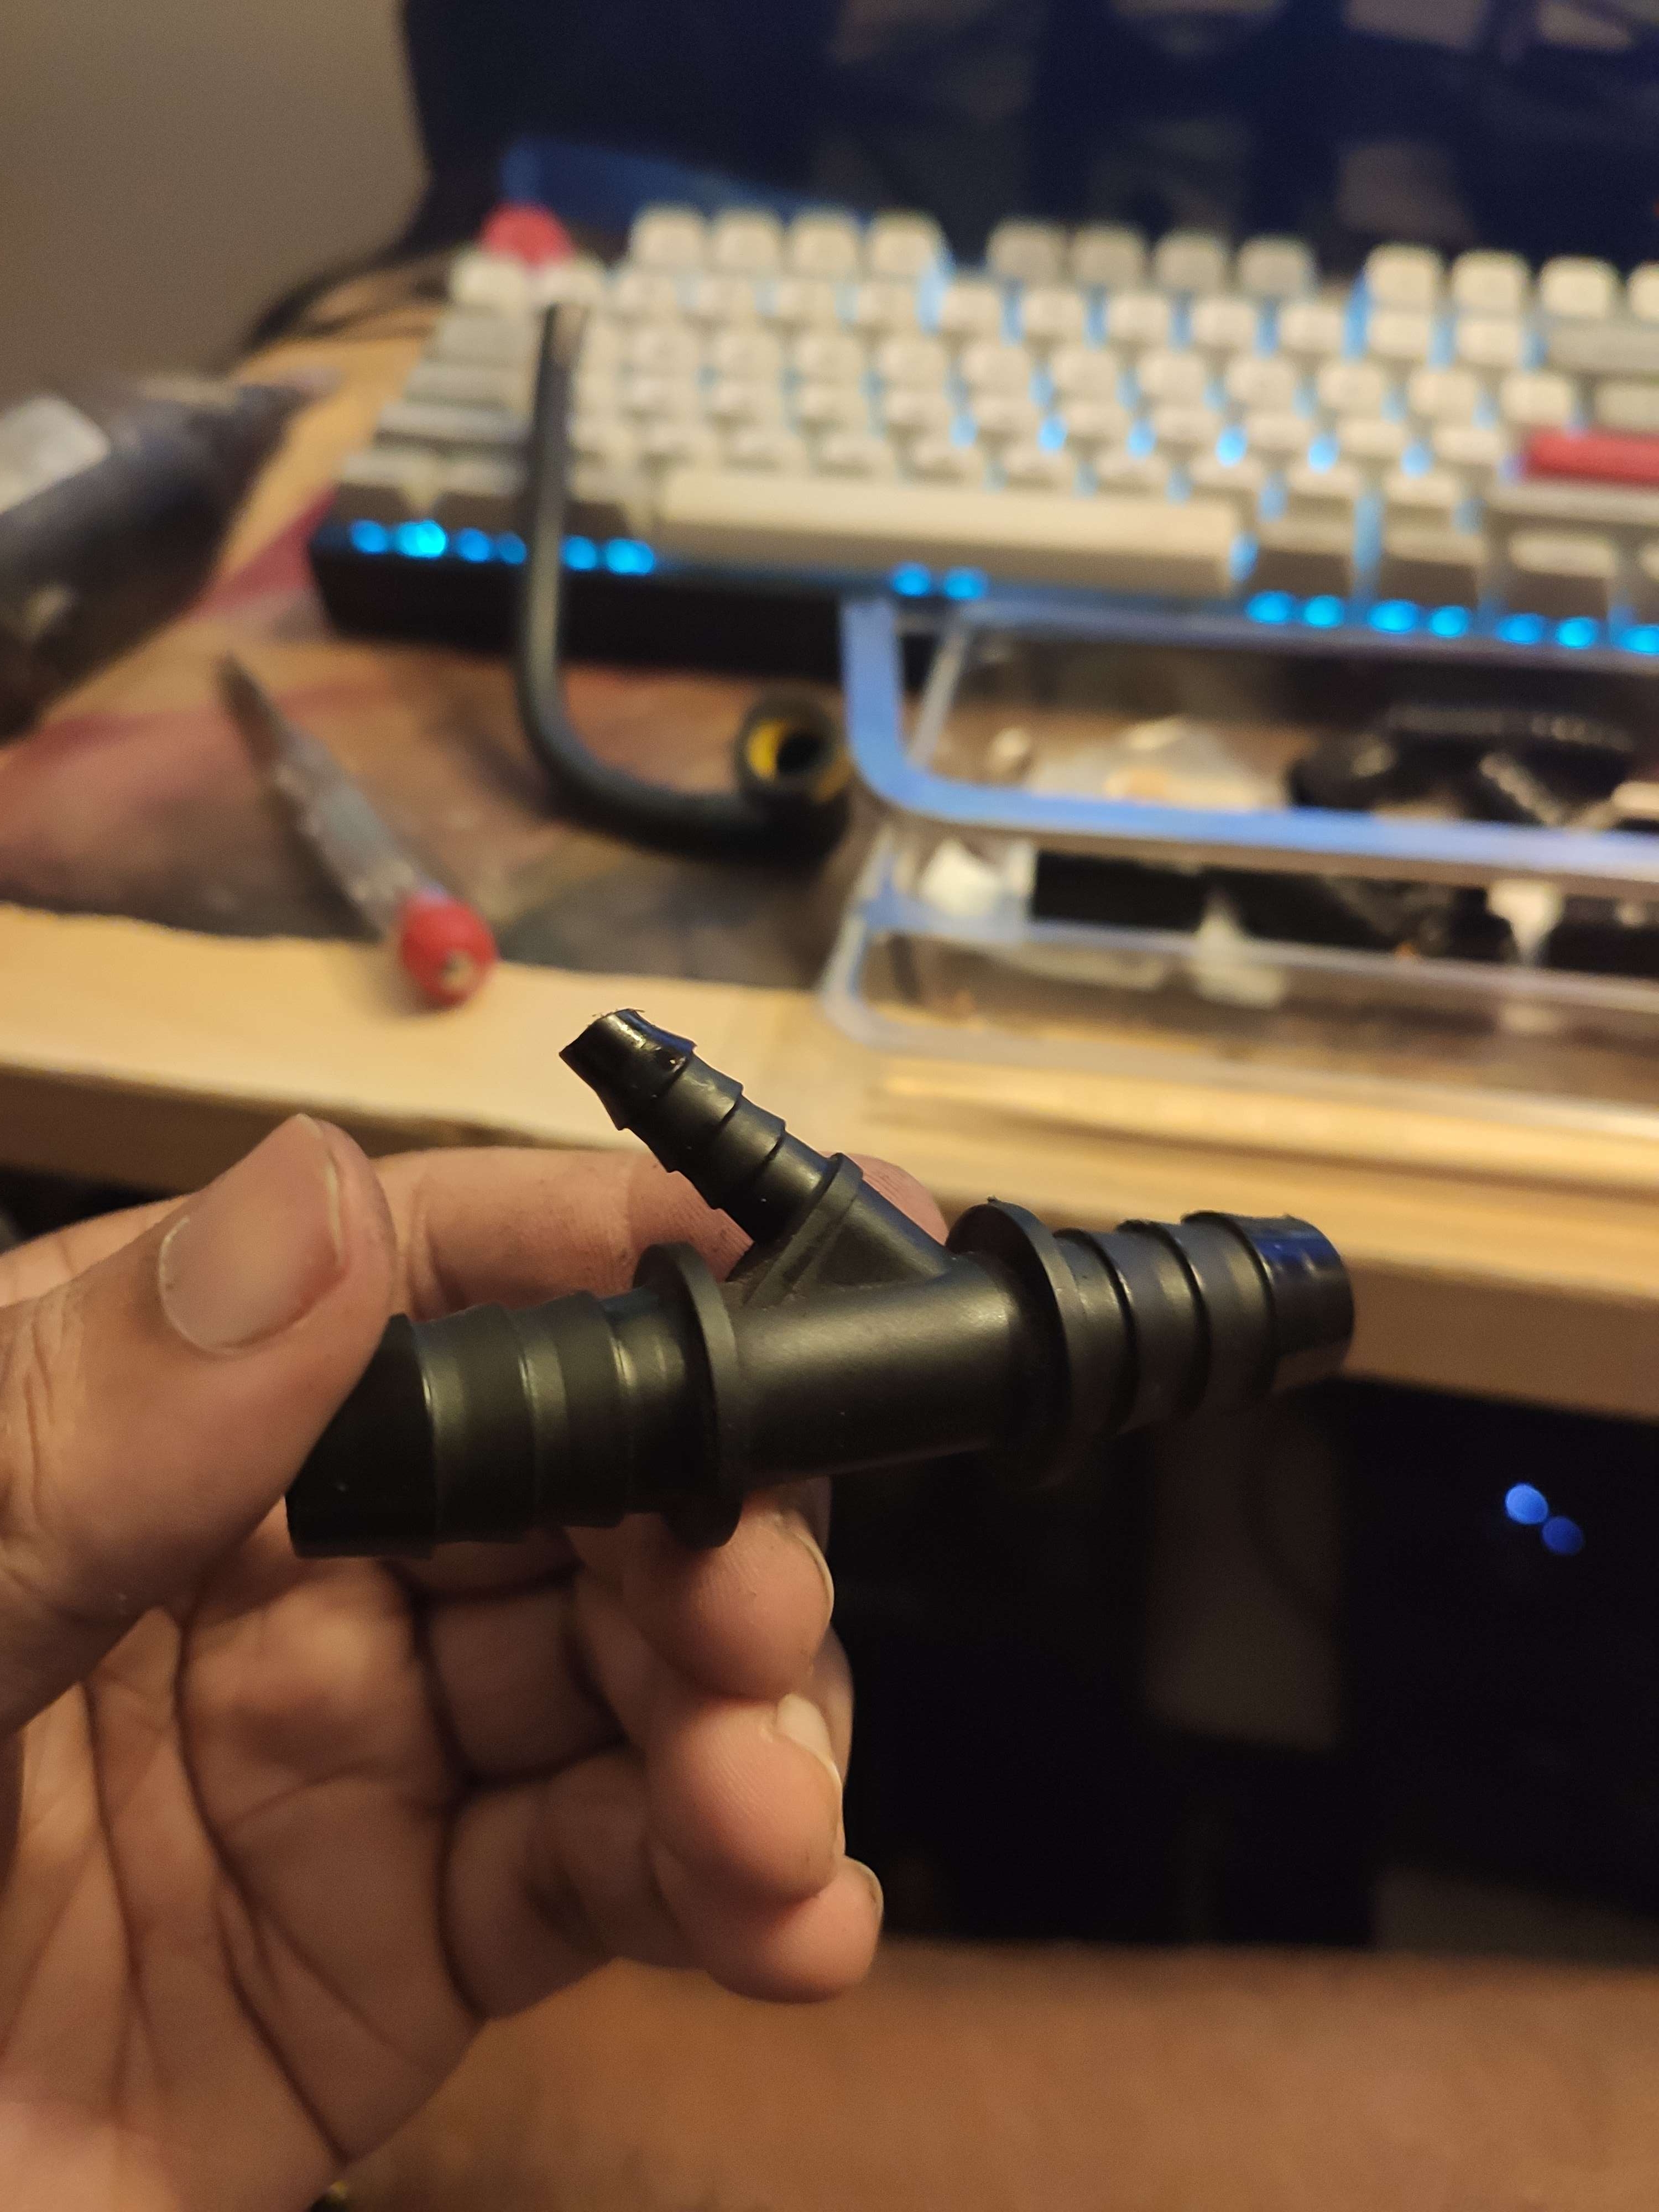
After some measuring, this is what I got:
-
T-split: 13mm + 7mm
-
Engine: 12mm
-
Before-tb: 12mm
-
After-tb: 7mm
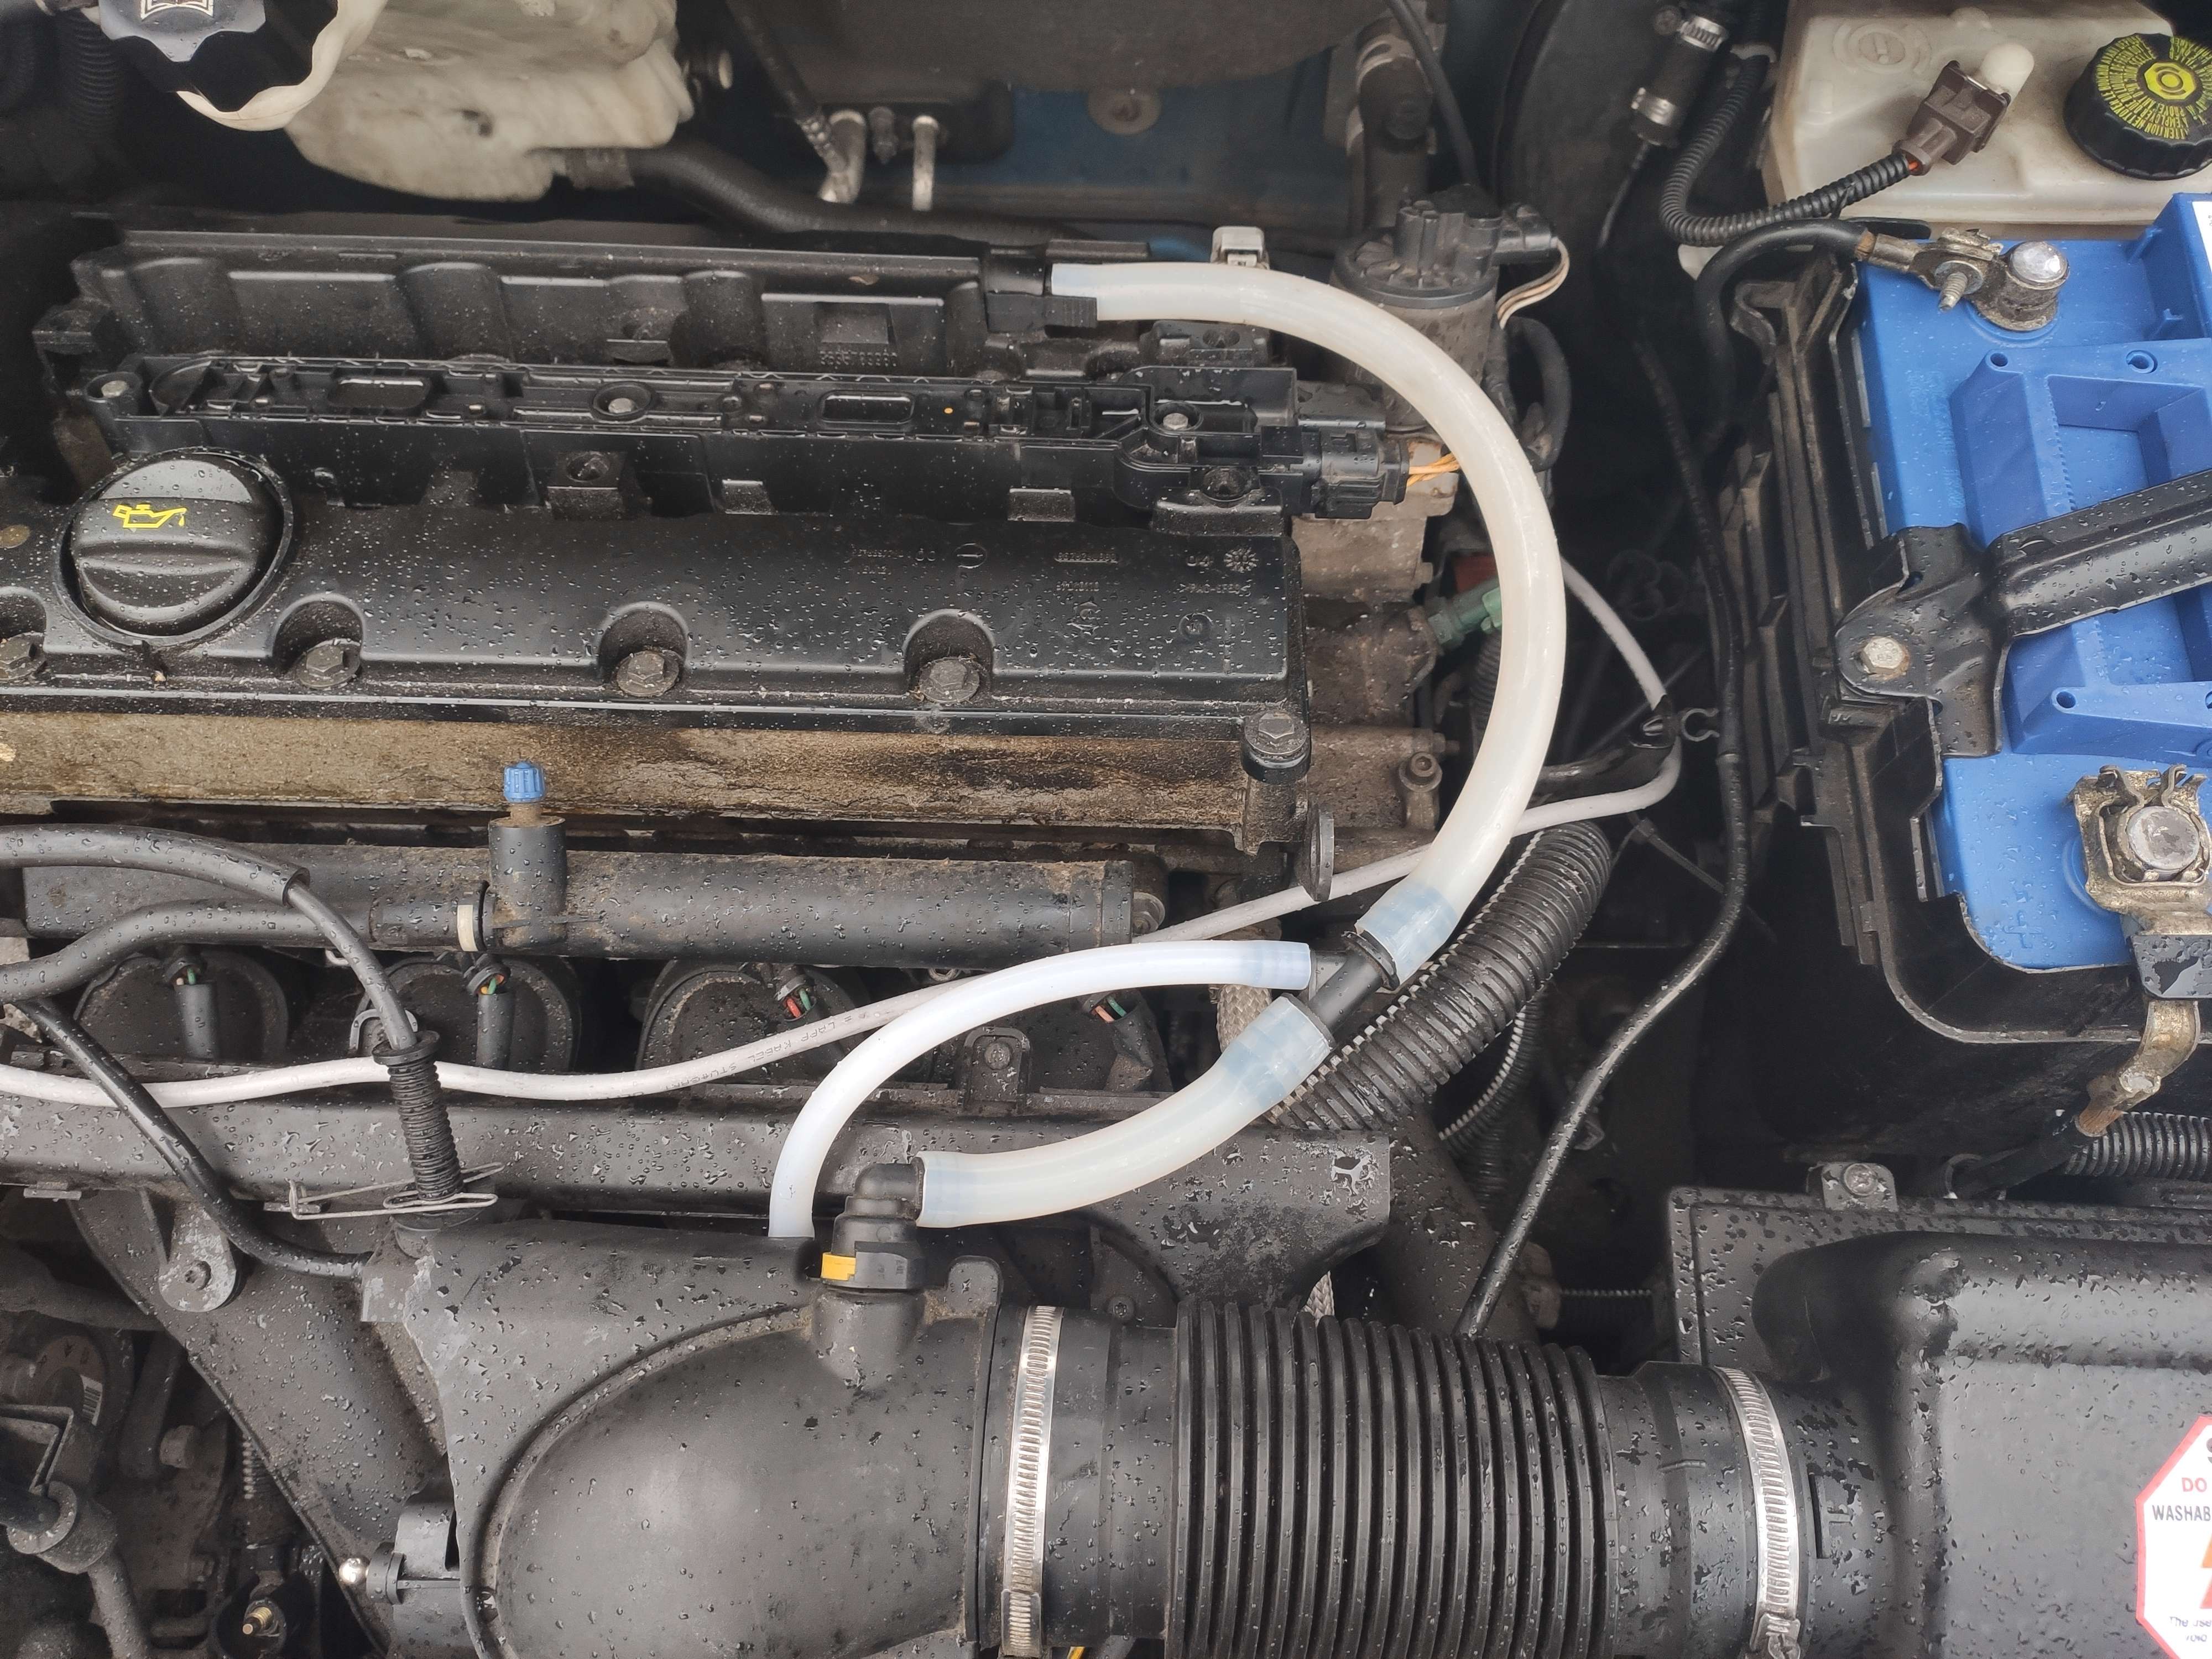
I then ordered some simple transparent silicone vacuum hosing.
Since there was no 7mm hosing, I instead opted for 6mm hosing.
I could have gone for some nice looking blue hosing instead but this would have doubled the price.
In the end, this costed me about 21 euro including shipping.
About 5 minutes of measuring and cutting later, we have a new PCV breather hose.
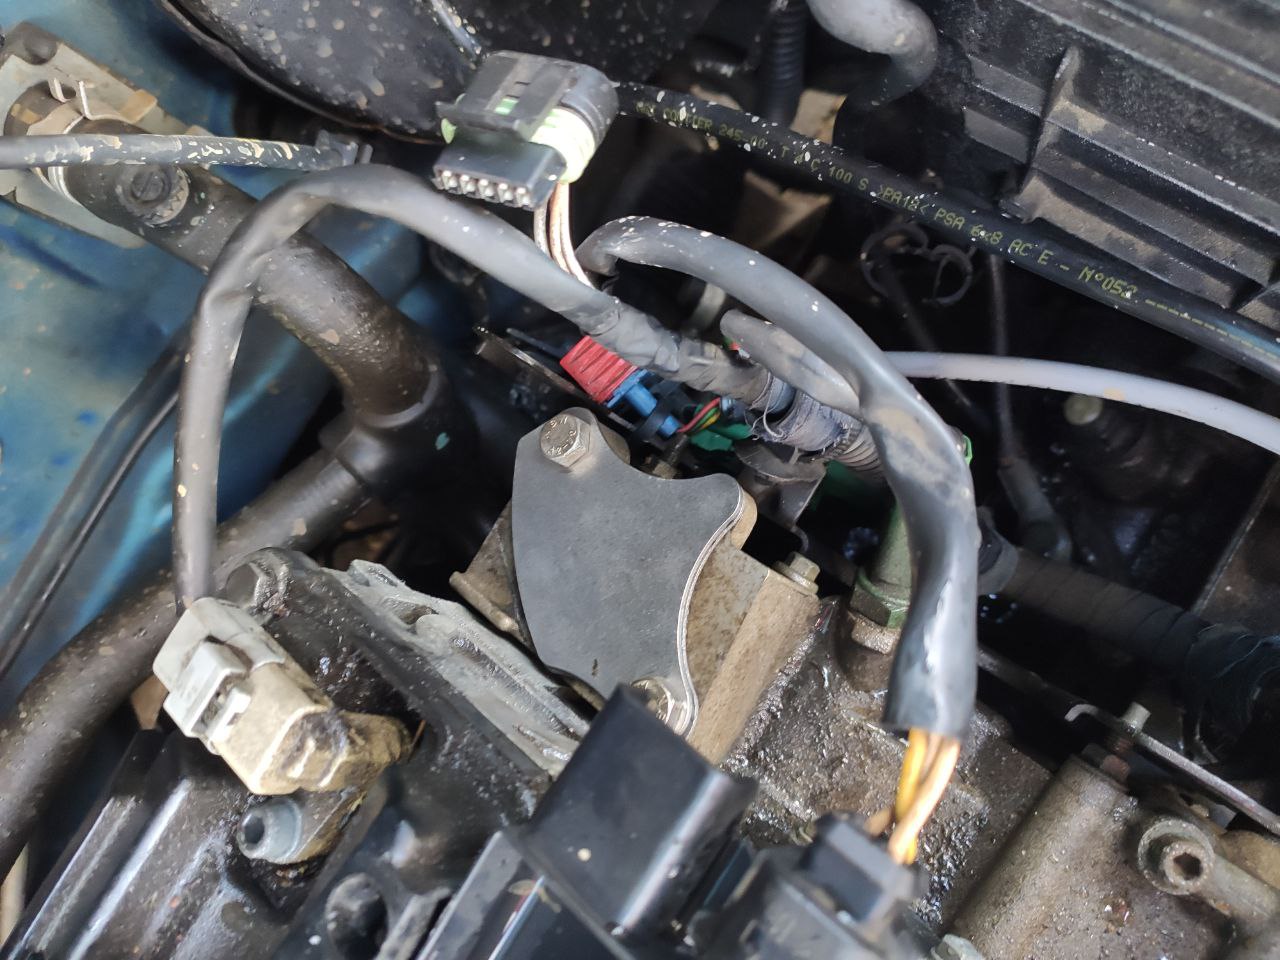
EGR blanking
Since the VEMS doesn’t control the EGR, the valve could be removed from the car.
The original valve is quite a hefty thing coming in at about a kilogram (guesstimate, not actually weighted) so this also saved some weight.
I ordered the valve from a Polish company called Tafmet since I do not have the means of making one myself.
On Tafmet’s website, they show it that you need to place it between the original EGR valve and the engine block, however, I found that using 2 shorter bolts (I do not know the diameter nor thread pitch out of my head) and leaving the EGR off completely worked like a charm.
I just need to find out what to do with the leftover wiring connector but that’s a problem for future me.
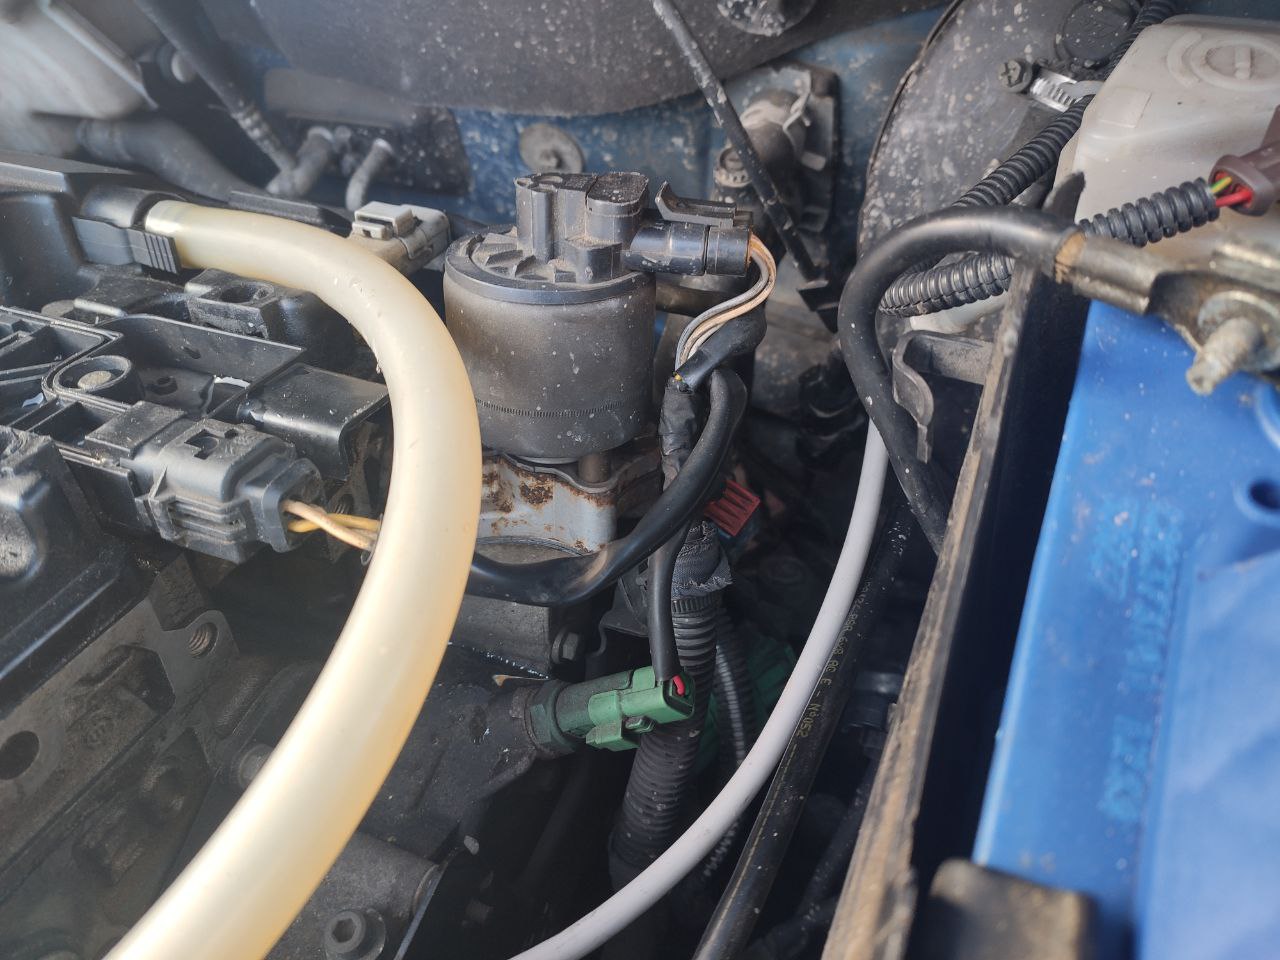
The blanking plate caused the car to make a "clicking" noise as load increased (eg. during accelerating).
This is caused by exhaust gasses probably forcing its way through, which would cause my car to fail MOT inspections.
As a result, I placed the old EGR valve back on top (which was in the actual "installation directions" from Tafmet) to see if this alleviates the problem.
If you decide to order the same blanking plates I have and want to save some weight, it may be advisable to order 2 of them to stack them.
Optionally, you may screw the coil off the "foot" to save some weight there.
For now, I’ve placed the entire assembly on it.
Griptape Mod
The weather in The Netherlands can be quite moist at times, especially during winter.
This causes my shoes to be wet and as a result, the rubber on my pedals.
While this is generally not an issue, I personally like to drive with the idea that if I need to undertake actions like braking or using the clutch, my feet don’t slip off.
Especially since I use heel-toe downshifting a lot this might be a nice peace of mind.
In order to fix this, I just went to my local skate shop to get 1m of griptape (you don’t need this much if this is all you’re gonna do, I just have extra plans).
This costed me about 8 euro, which definitely isn’t bad.
Just note that they may look a bit surprised when you say it is for your car. ;)
Additionally, this is not a "permanent" thing.
Just like the rubber, the griptape will wear down over time and need replacement.
Additionally, it will cause more wear on the soles of your shoes.
This is not an issue for me, however, may not be desirable if you drive with dress shoes.
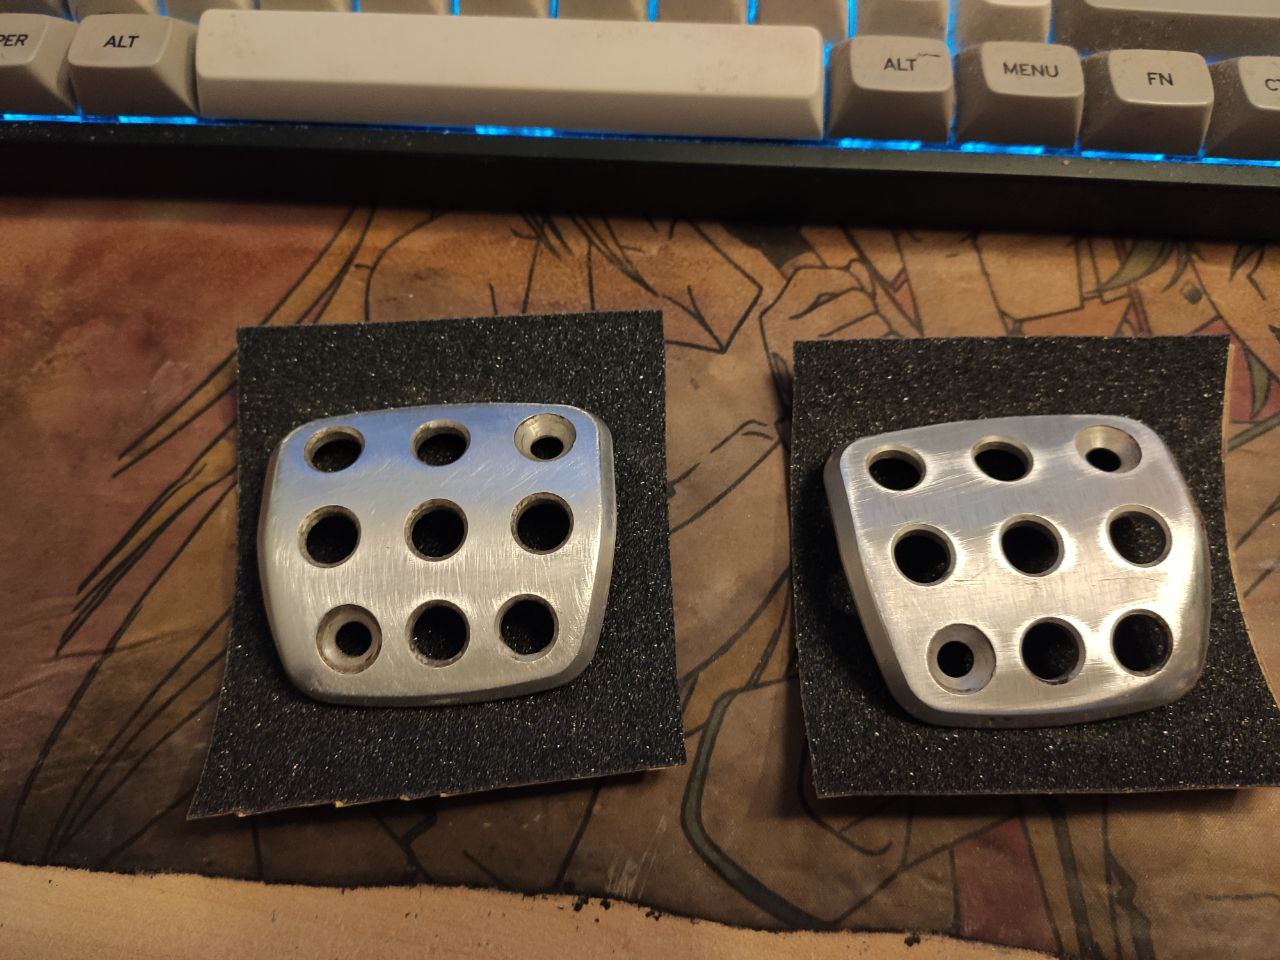
After you’ve acquired your griptape of choice, take off your pedals, you will need a T25 and an 8mm hex wrench.

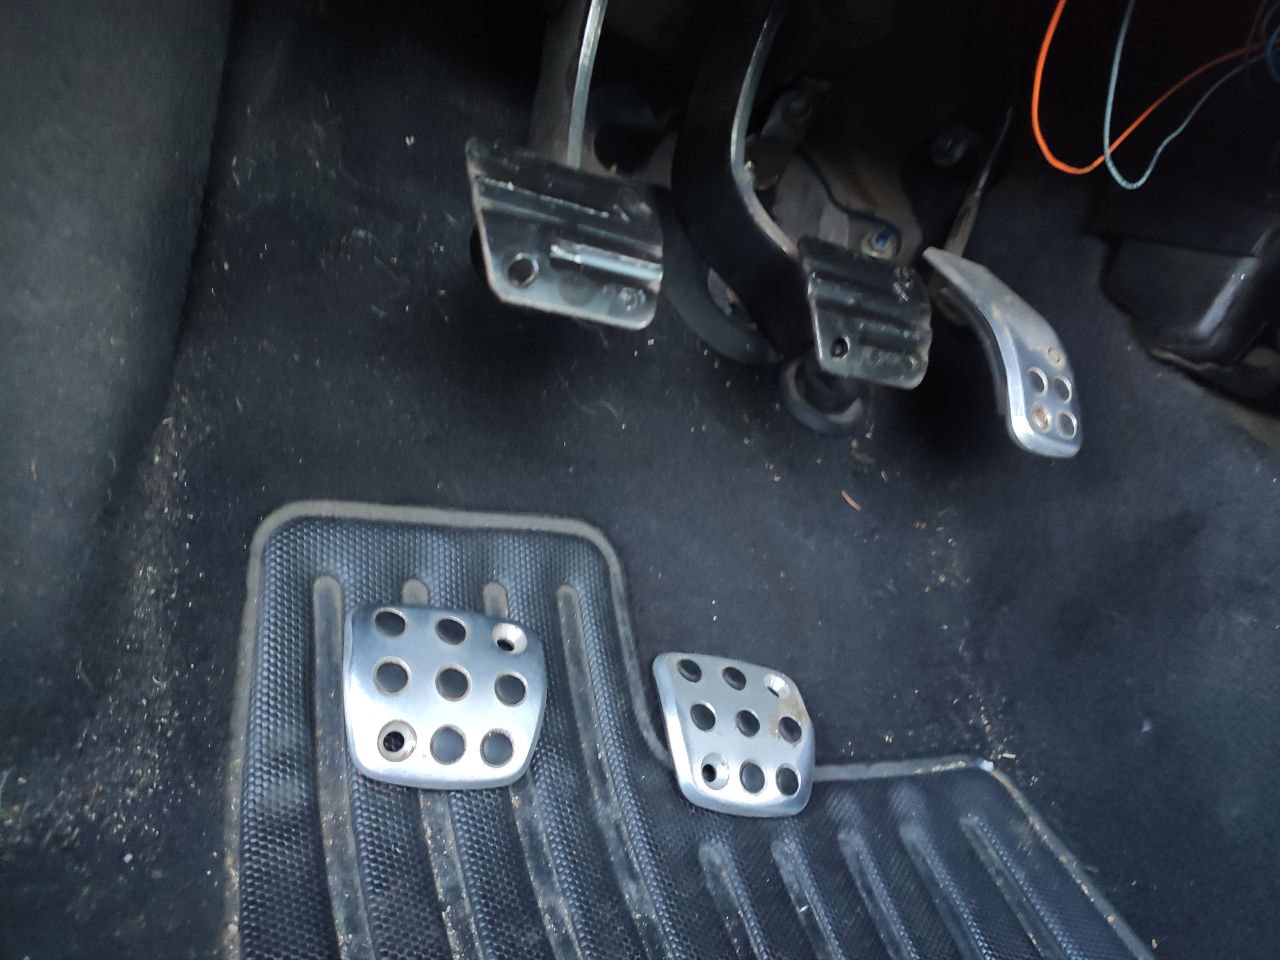
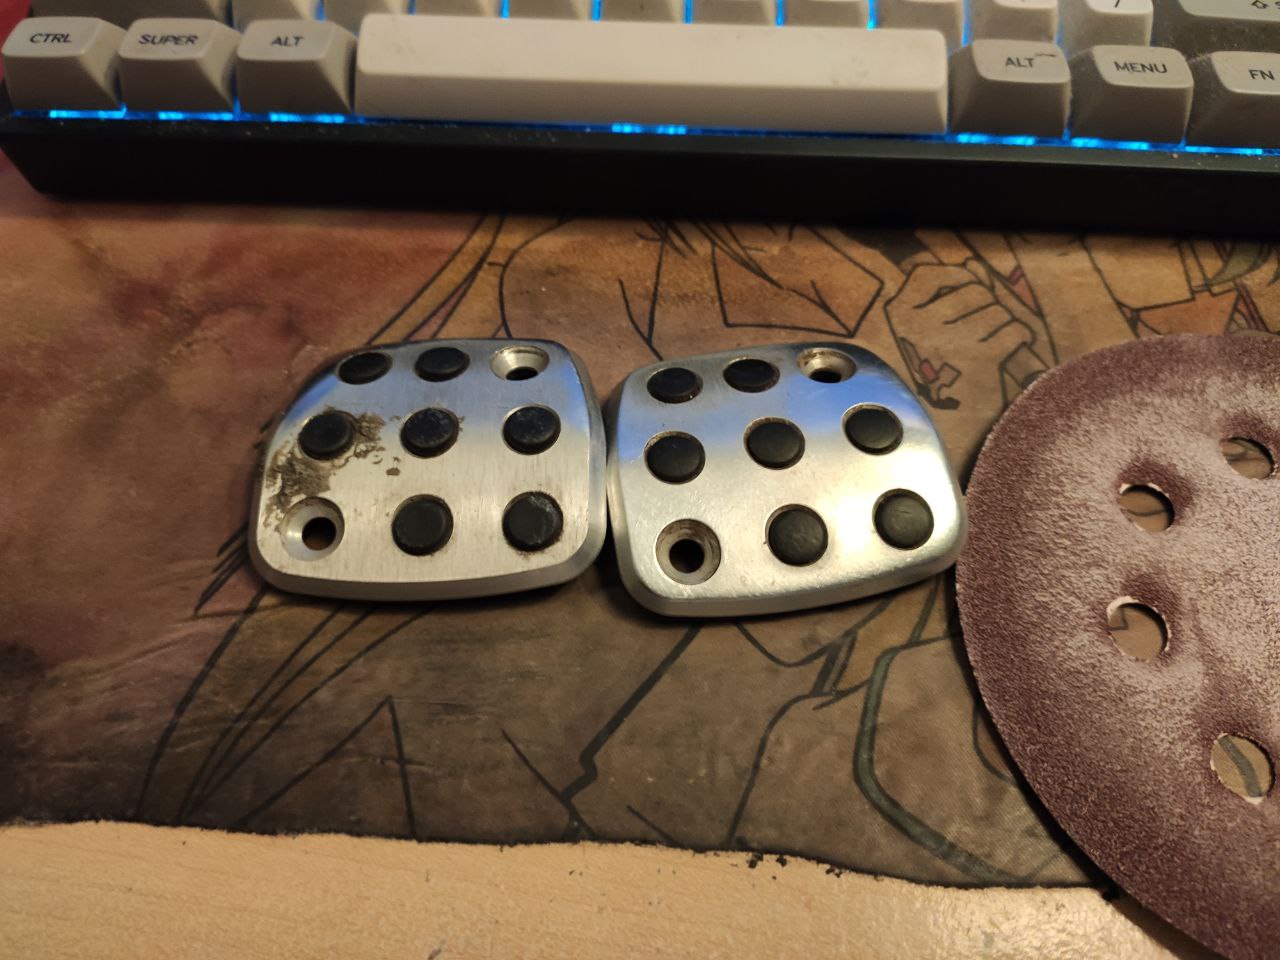
Once you’ve taken them off, remove the old rubber.
This is completely optional, however, I just did it.
In hindsight, you might want to leave it on so dirt won’t get in from behind and loosen the griptape.
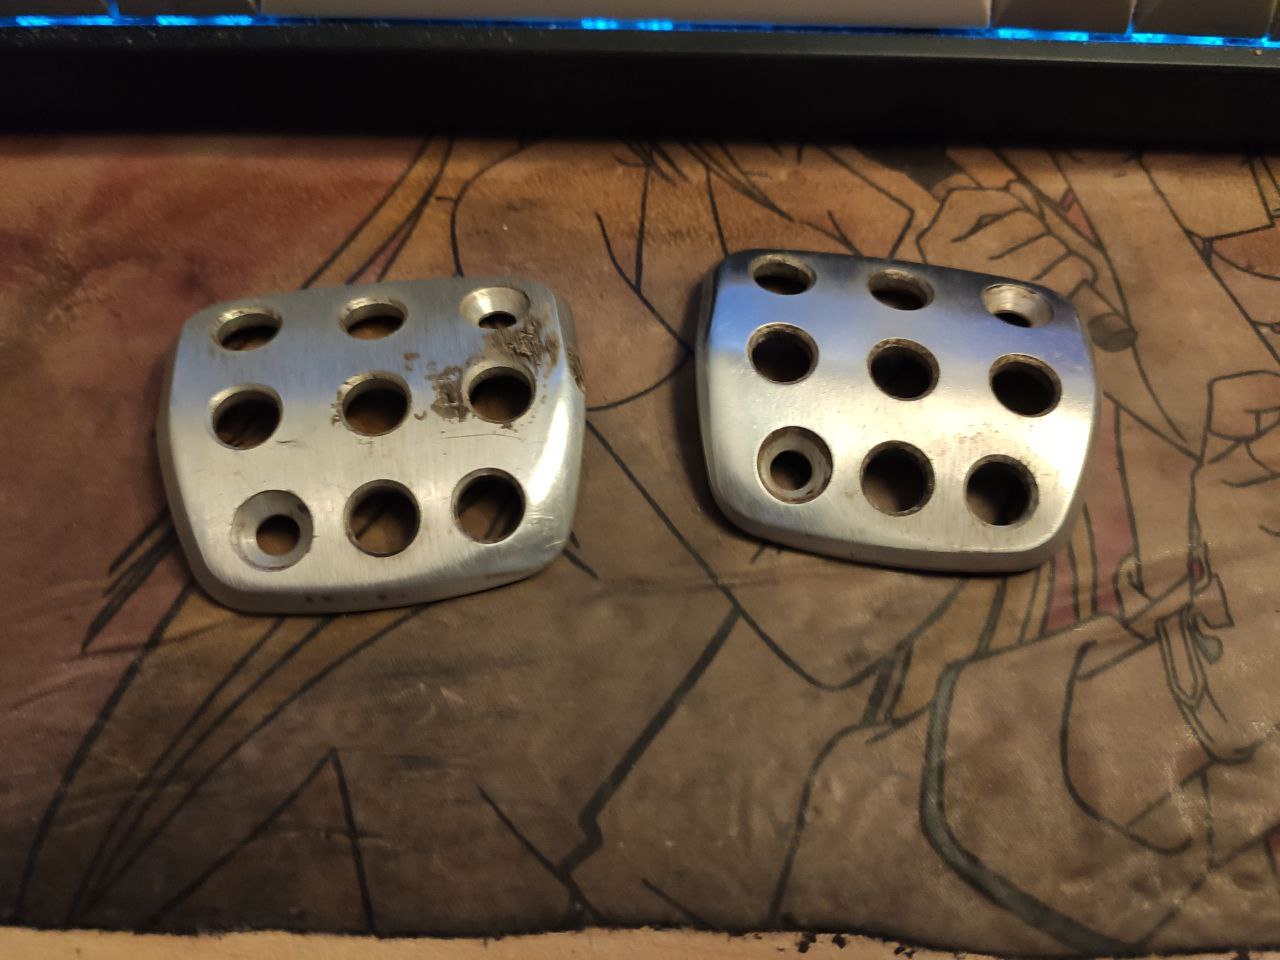
Once that is done, use some coarse sandpaper to get rid of the dirt and give the griptape something to grip onto.
Then, wipe it down with some rubbing alcohol to remove any oils and metal dust.
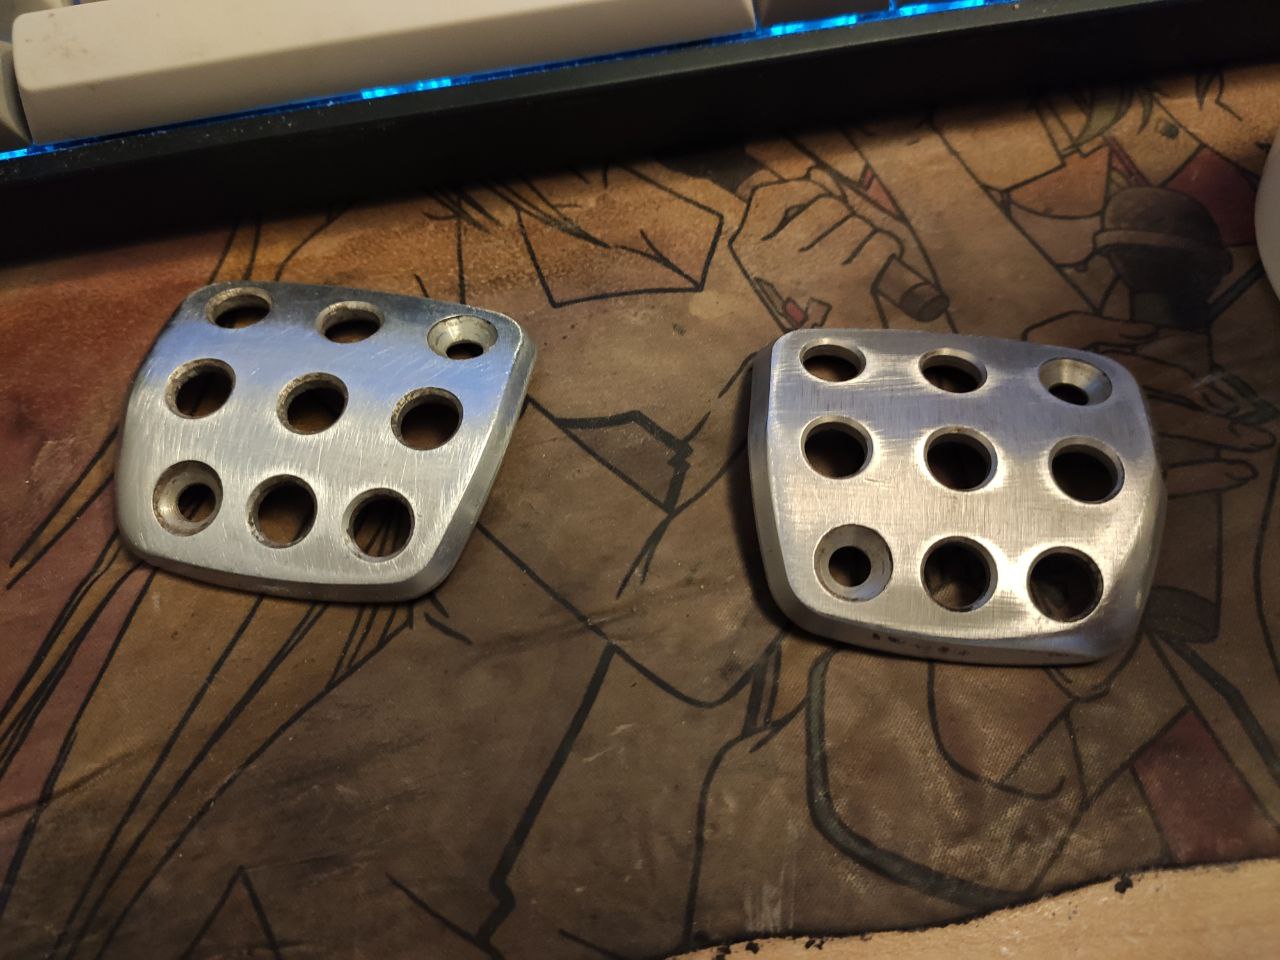
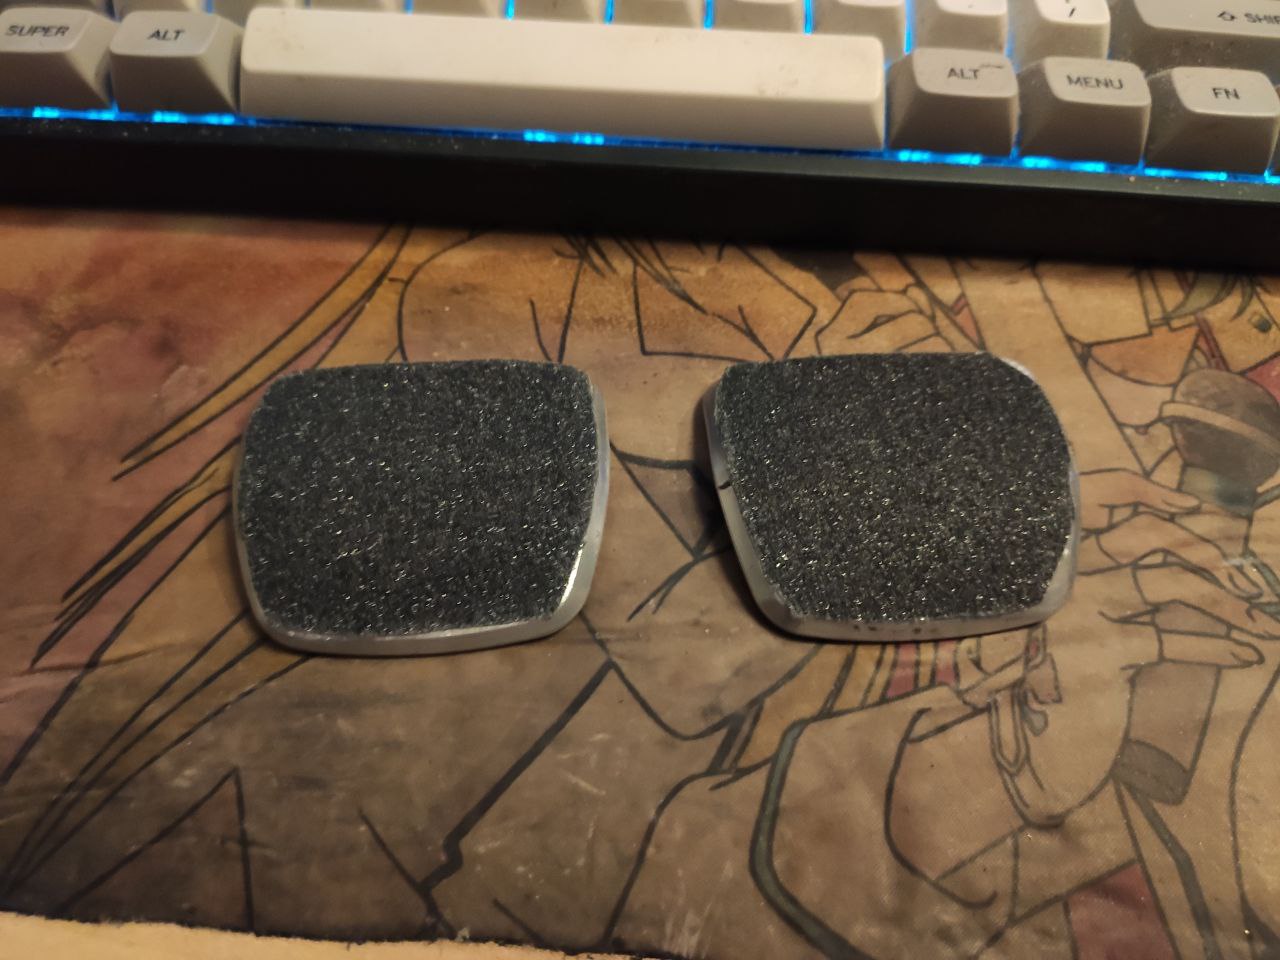
Cut up two squares of grip tape bigger than your pedals.
Then apply them and trim as needed, or trim as needed then apply, whichever you prefer.
Just make sure to leave as little overhang that may snatch and tear off the griptape.
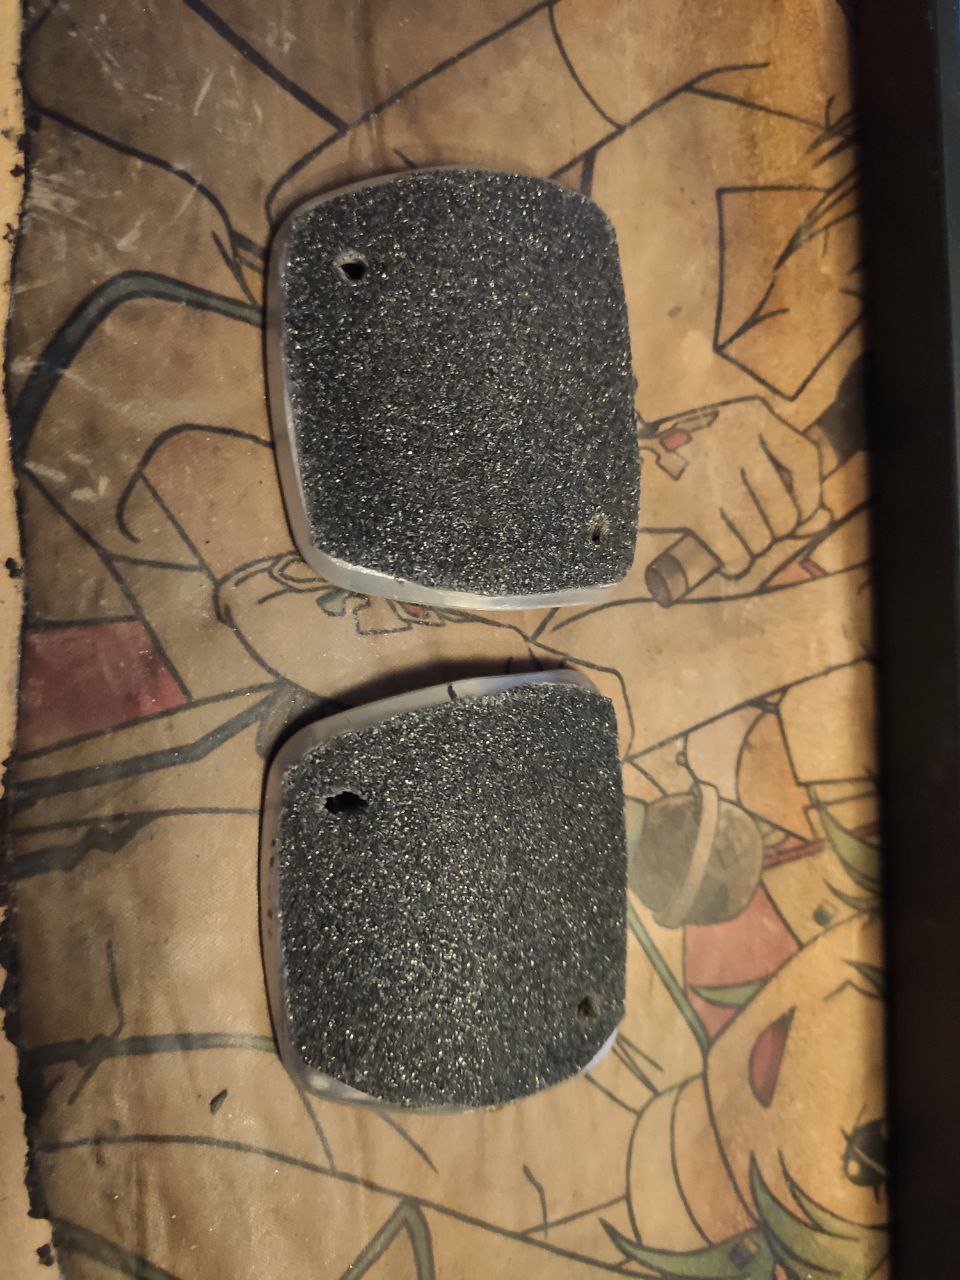
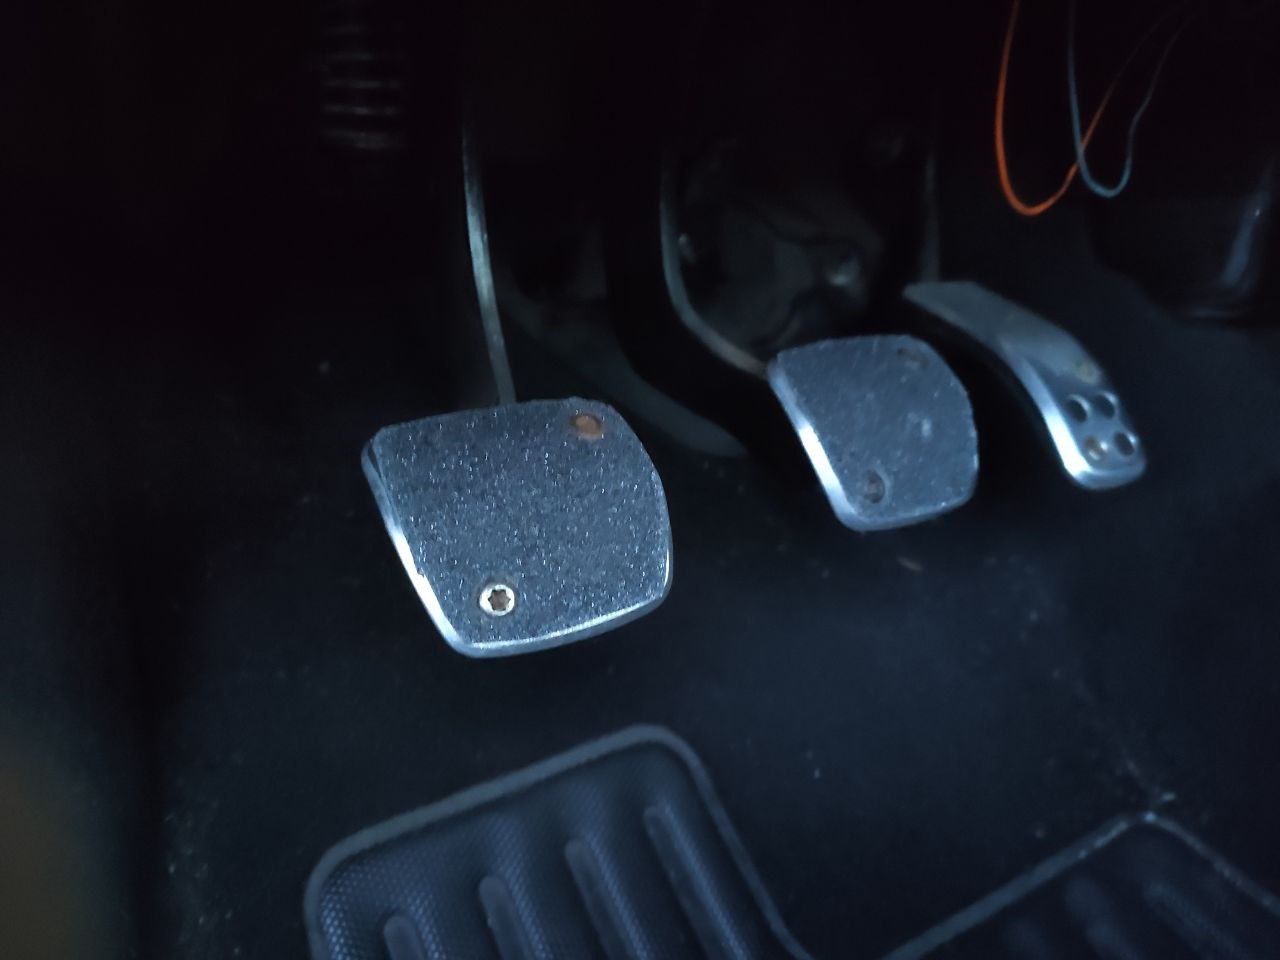
Poke some holes where the screw will go through and screw the pedals back on.
That’s it, no more slippy feet!
Exhaust
My exhaust was due for some change as during the last MOT, it was made clear that it would not be fixable when it inevitably would start leaking again.
While driving from a meeting to home, my exhaust actually fell off (mid-pipe slid of the cat) and I couldn’t put it back on myself (I do not have a jack in my car).
After almost two hours of waiting for the road-side service, they put it back on and give it kind of a band-aid fix.
As it now was hanging lower than usual, the man gave me the advice to replace it.
Since I wanted to have a custom exhaust made anyways, I decided that it would be more sane to just go for that right now, rather than get one from the junkyard and then later get a custom one.
And so, after some looking around, I made an appointment with RA-Performance and they had a new exhaust made.
The cost was 785 euro for a cat-back system made of stainless steel with a single damper at the end.
Here’s what the results sound like (sadly, I forgot to record the before so I can’t do a comparison).
That’s glorious, I hope the cops won’t start whining because I did not test the sound levels.
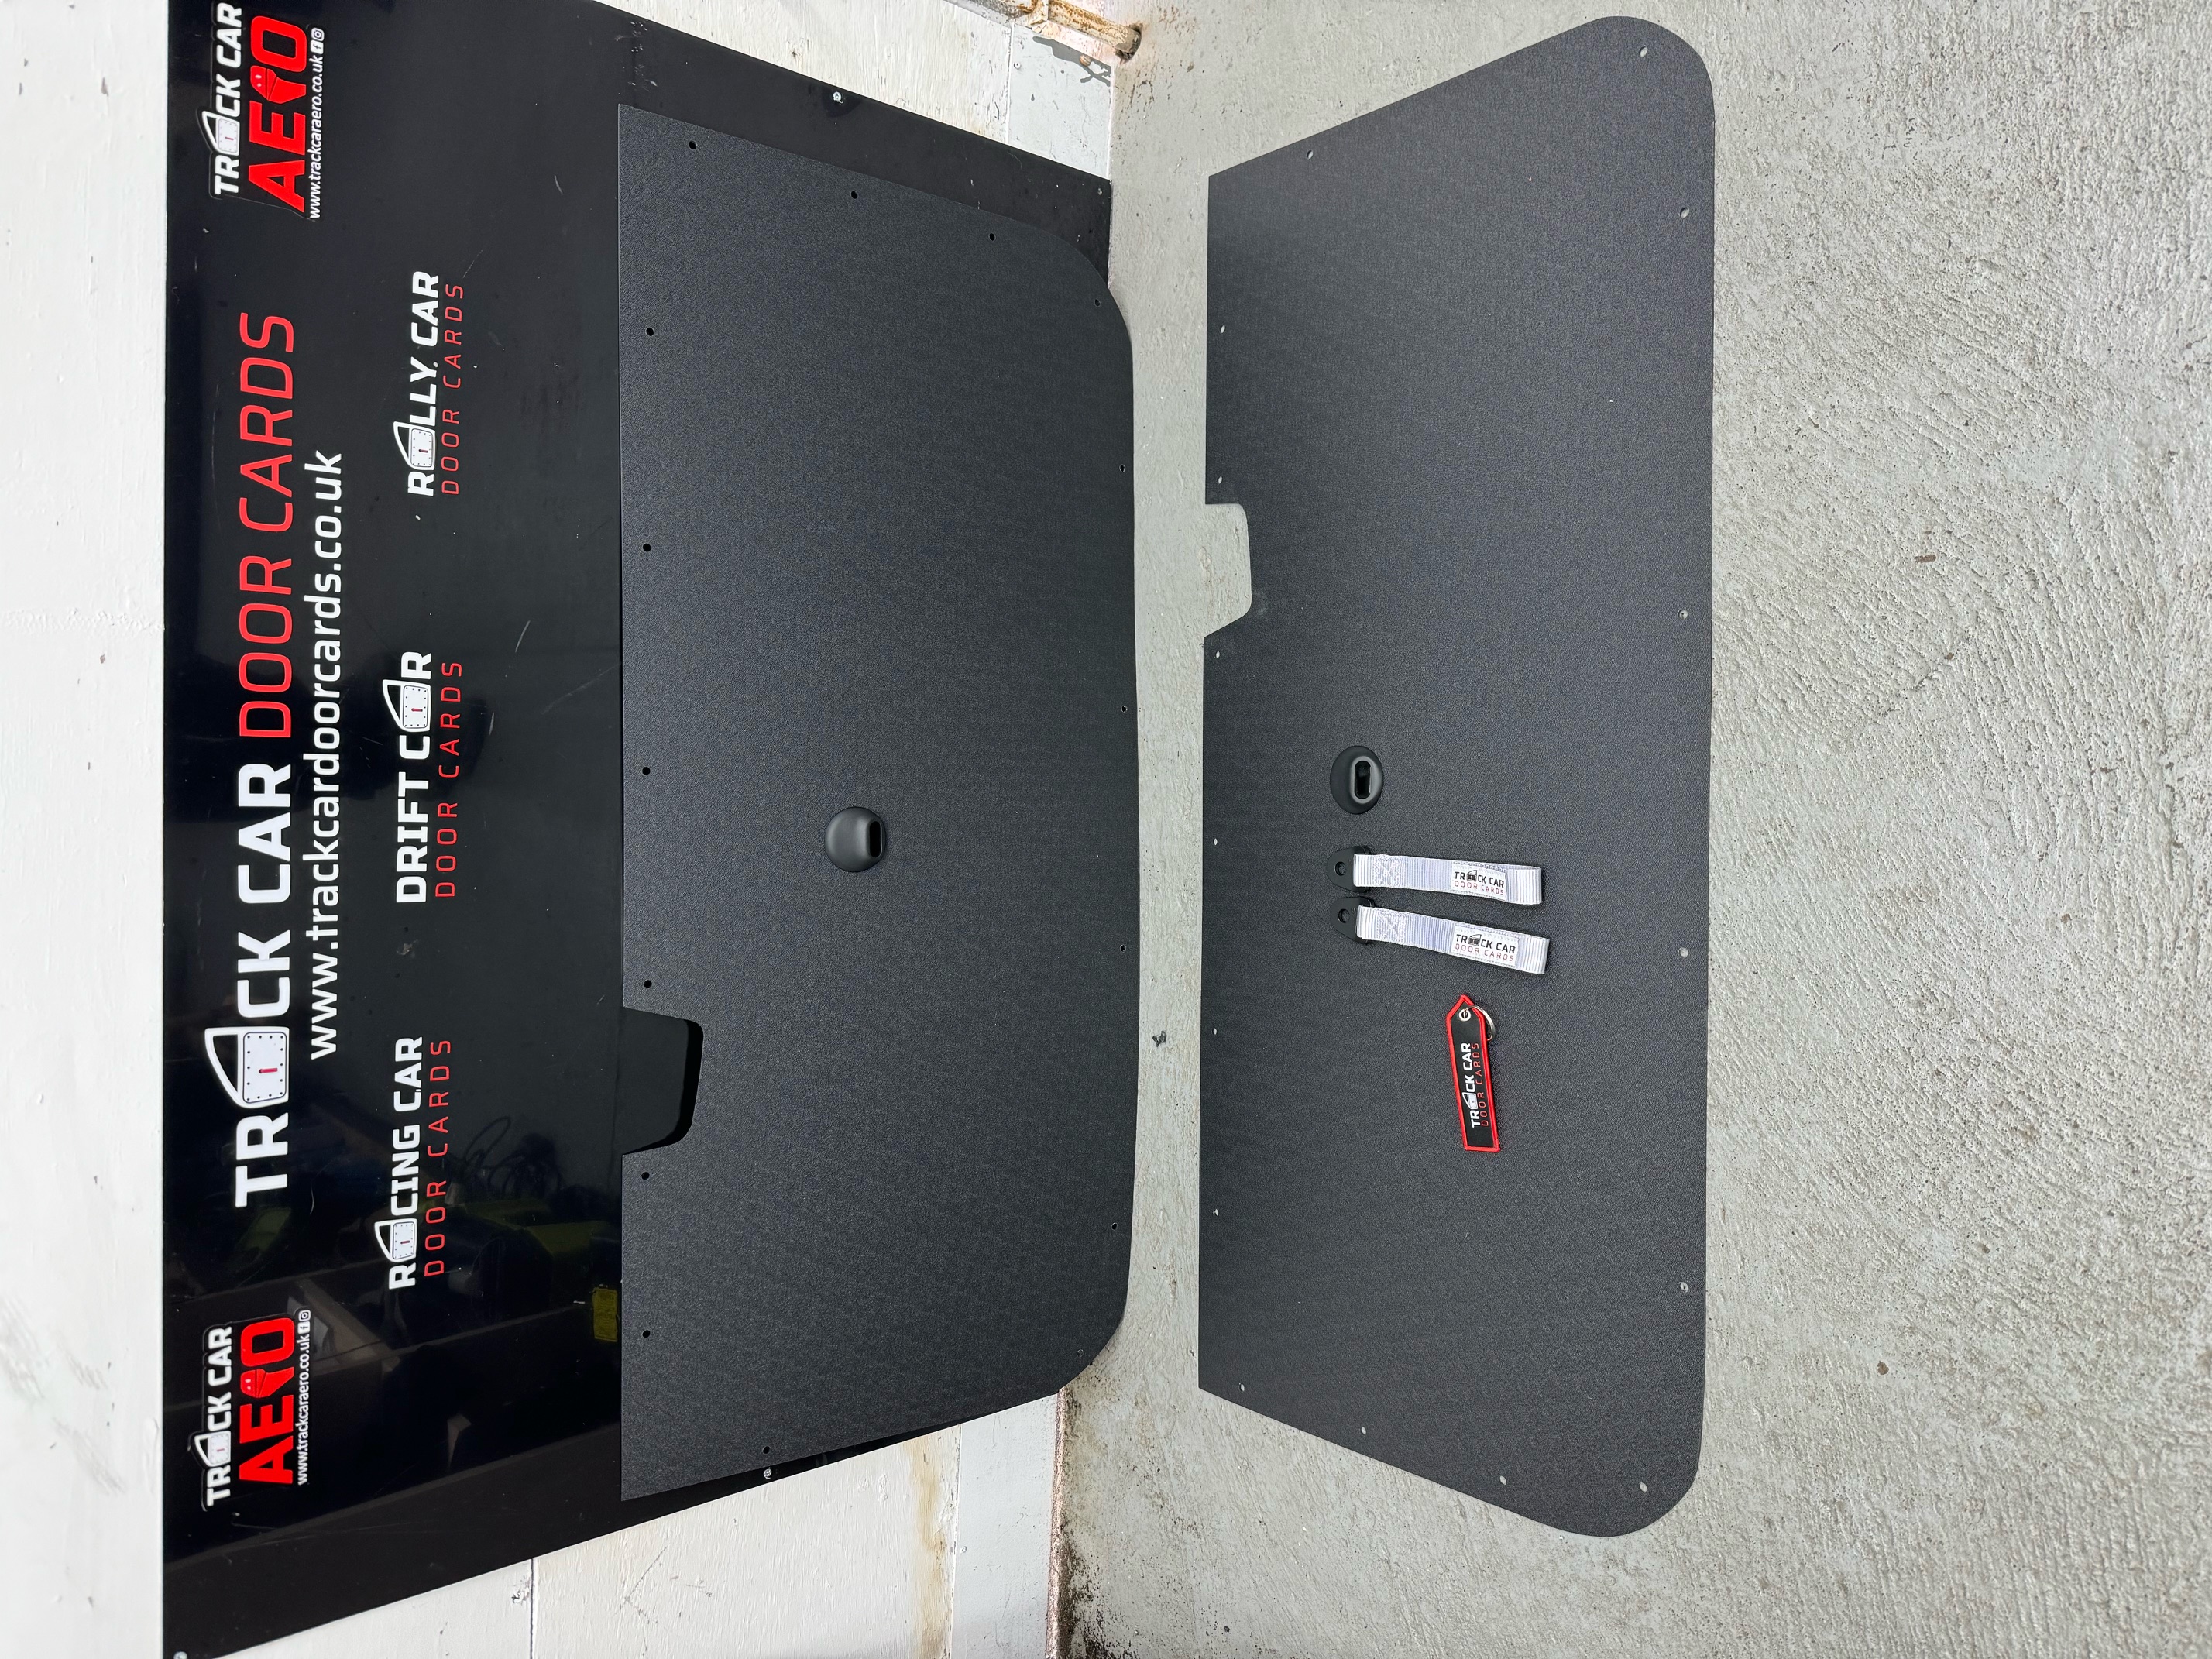
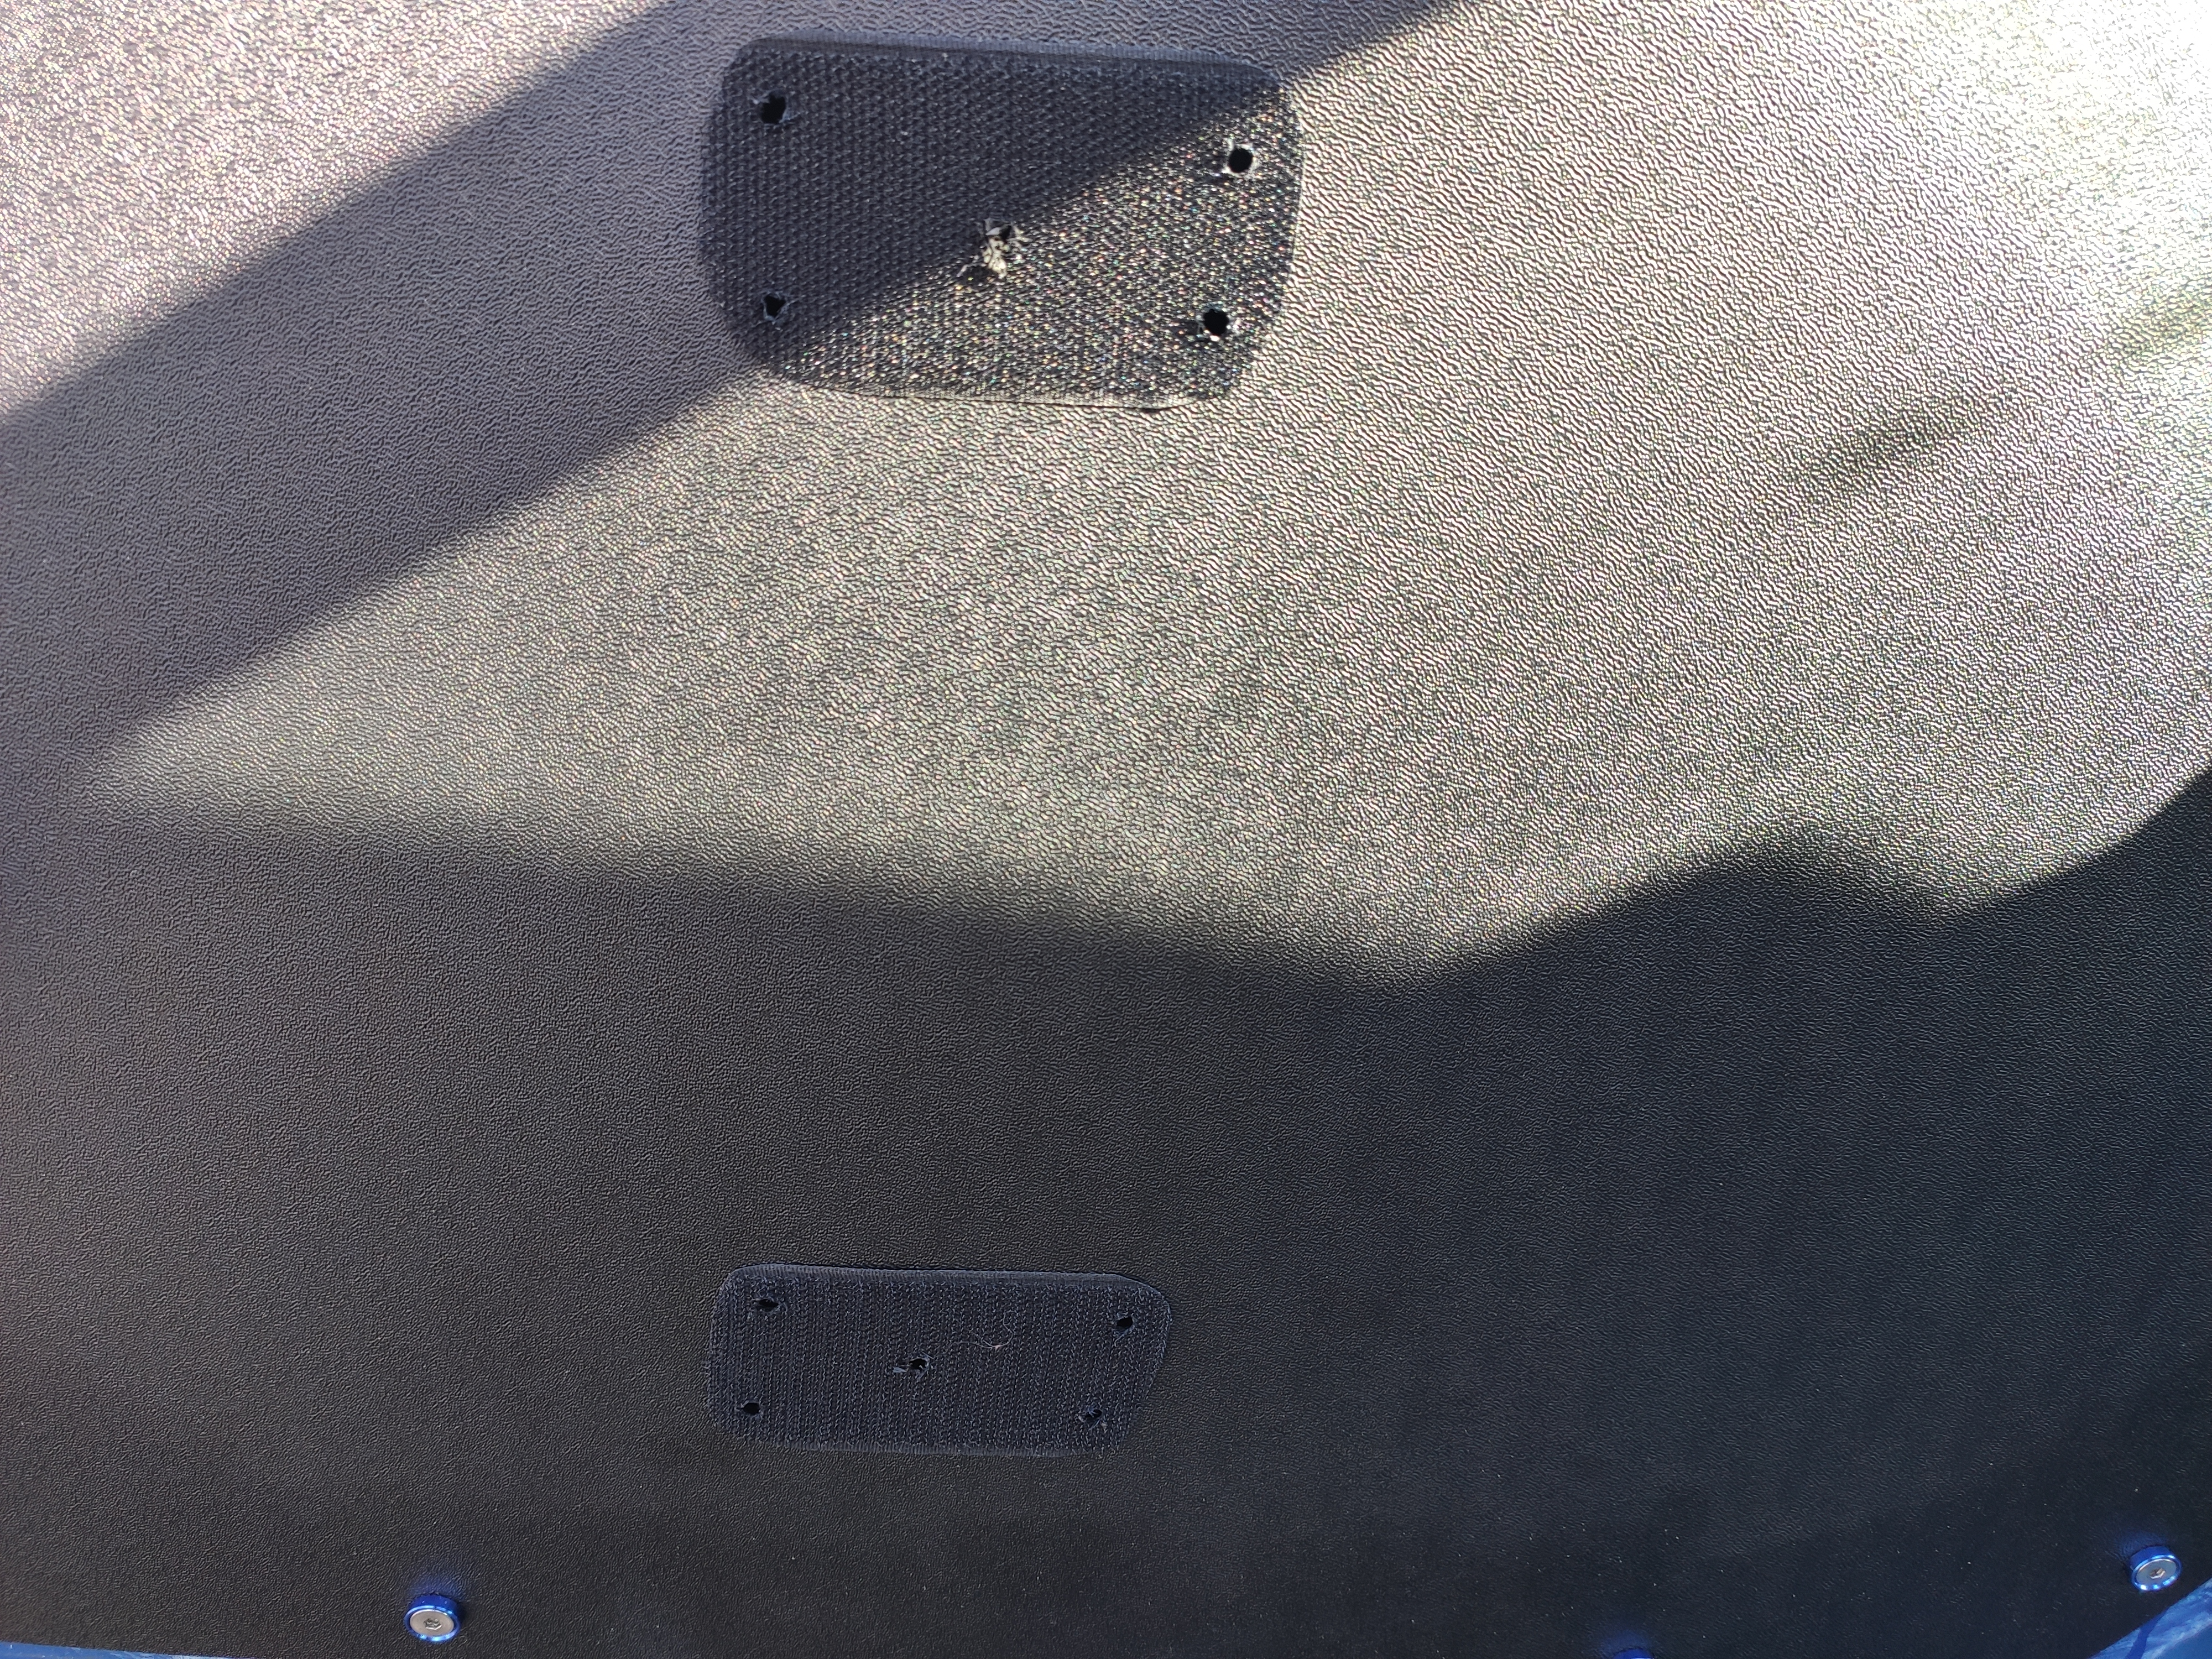
Door Cards
As passengers tend to be a wee bit shocked/spooked at times when they see a car without door panels, I’ve decided to put some new door cards on.
I did ponder about making them myself but in the end, I decided to have some made by trackcardoorcards.co.uk instead.
About three weeks of waiting and I woke up to a mail telling me they were all done and ready to ship.
I’ve also ordered some new straps to pull the door closed while at it so it just looks that bit more tidy.
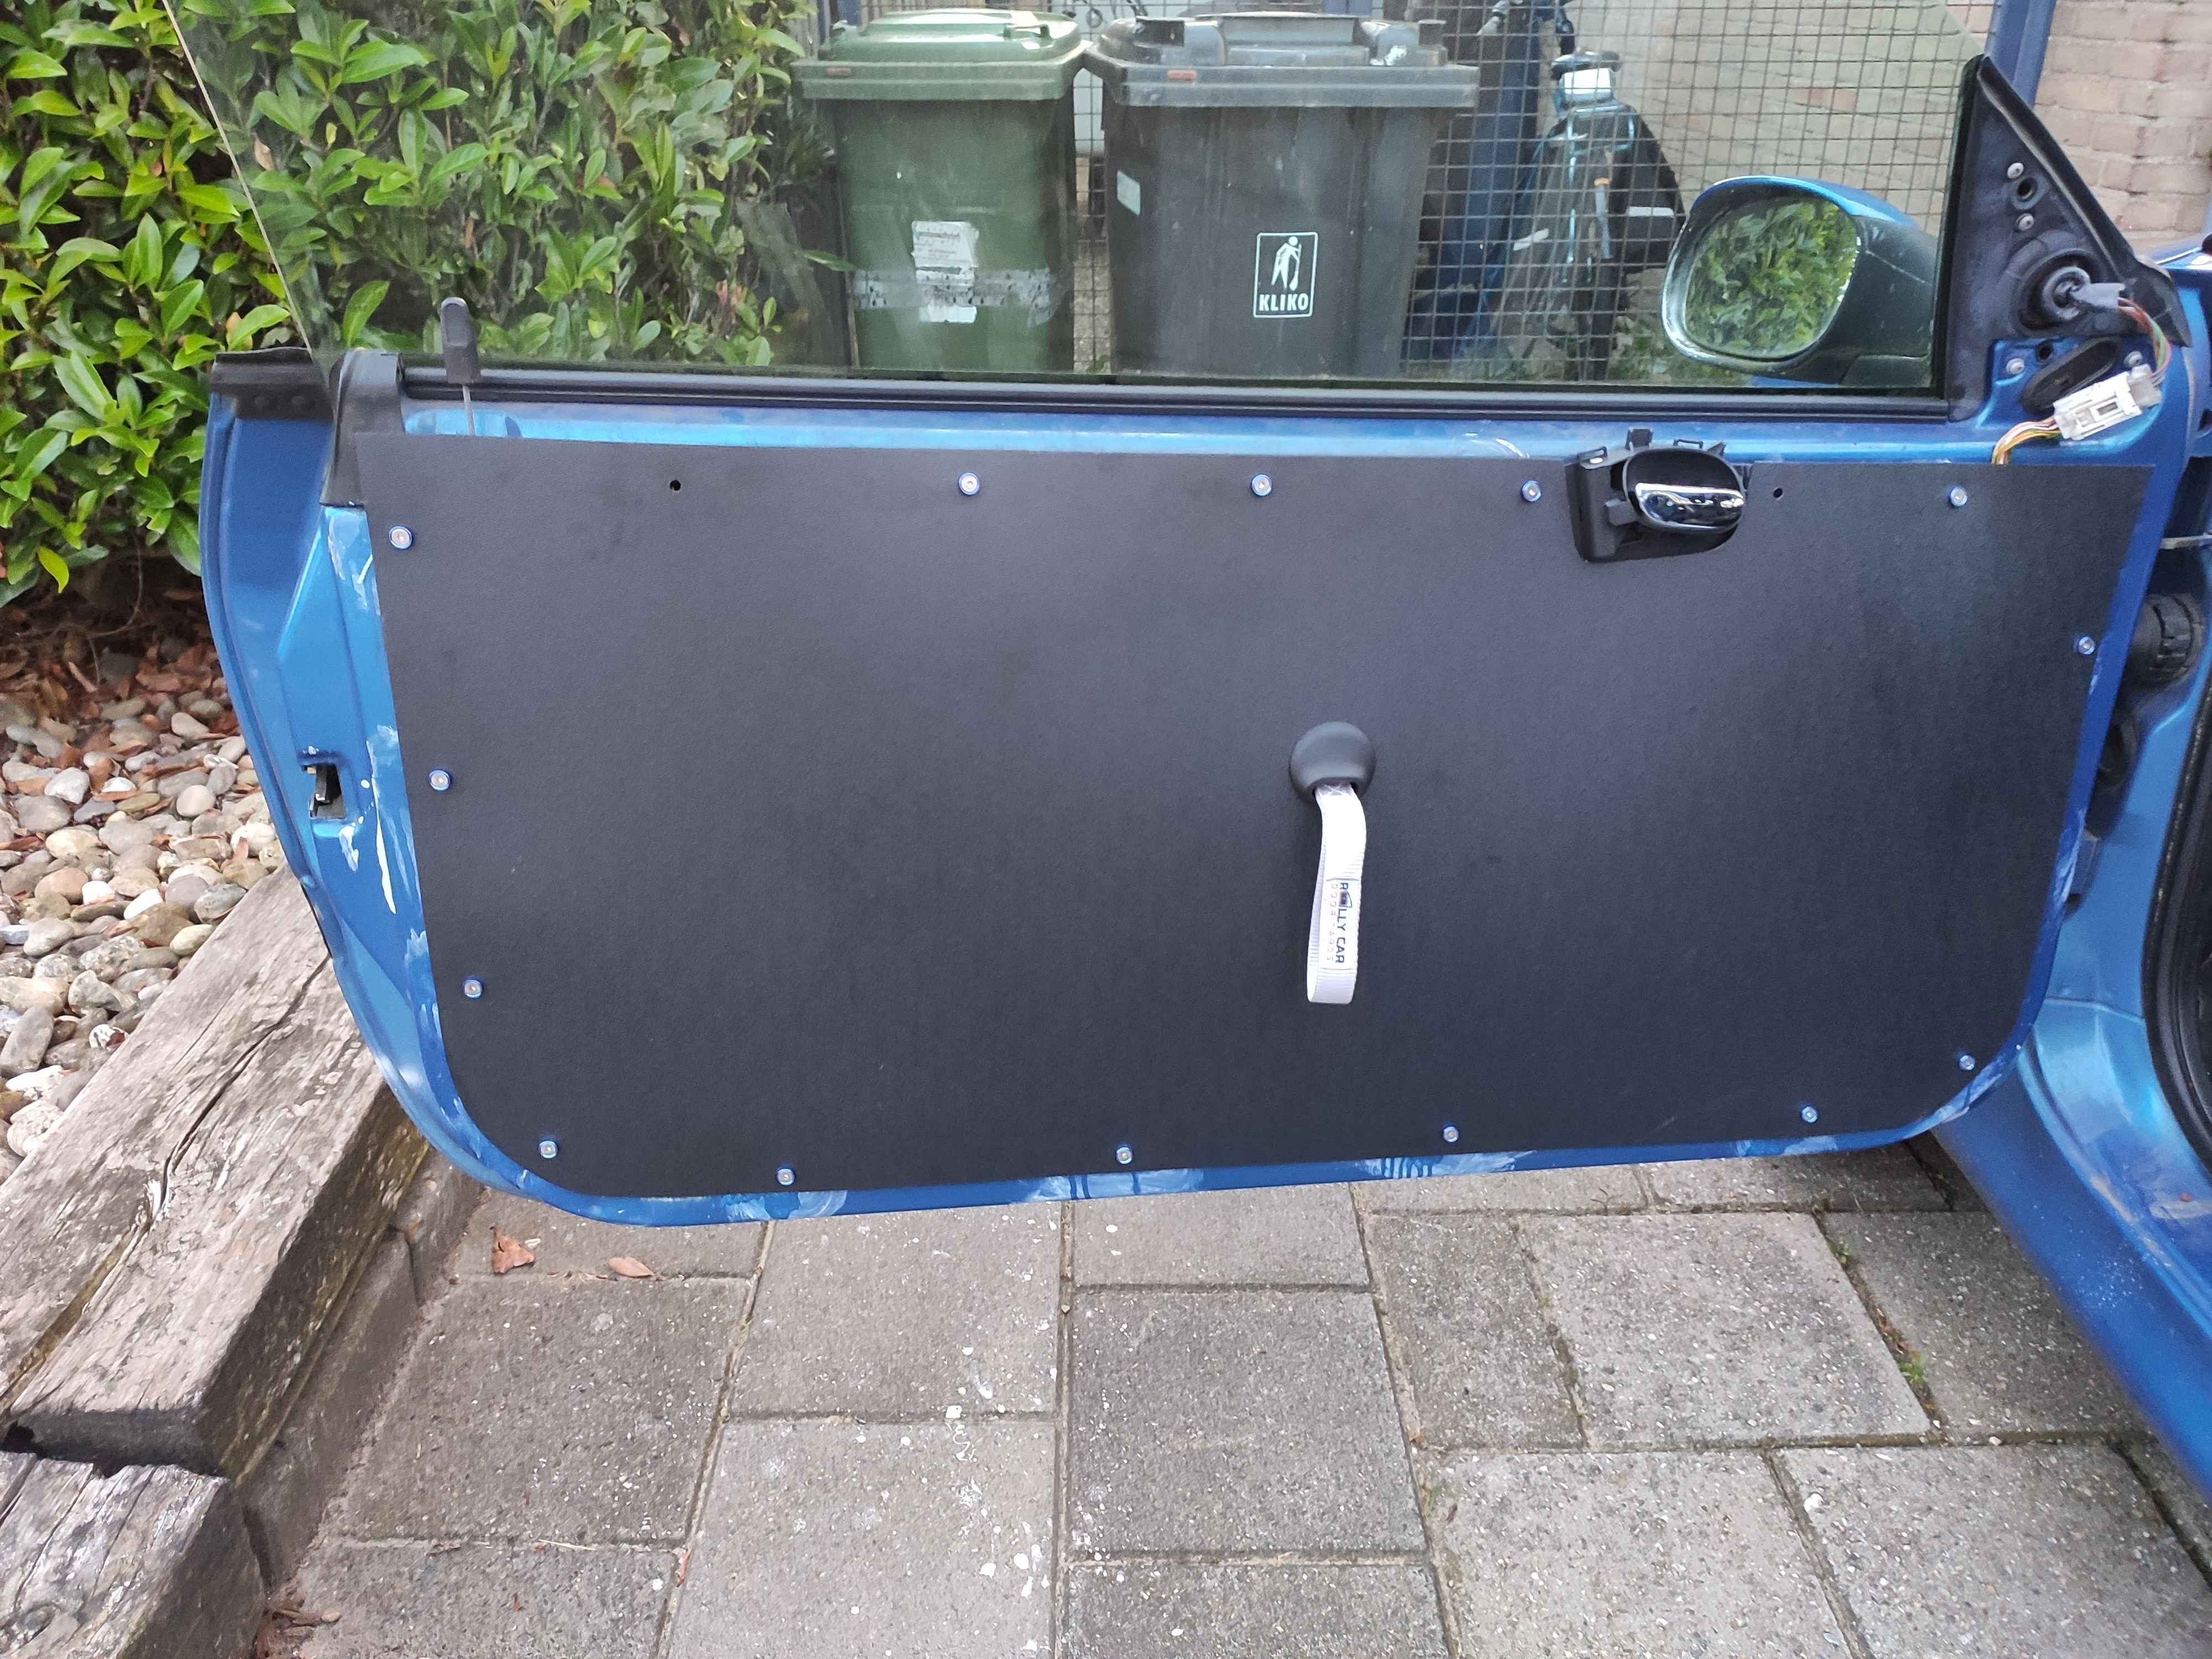
After drilling the holes, I installed them.
It is a bit crooked and has some holes I frankly enough, didn’t actually need in my car (or couldn’t use) but ya know, I like the way it looks.
And at least people now won’t be as scared when hopping in.
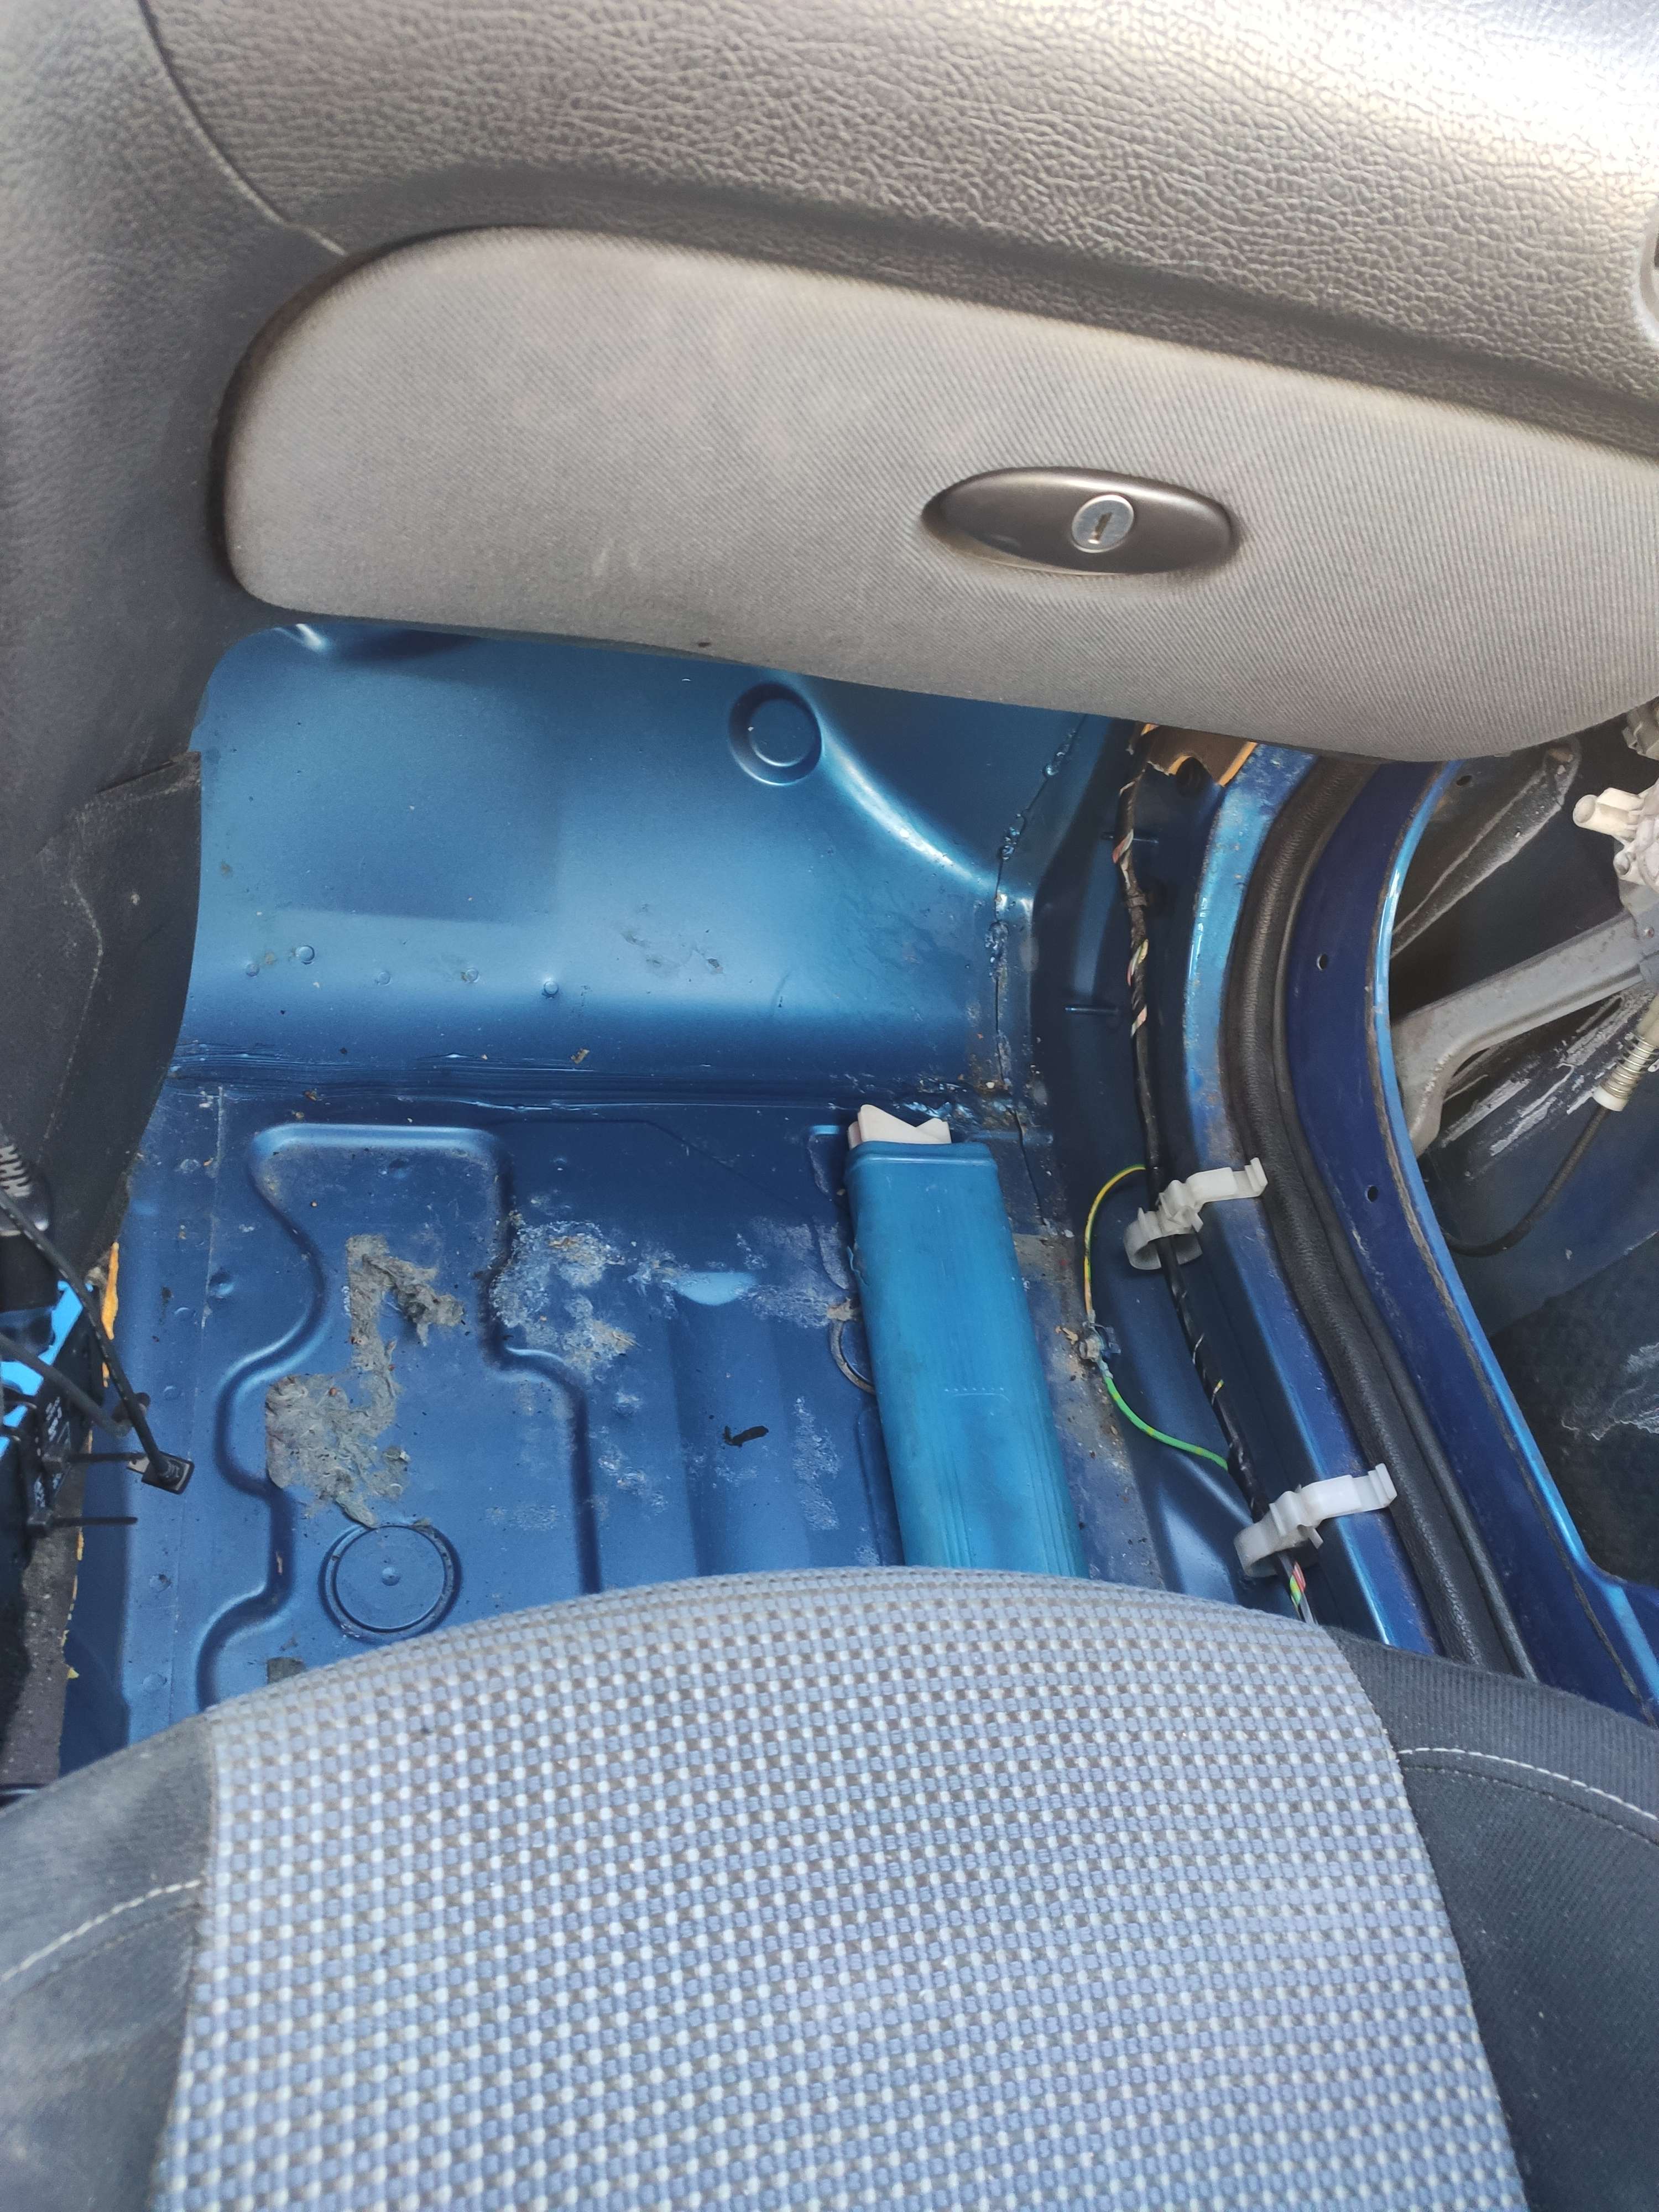
Climate Control Unit Removal
The MOT came around and I hadn’t yet managed to fix it.
Unfortunately, this meant suspending the license plate and as a result, the car no longer being allowed on the road.
Time started to tick, I had to get the Climate Control Unit removed and get at least a fan blowing through the vents.
So together with my dad, I removed the climate control unit, taped a fan to the vent and placed everything back in.
Due to the time starting to tick, I didn’t document the entire process so you’ll have to do with these pictures.
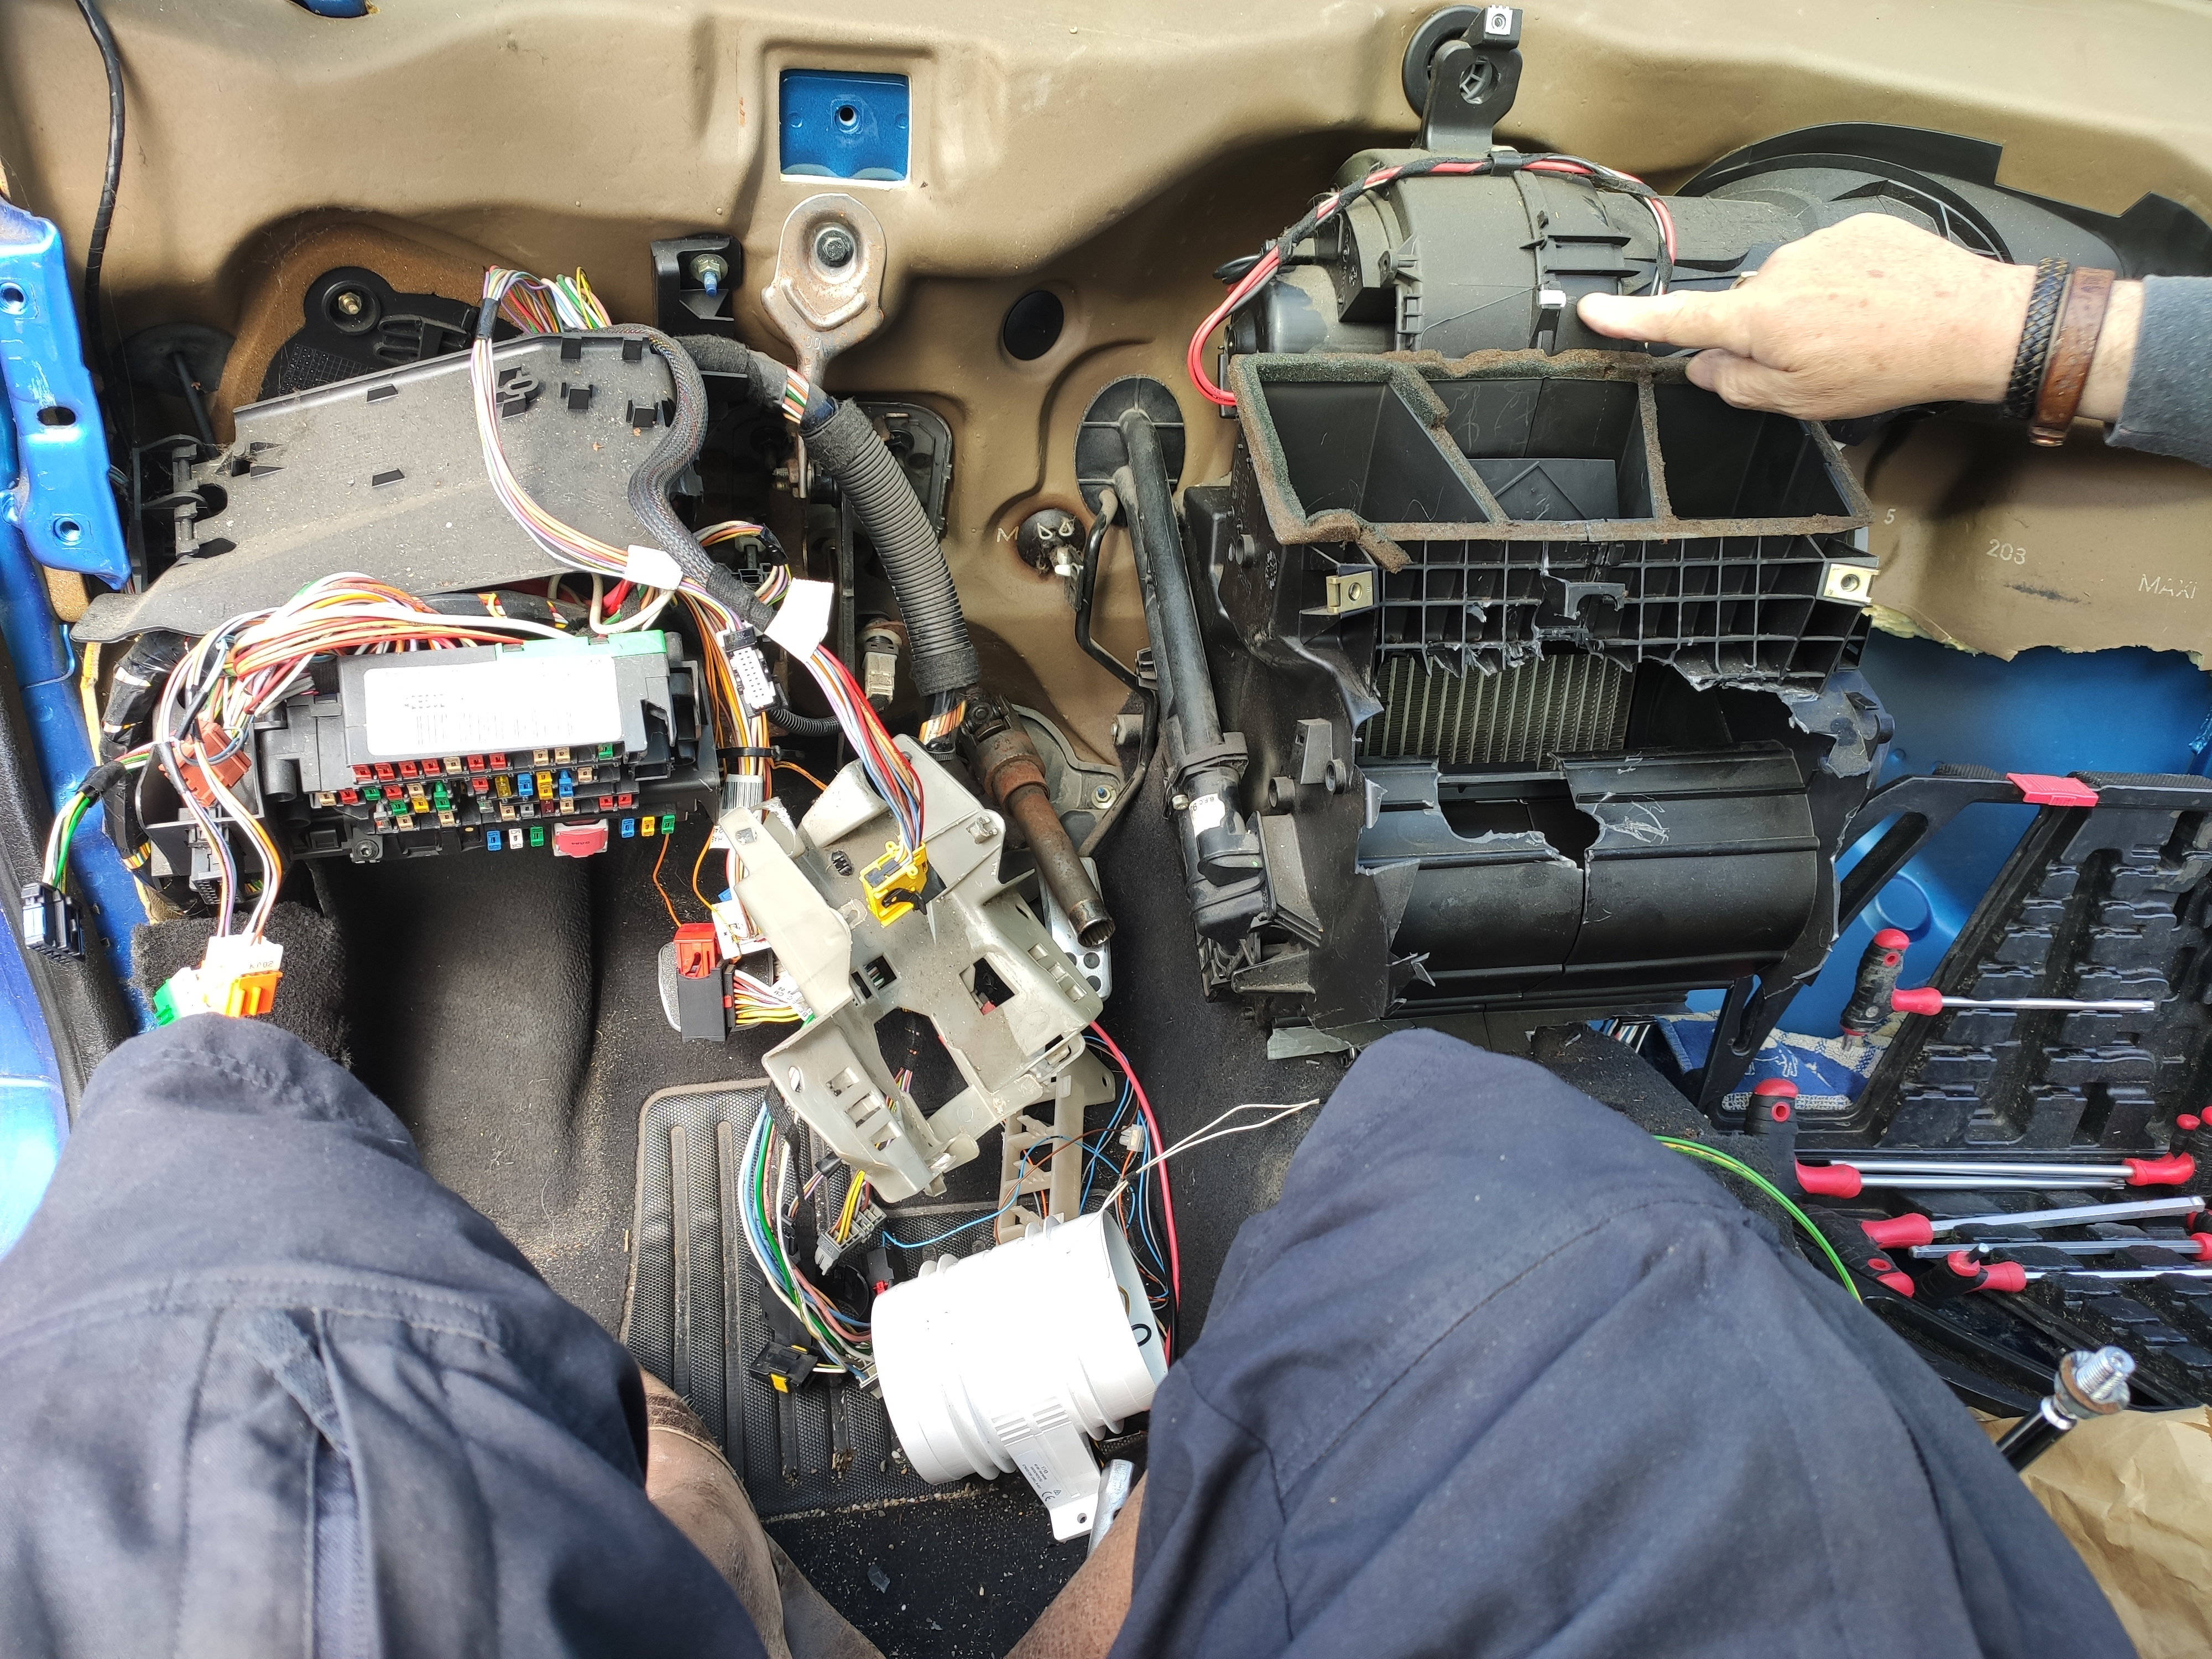
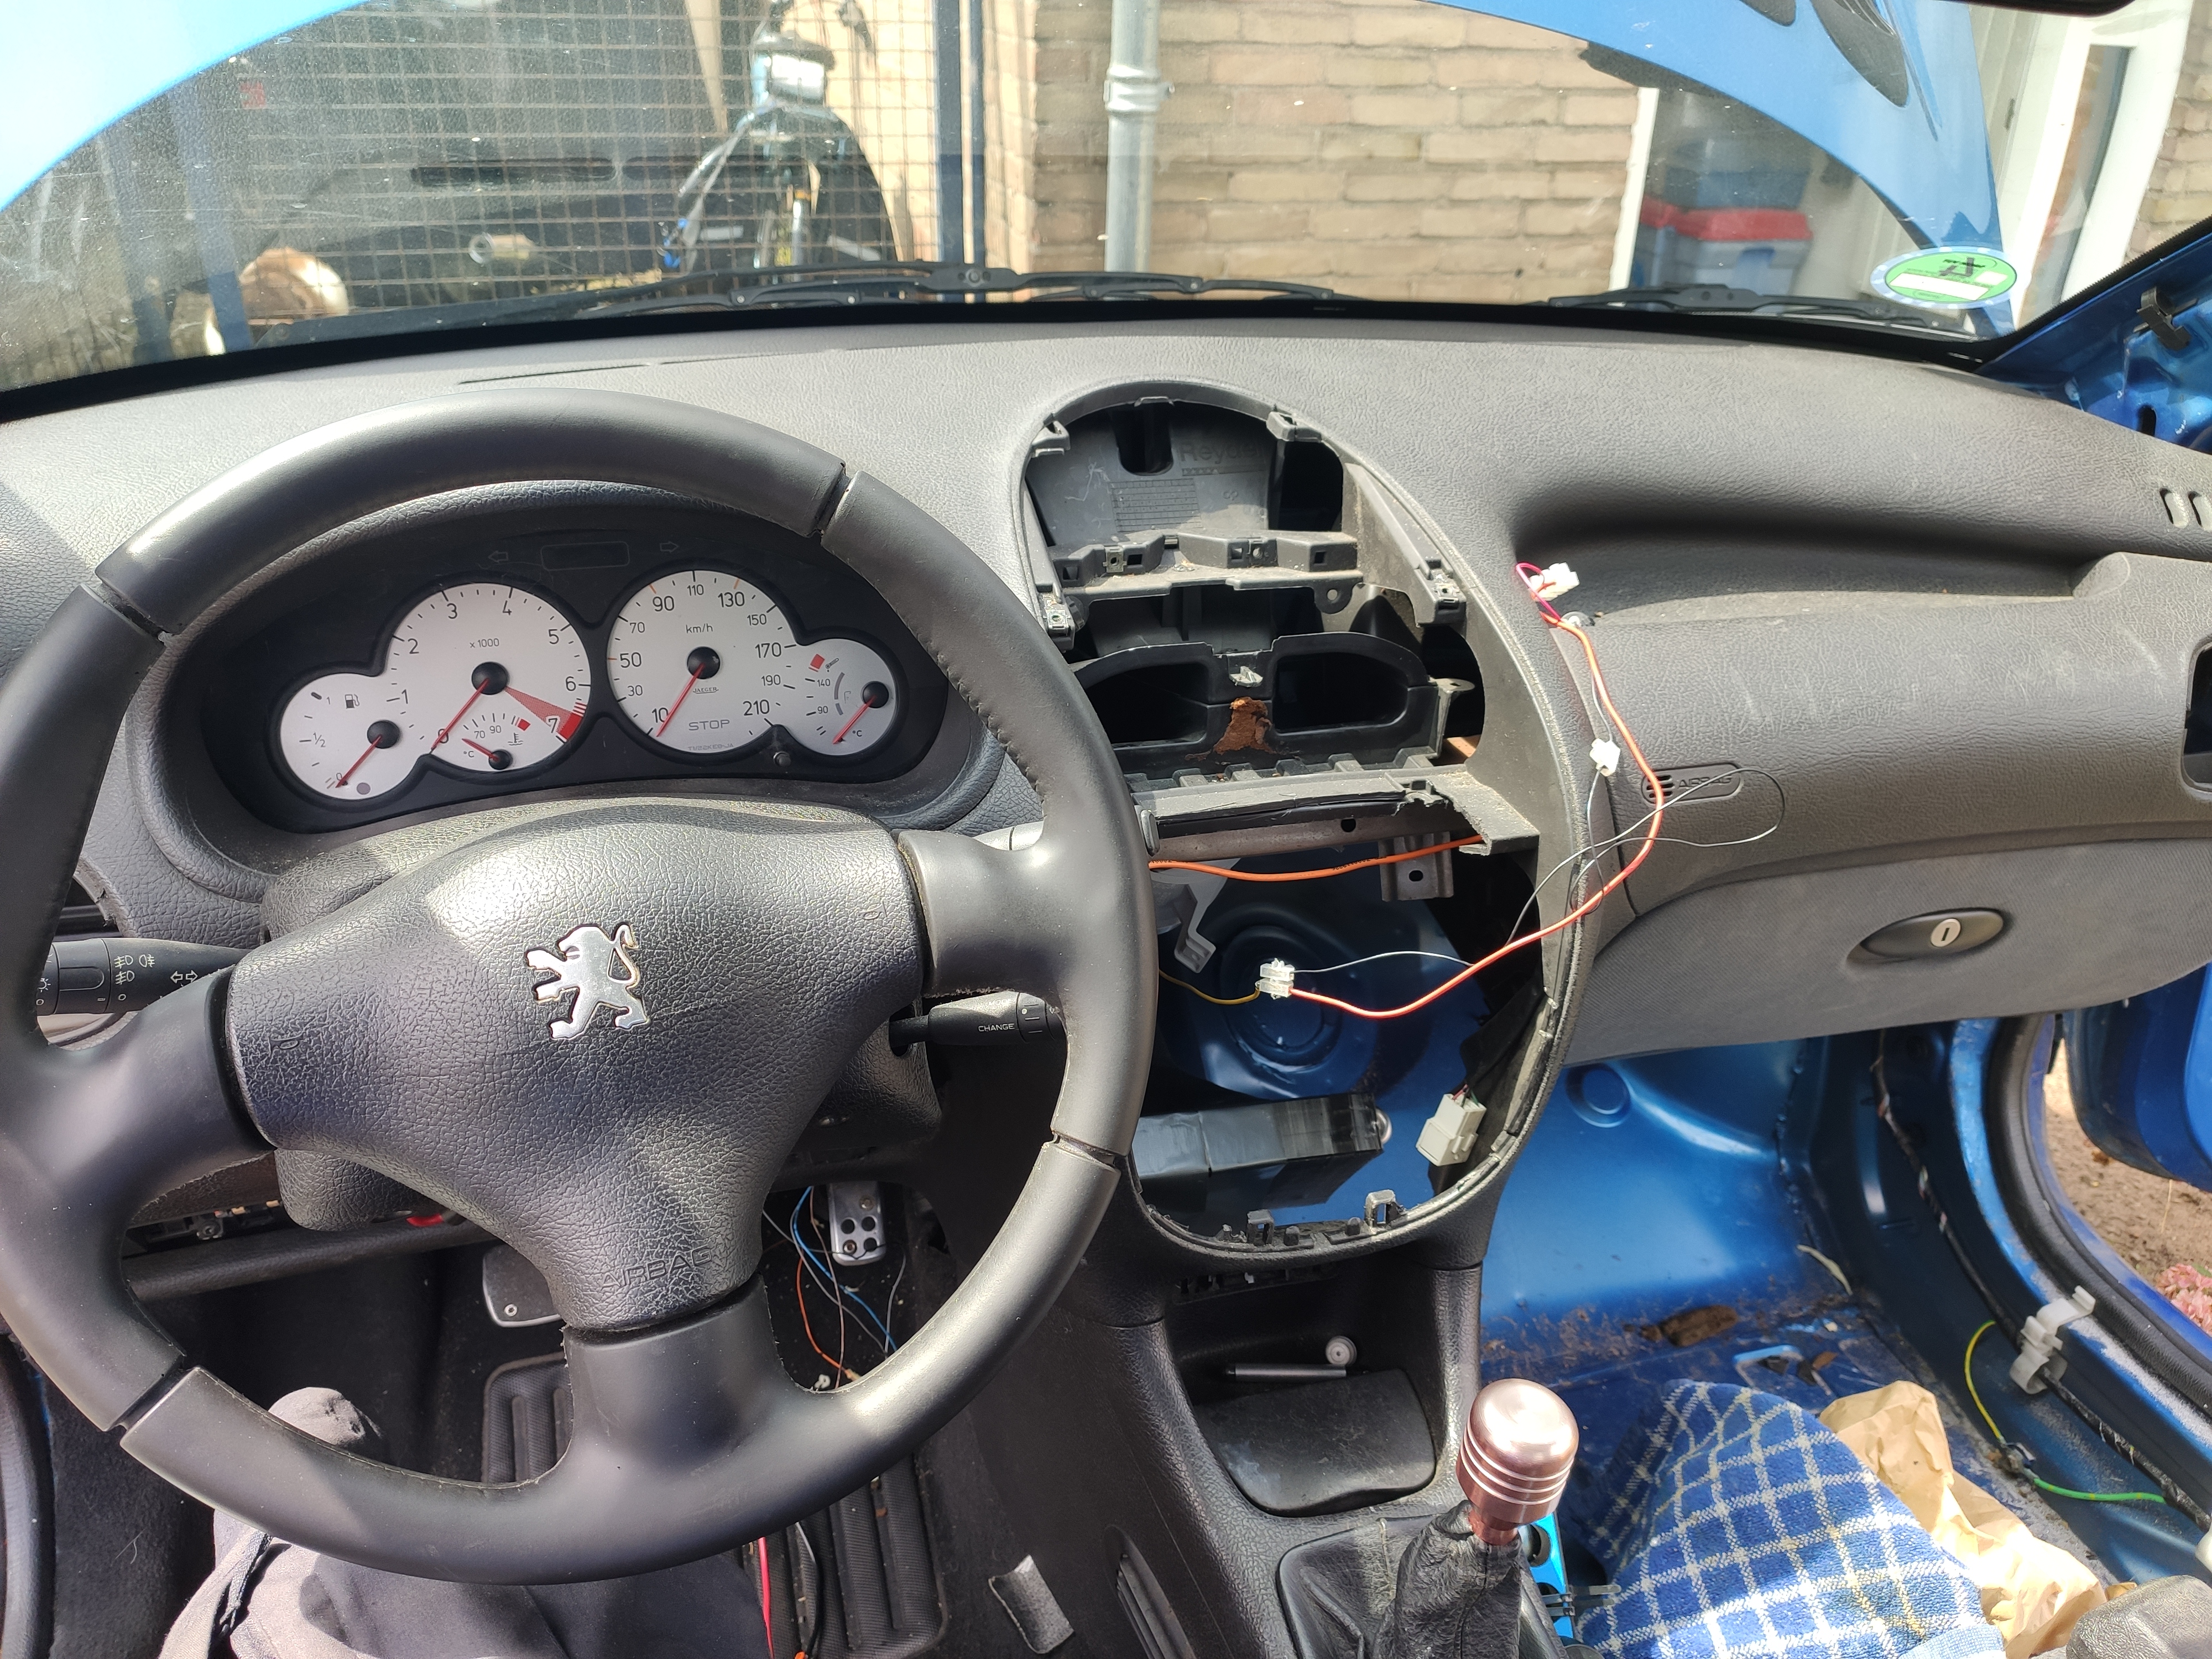
I have left the carpet and (some) insulation on the driver’s side (mostly) intact.
This will be removed at a later date (tho not completely as some stuff is just stuck behind other stuff I couldn’t be arsed to remove).
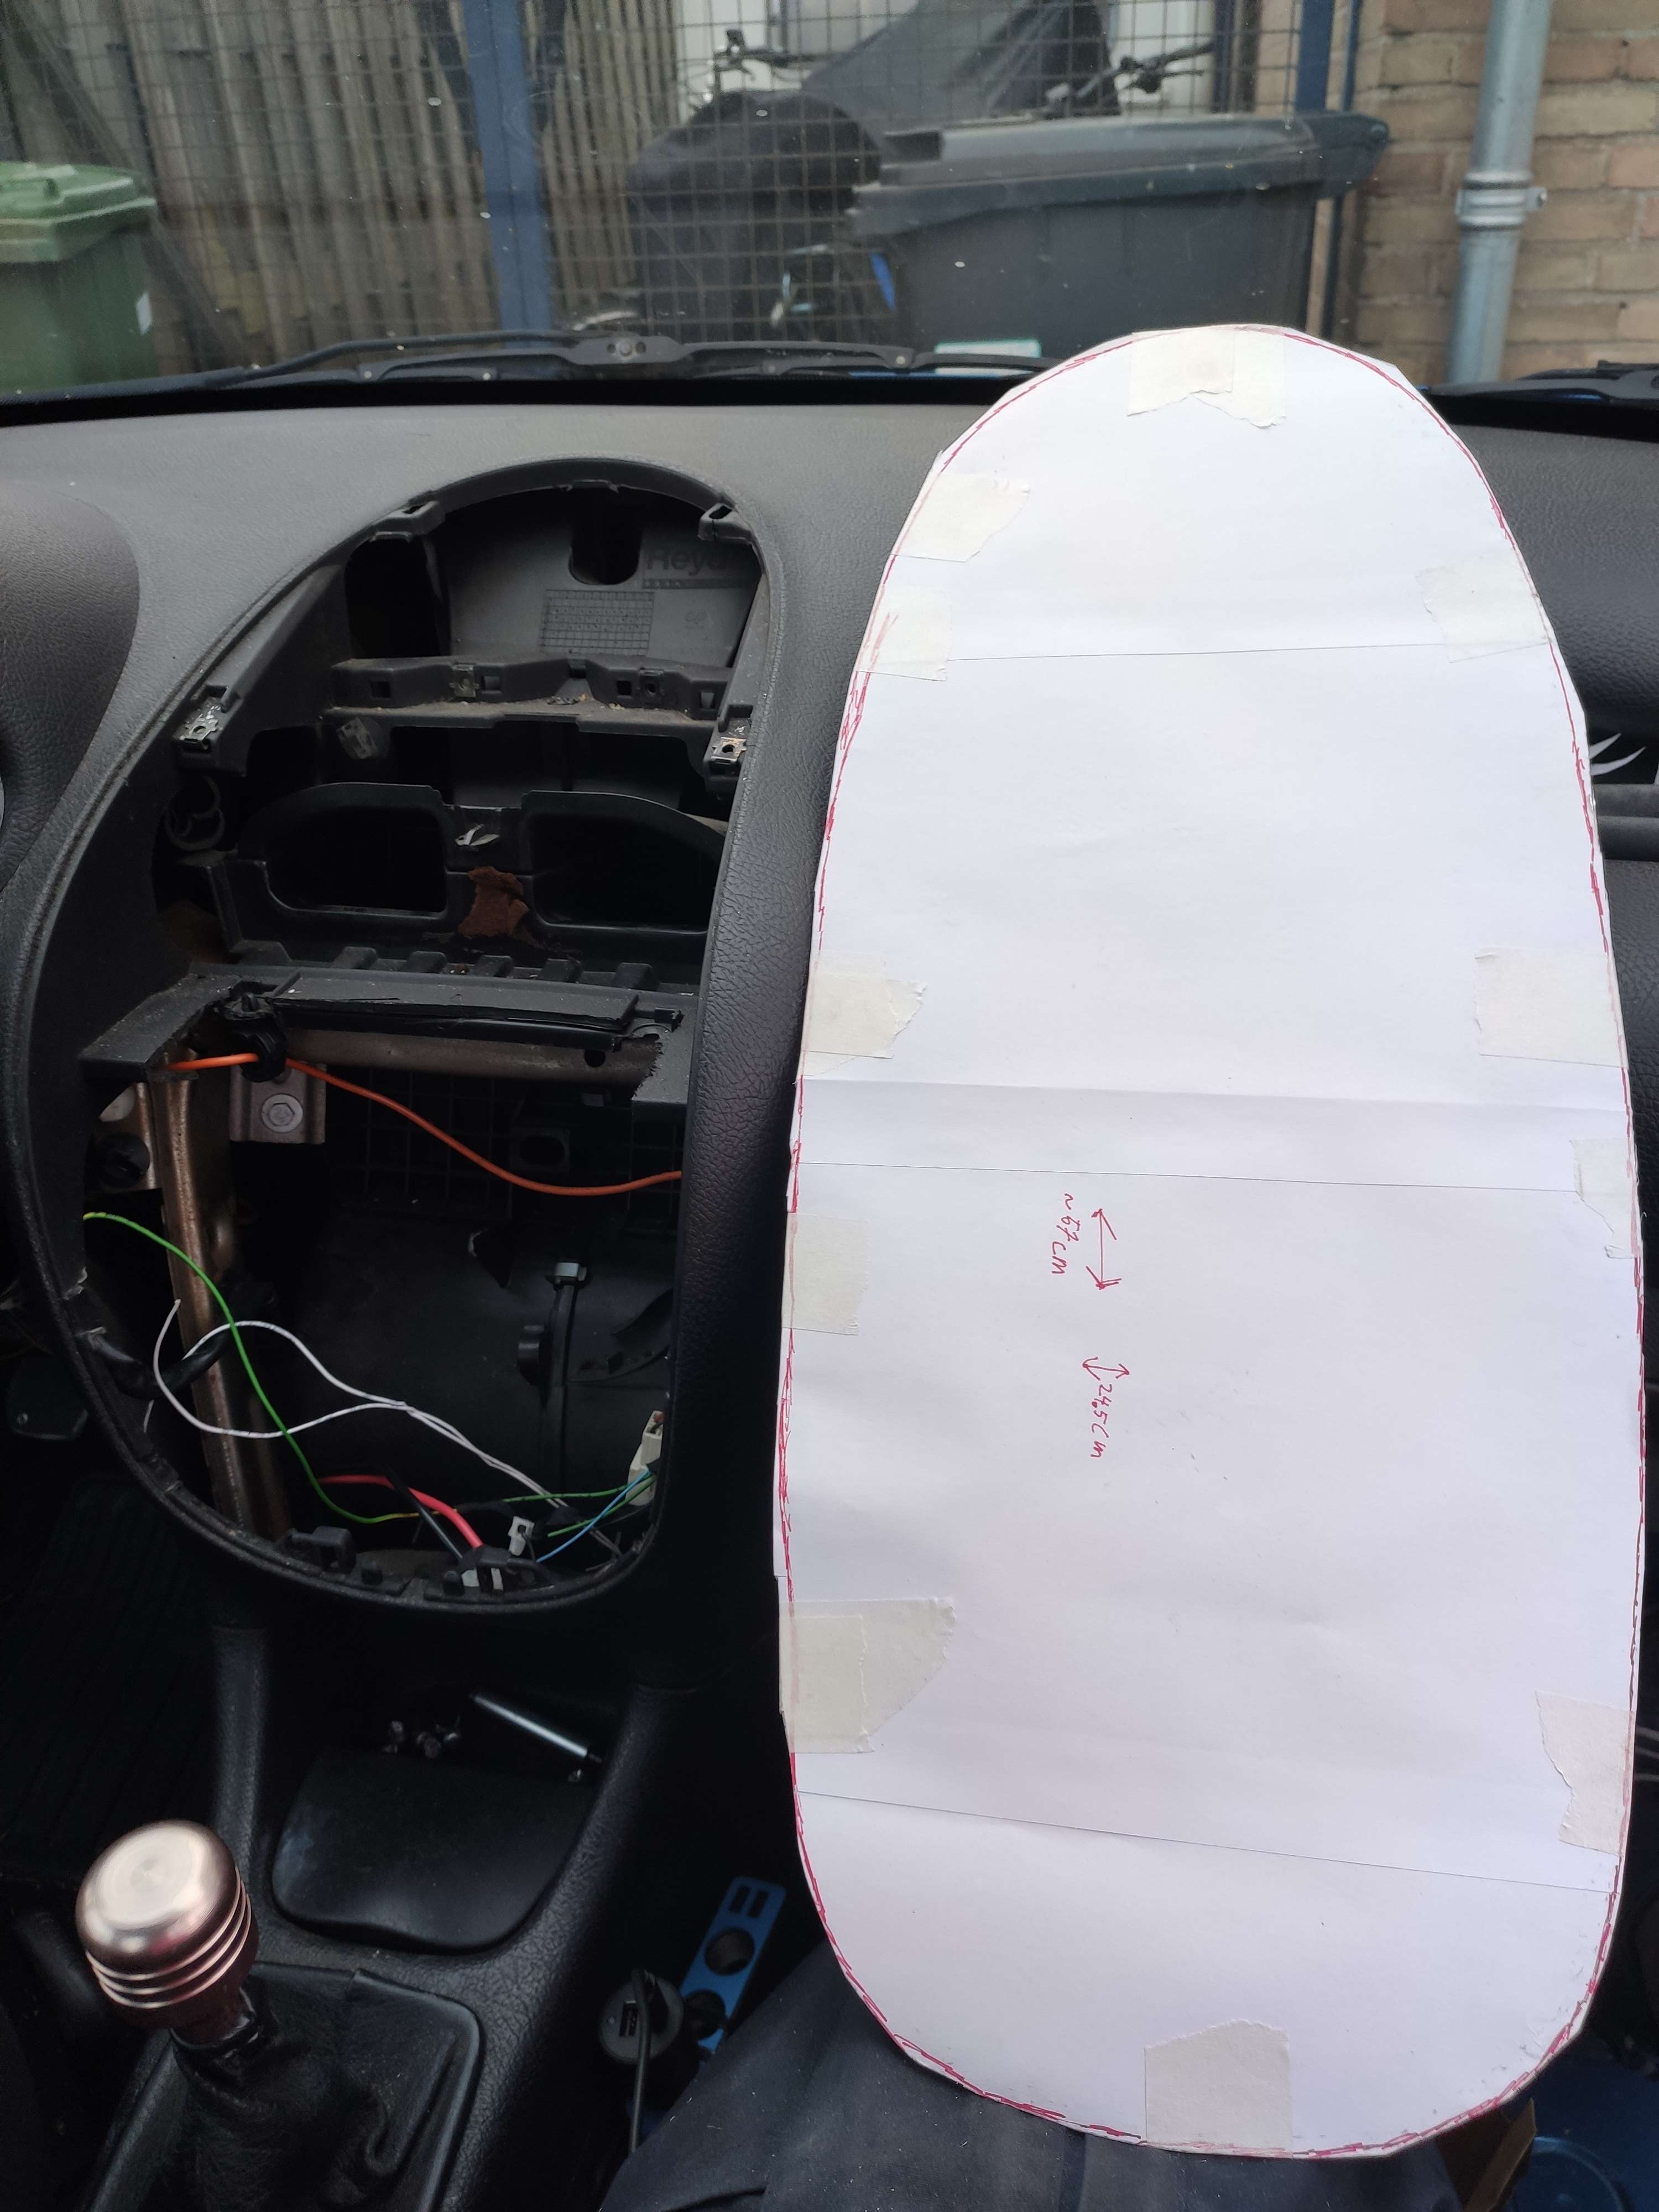
Basic Button Panel + MOT
For the panel, I wanted to use the following buttons to get started:
-
Hazard Lights (Momentary)
-
Windscreen blower (On/Off Switch)
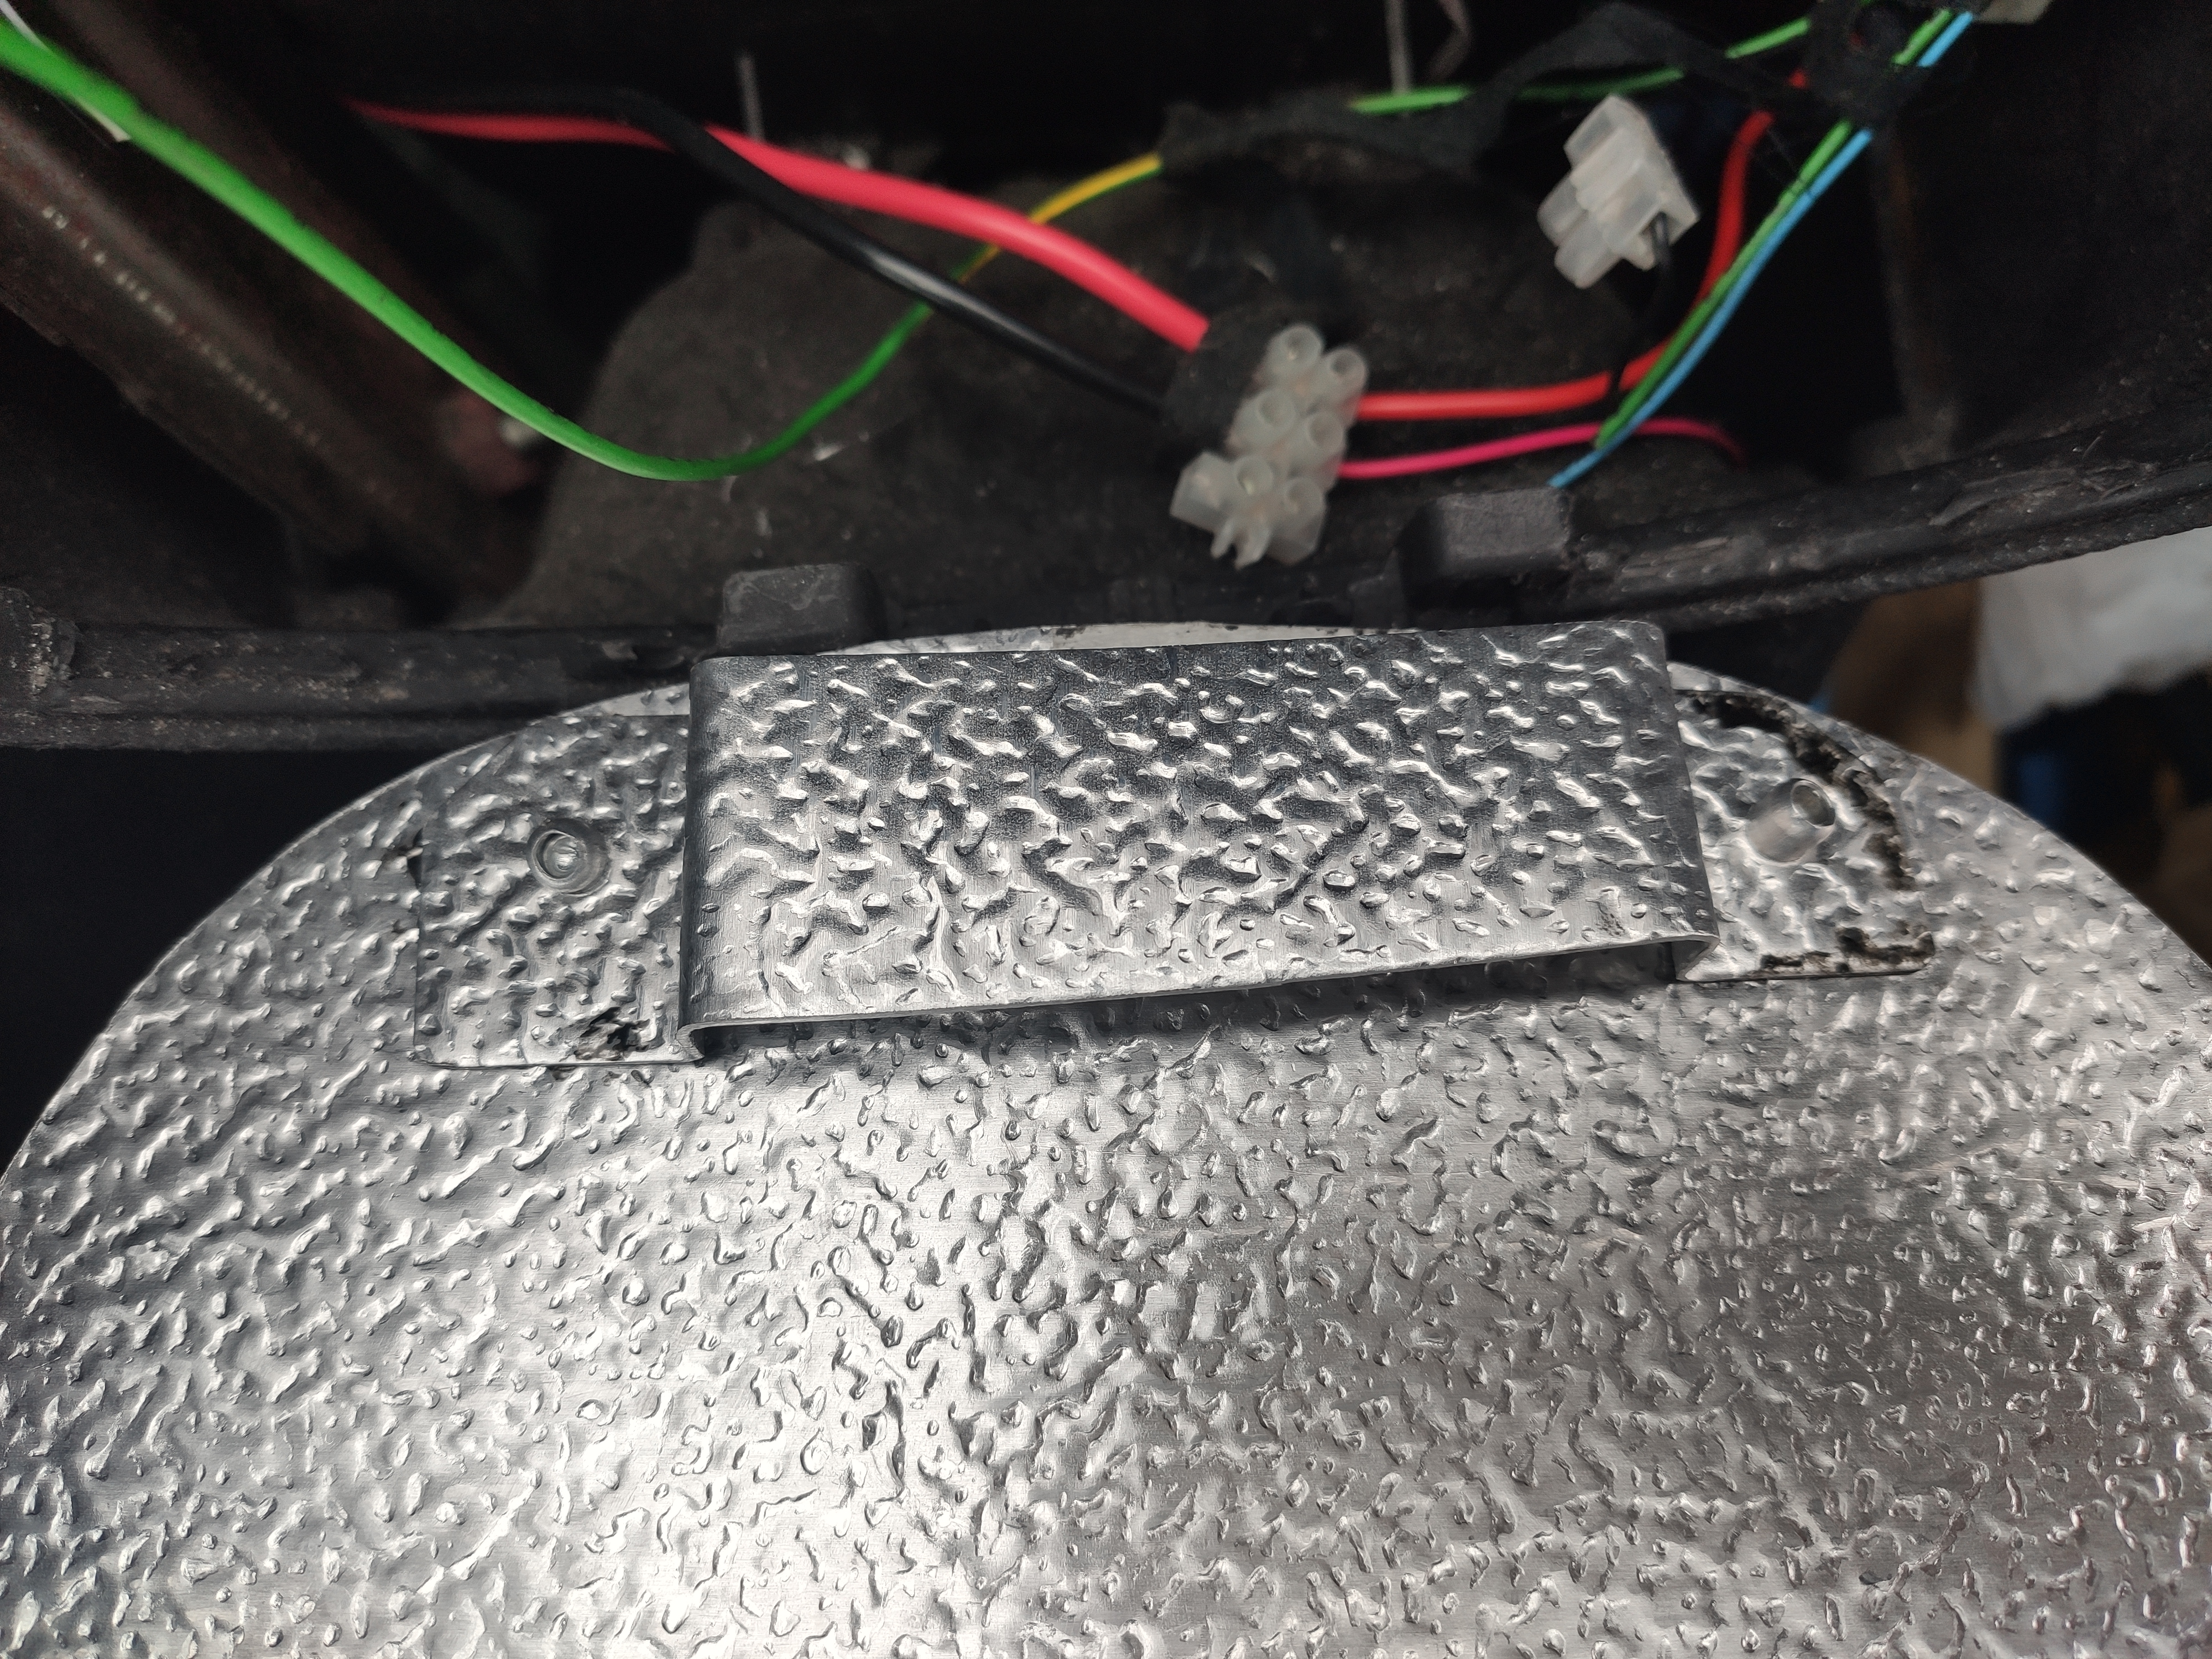
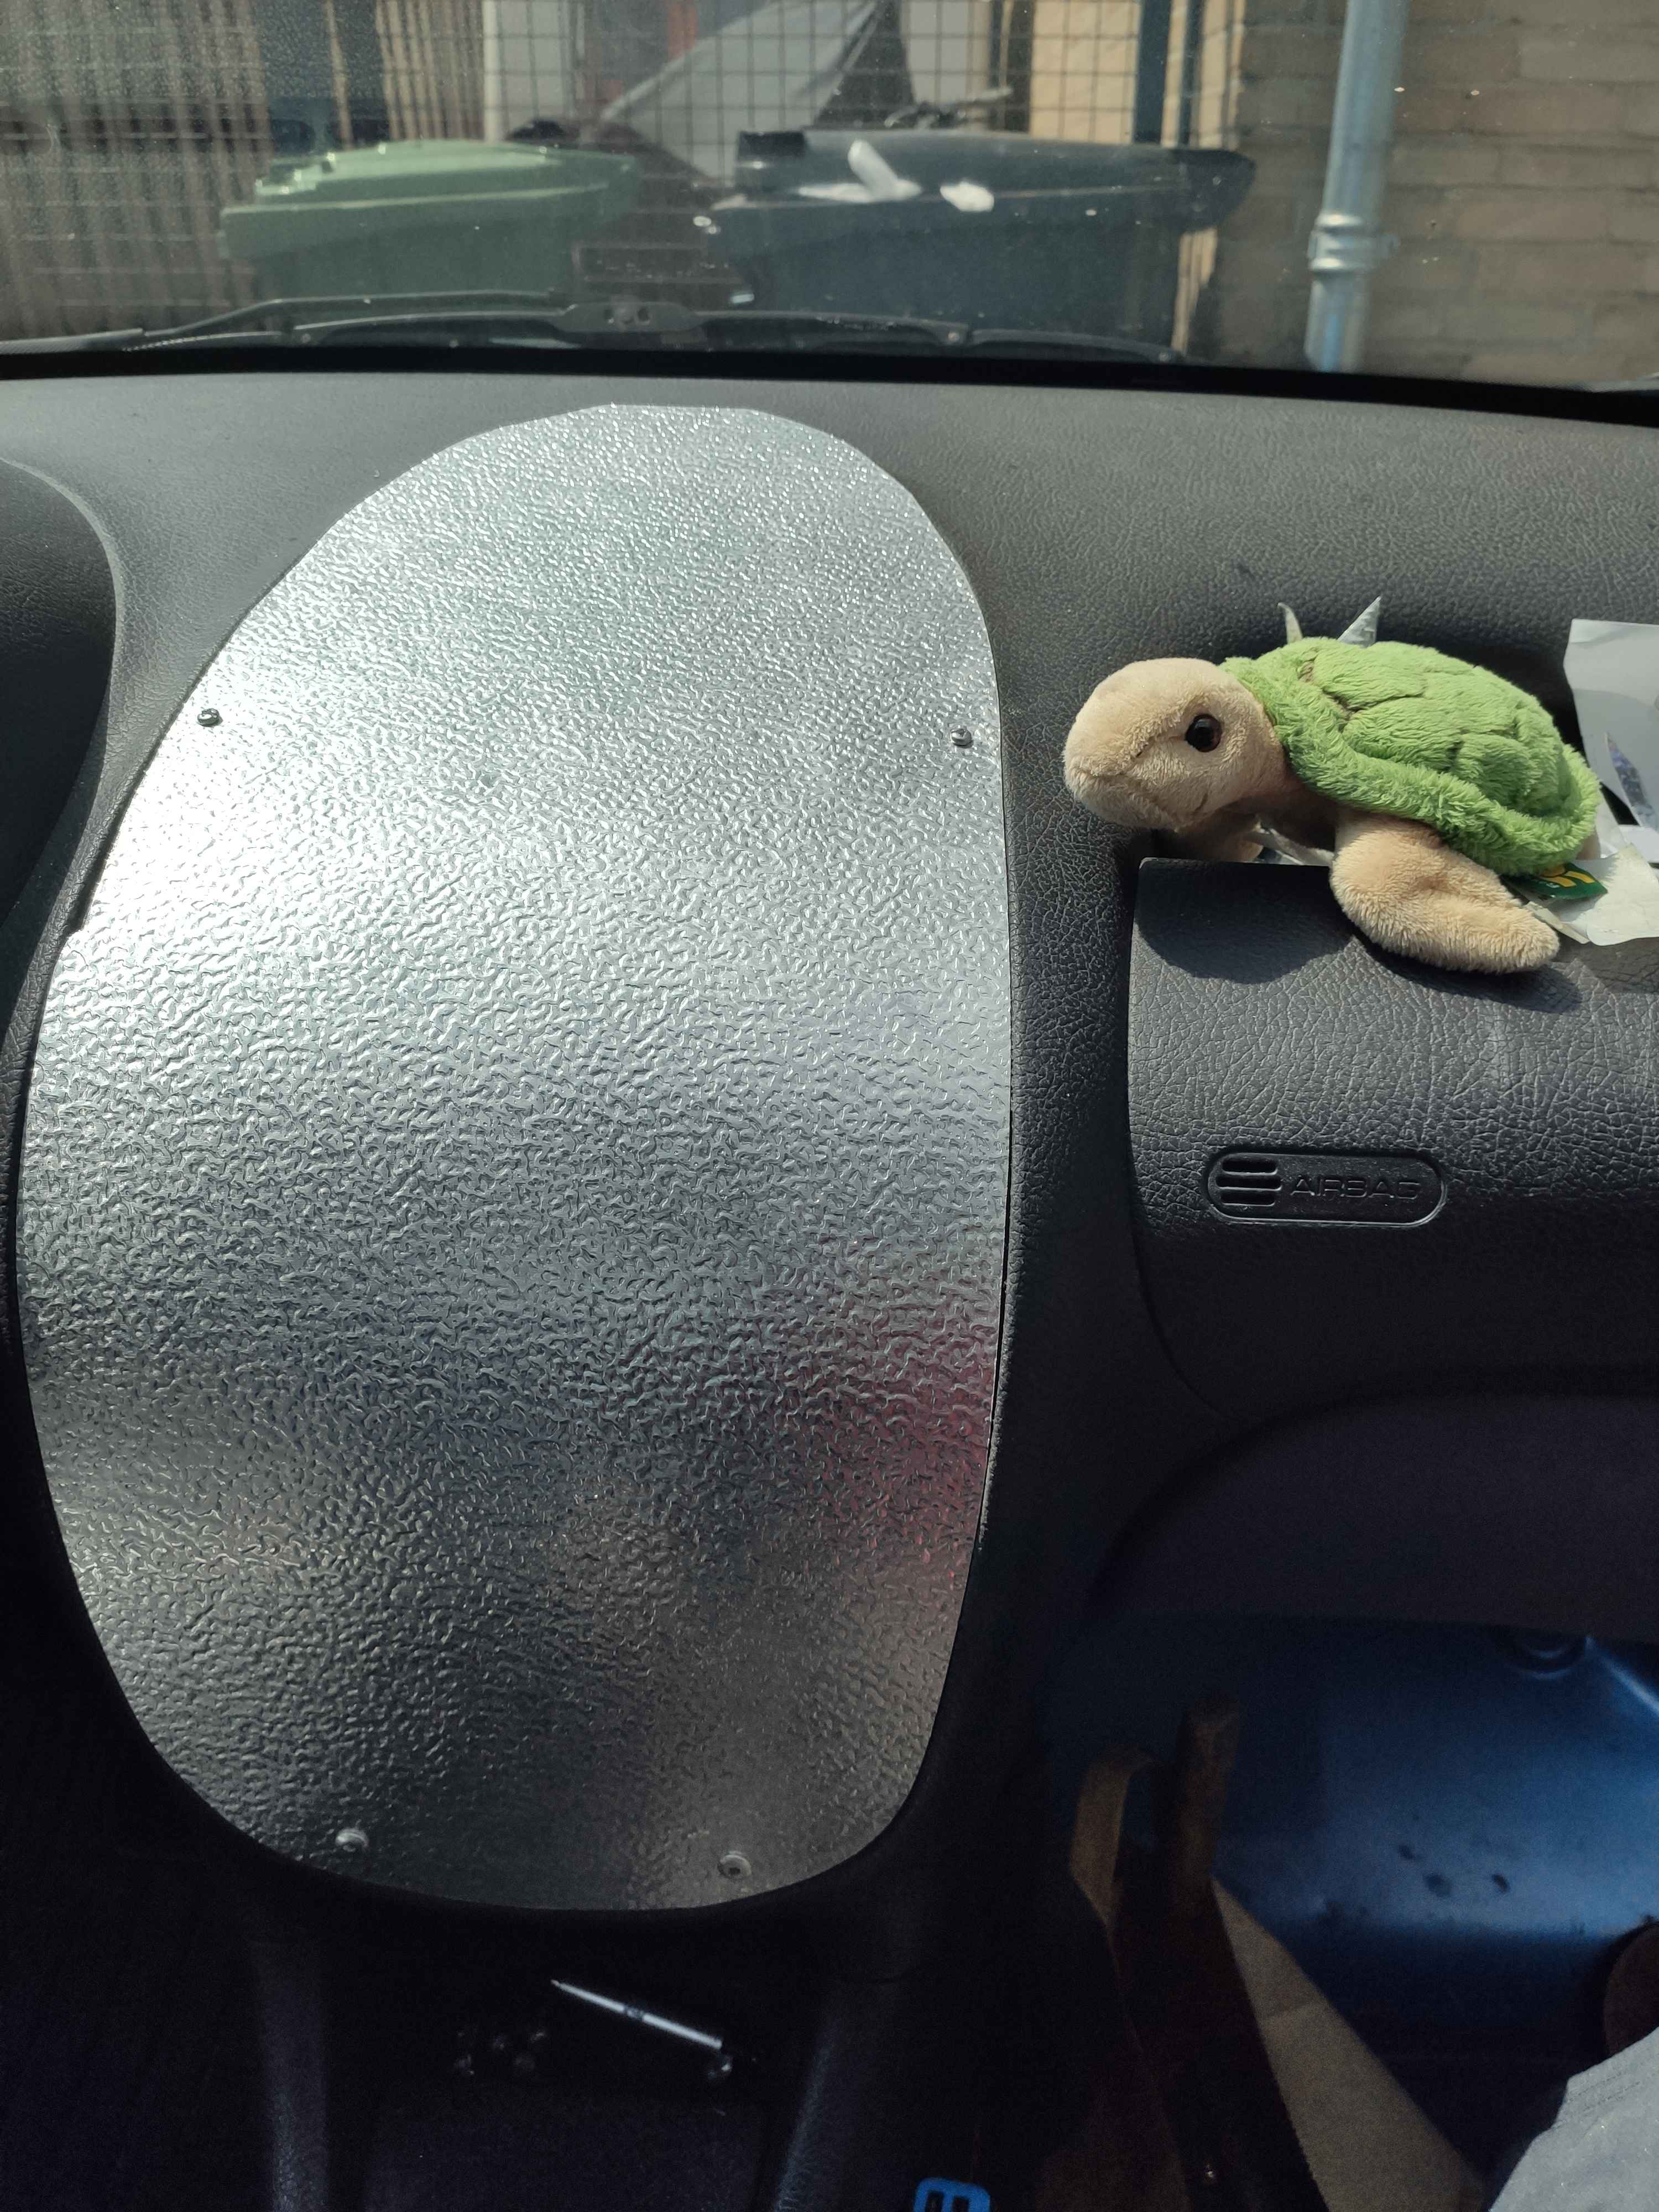
But first, I needed to make the panel itself.
For this, I bought a 1000x60x1mm aluminium plate (and some tin snips) to cut it to the shape where there’s now a hole in my dashboard.
I didn’t document the entire process of making it but this is the end result (yes, it was made before I removed the Climate Climate Control Unit.
It’s held down by 2 screws in their original location and a little bracket that slides over some pins at the bottom.
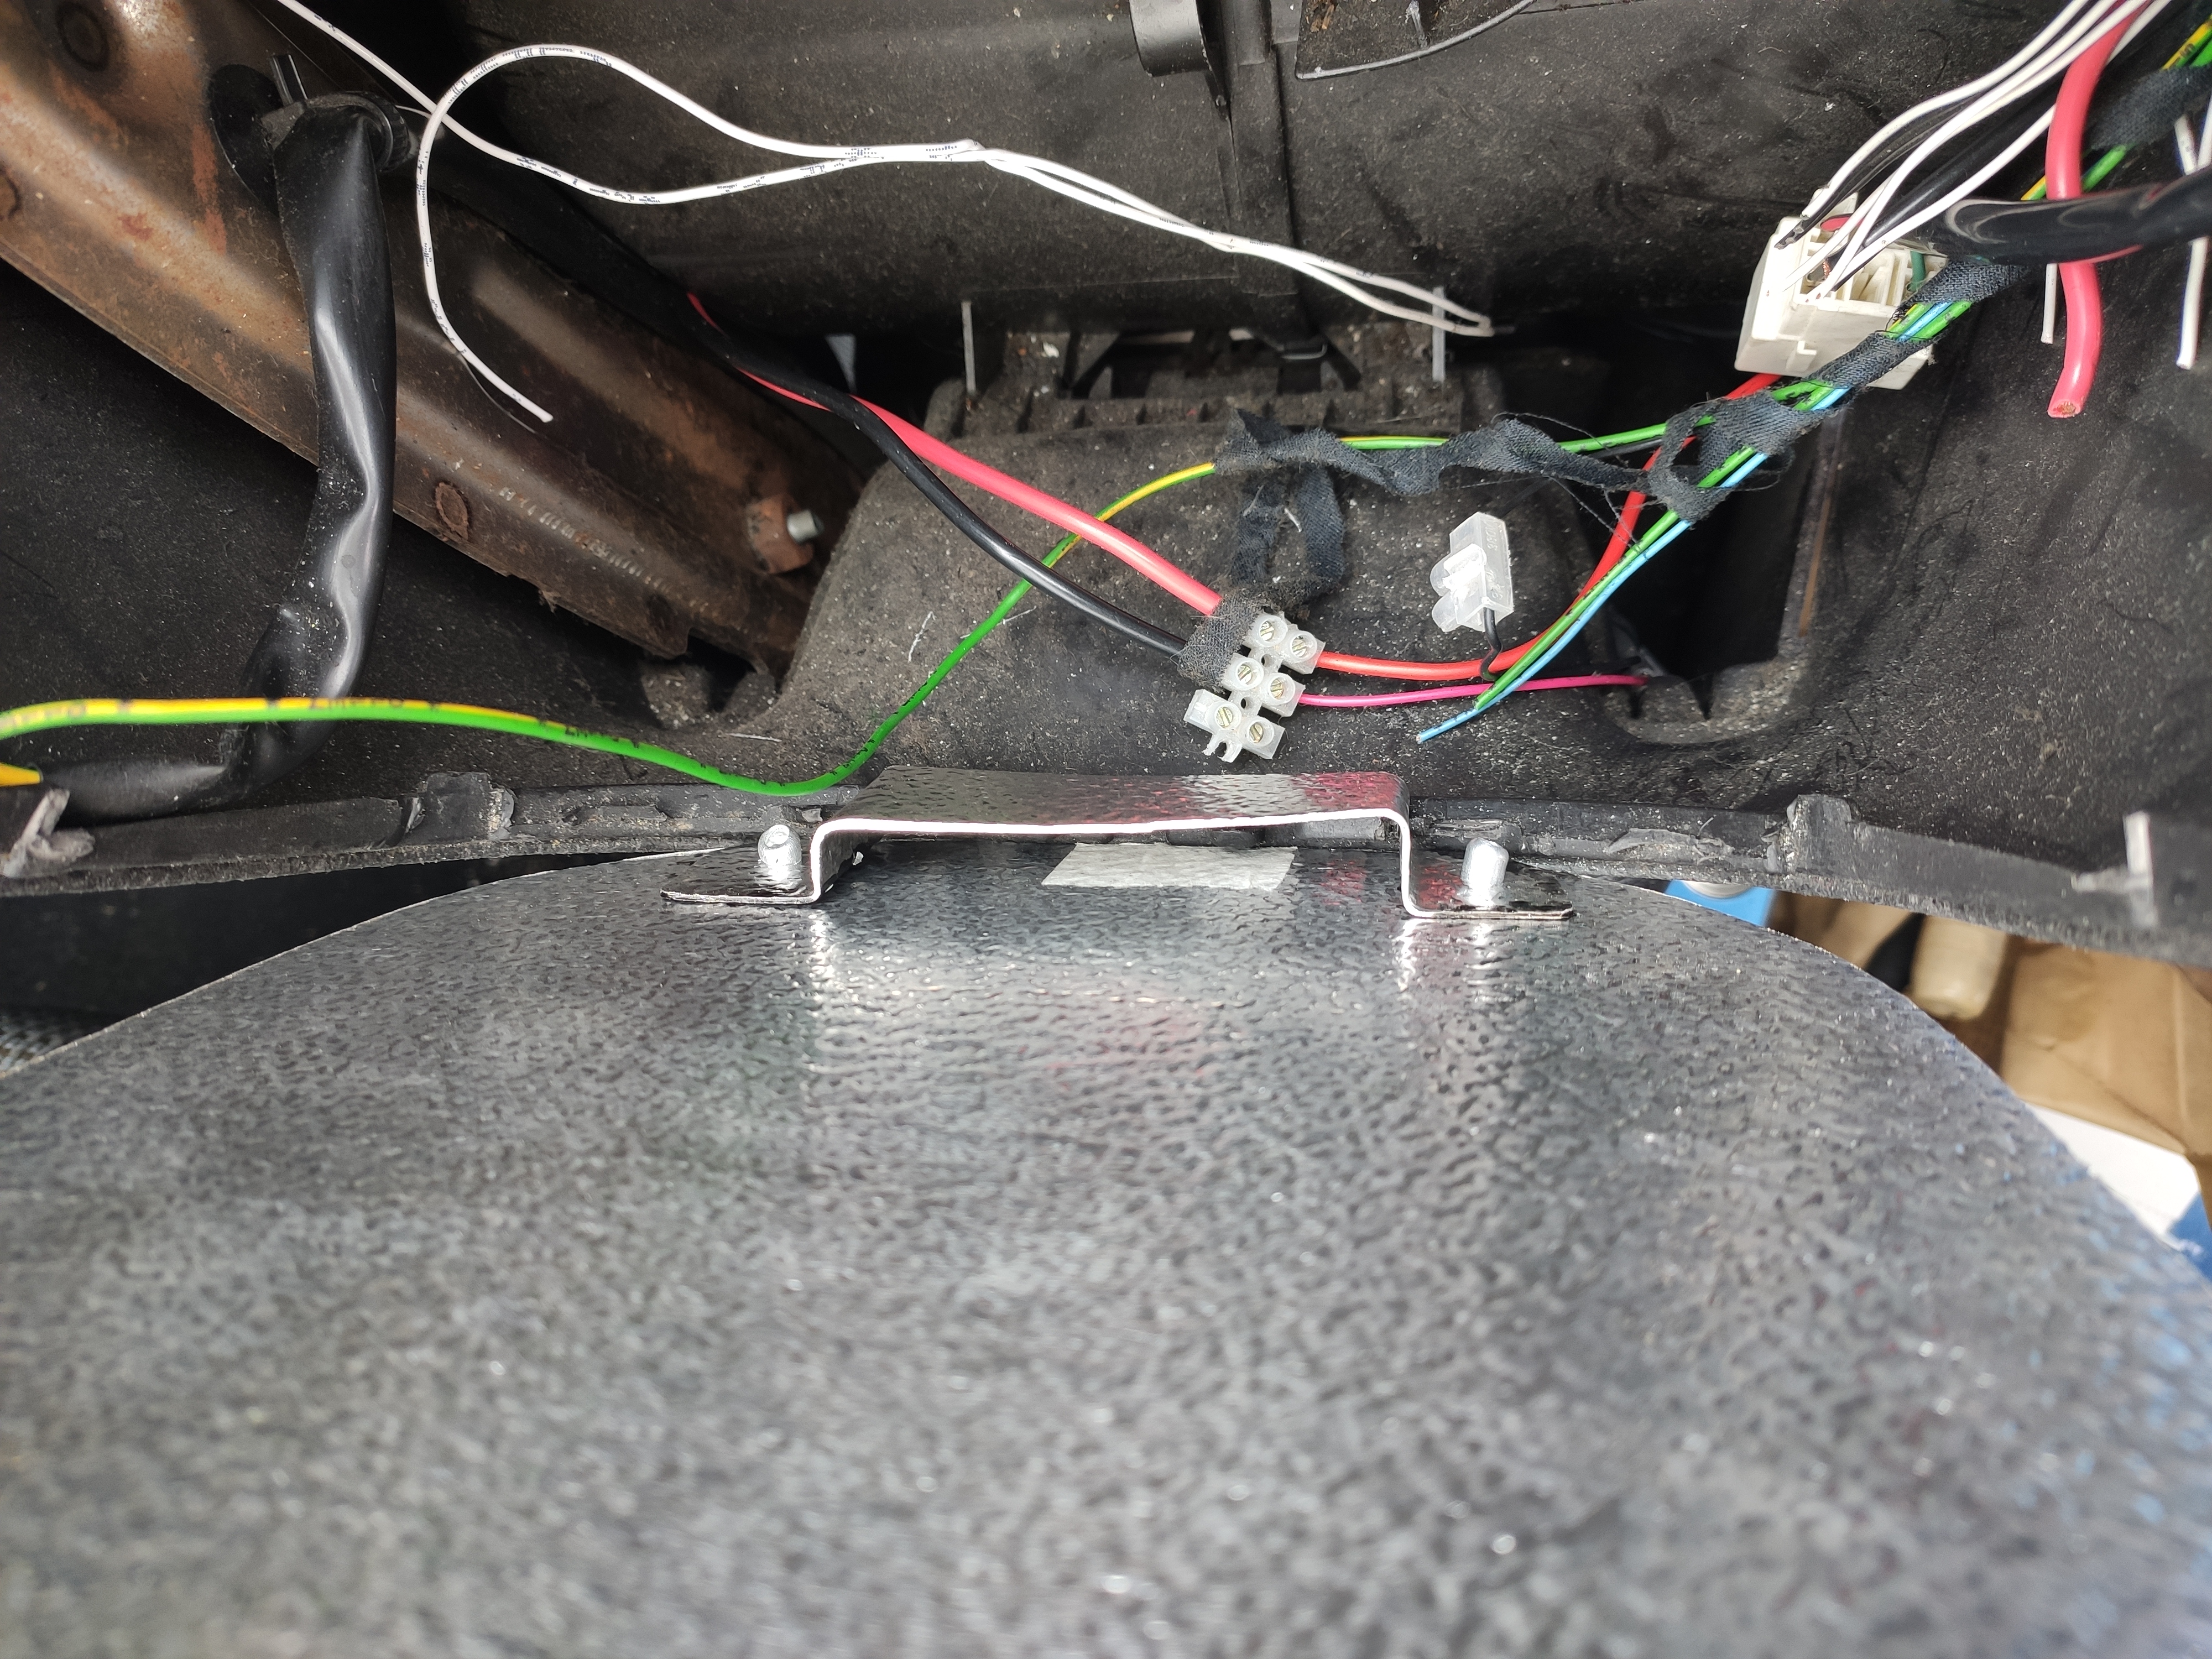
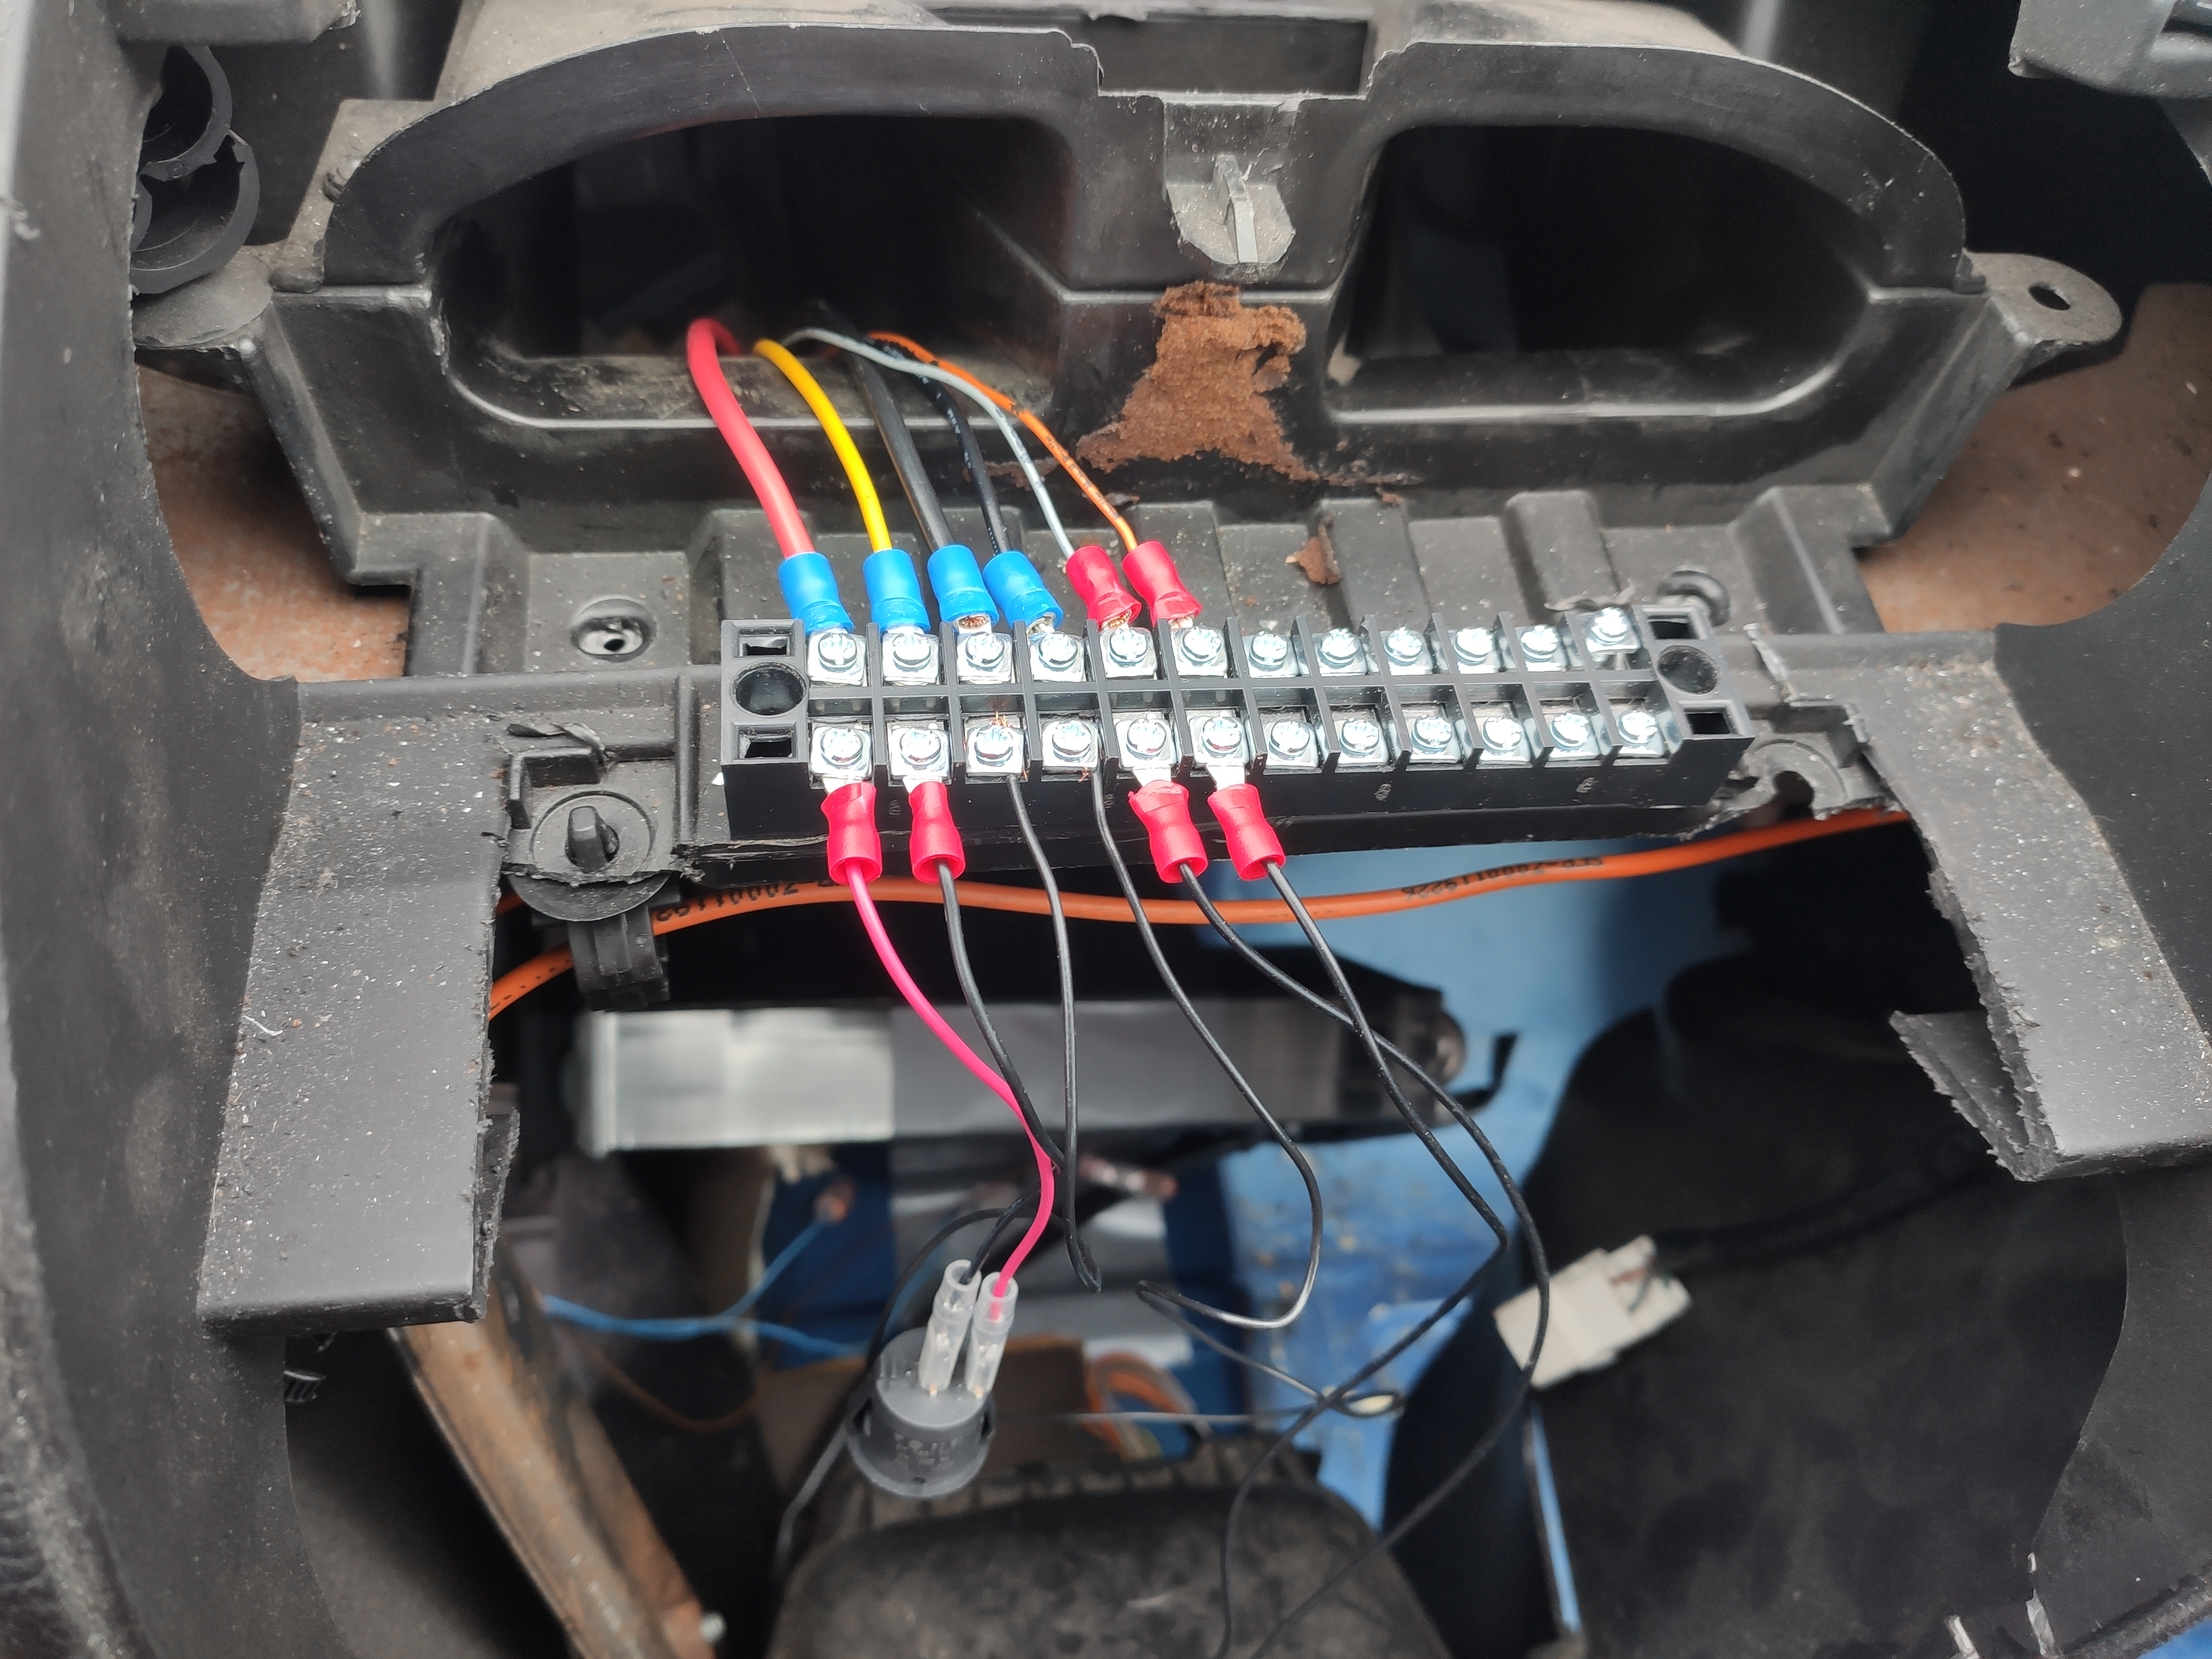
It was time for some wiring now.
With some cable shoes, I hooked up everything to a little terminal block so I can "easily" remove everything if I need to in the future.
As luck would have it, there was a very convenient little spot for me to mount the block onto.
Most of the slots aren’t filled up yet, which leaves room for expansion.
In the future, I might add in connectors instead but this will do for now.
I also routed most of the cables through the old vent as that made the runs ever so slightly shorter.

Next up, I drilled some holes and fit the switches into place.
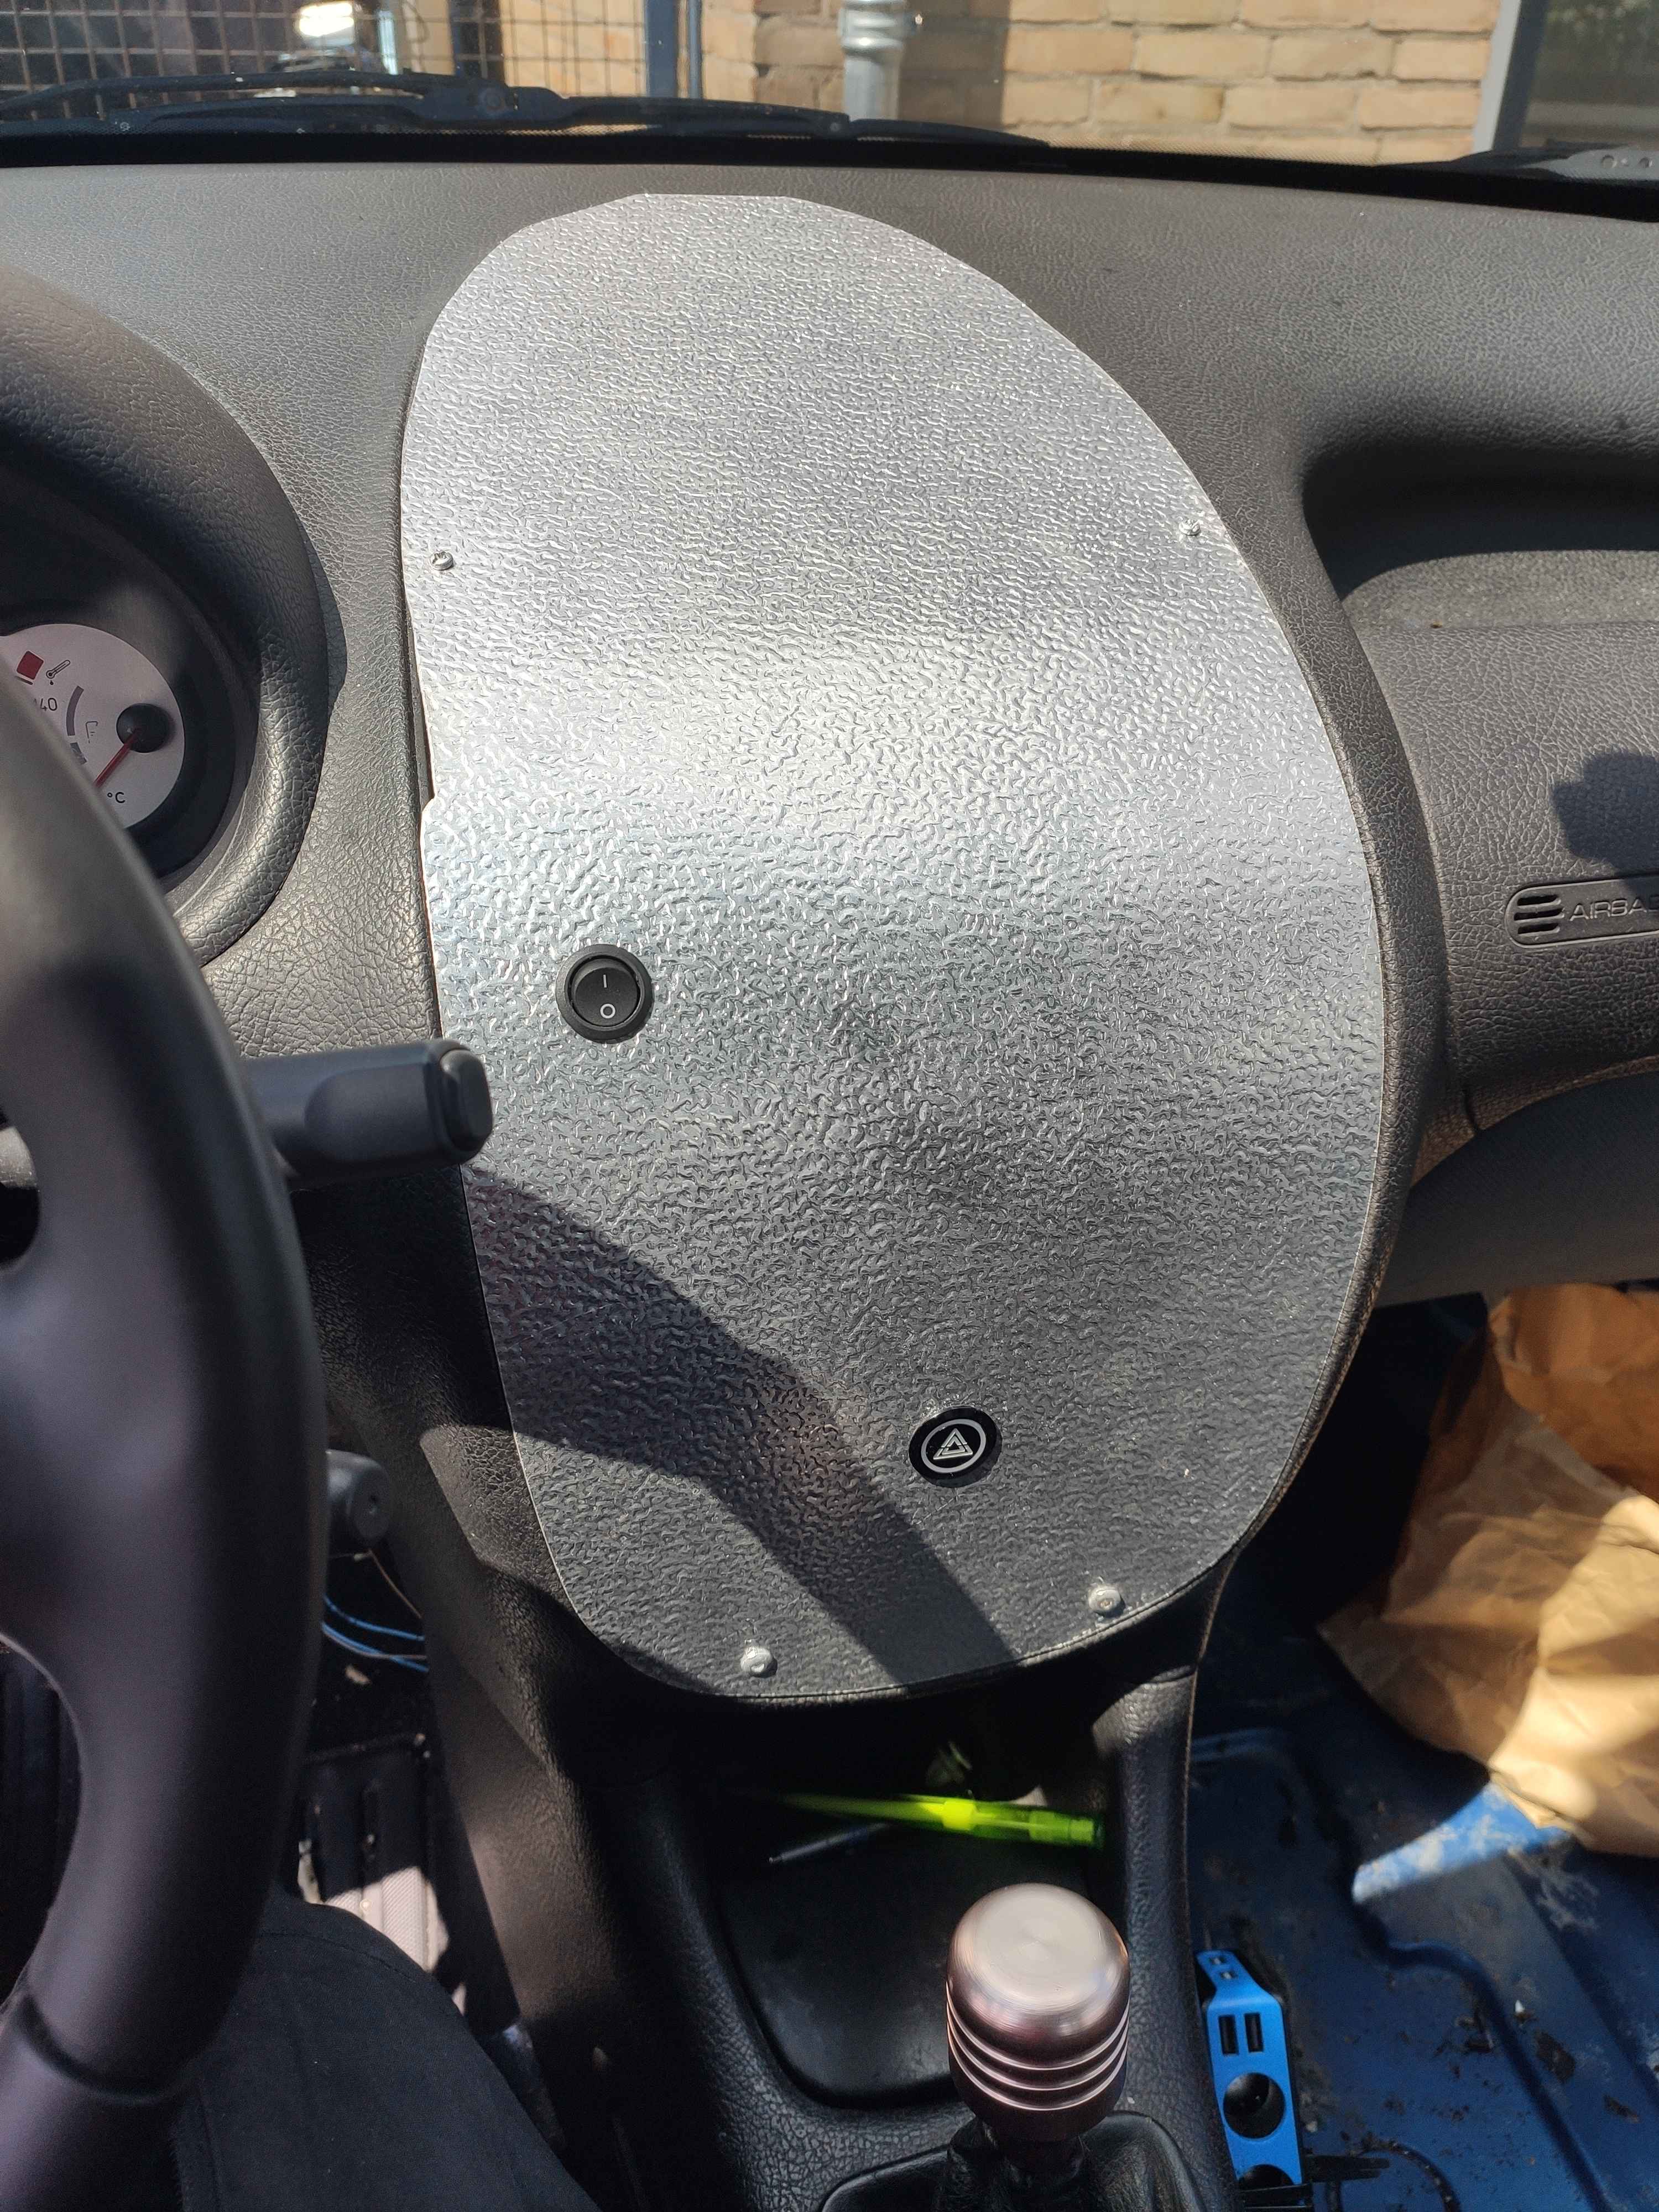
The hazard light does have a light inside but I’d need to poke around in the BSI’s wiring to figure out which one it is.
That’ll be a problem for future me.
Additionally, in the future, I’ll probably have the 12V and GND go to its own small fuseblock.
That way, I can hook up more things without needing to worry things blow up.
But, with that said, it was time for the MOT!
Which it finally managed to pass!
However, CO readings from the 4-gas test were on the high-side, so that requires some more investigation in the coming year.
Door bags
I often carry around some stuff for the car when I’m hitting the road a bit further away from home.
Things like a notebook, pen, tire pressure gauge and tire thread gauge.
Usually, I had these in the glove box but this led to a small problem: Things would start moving around when taking corners.
While this wasn’t a huge issue, it did cause some annoyances that threw off my concentration at times.
As such, I got a Sabelt Co-driver bag and with some velcro tape, strapped it to the door.
Just clean the door with some soapy water, dry it off with a towel and stick it right on.
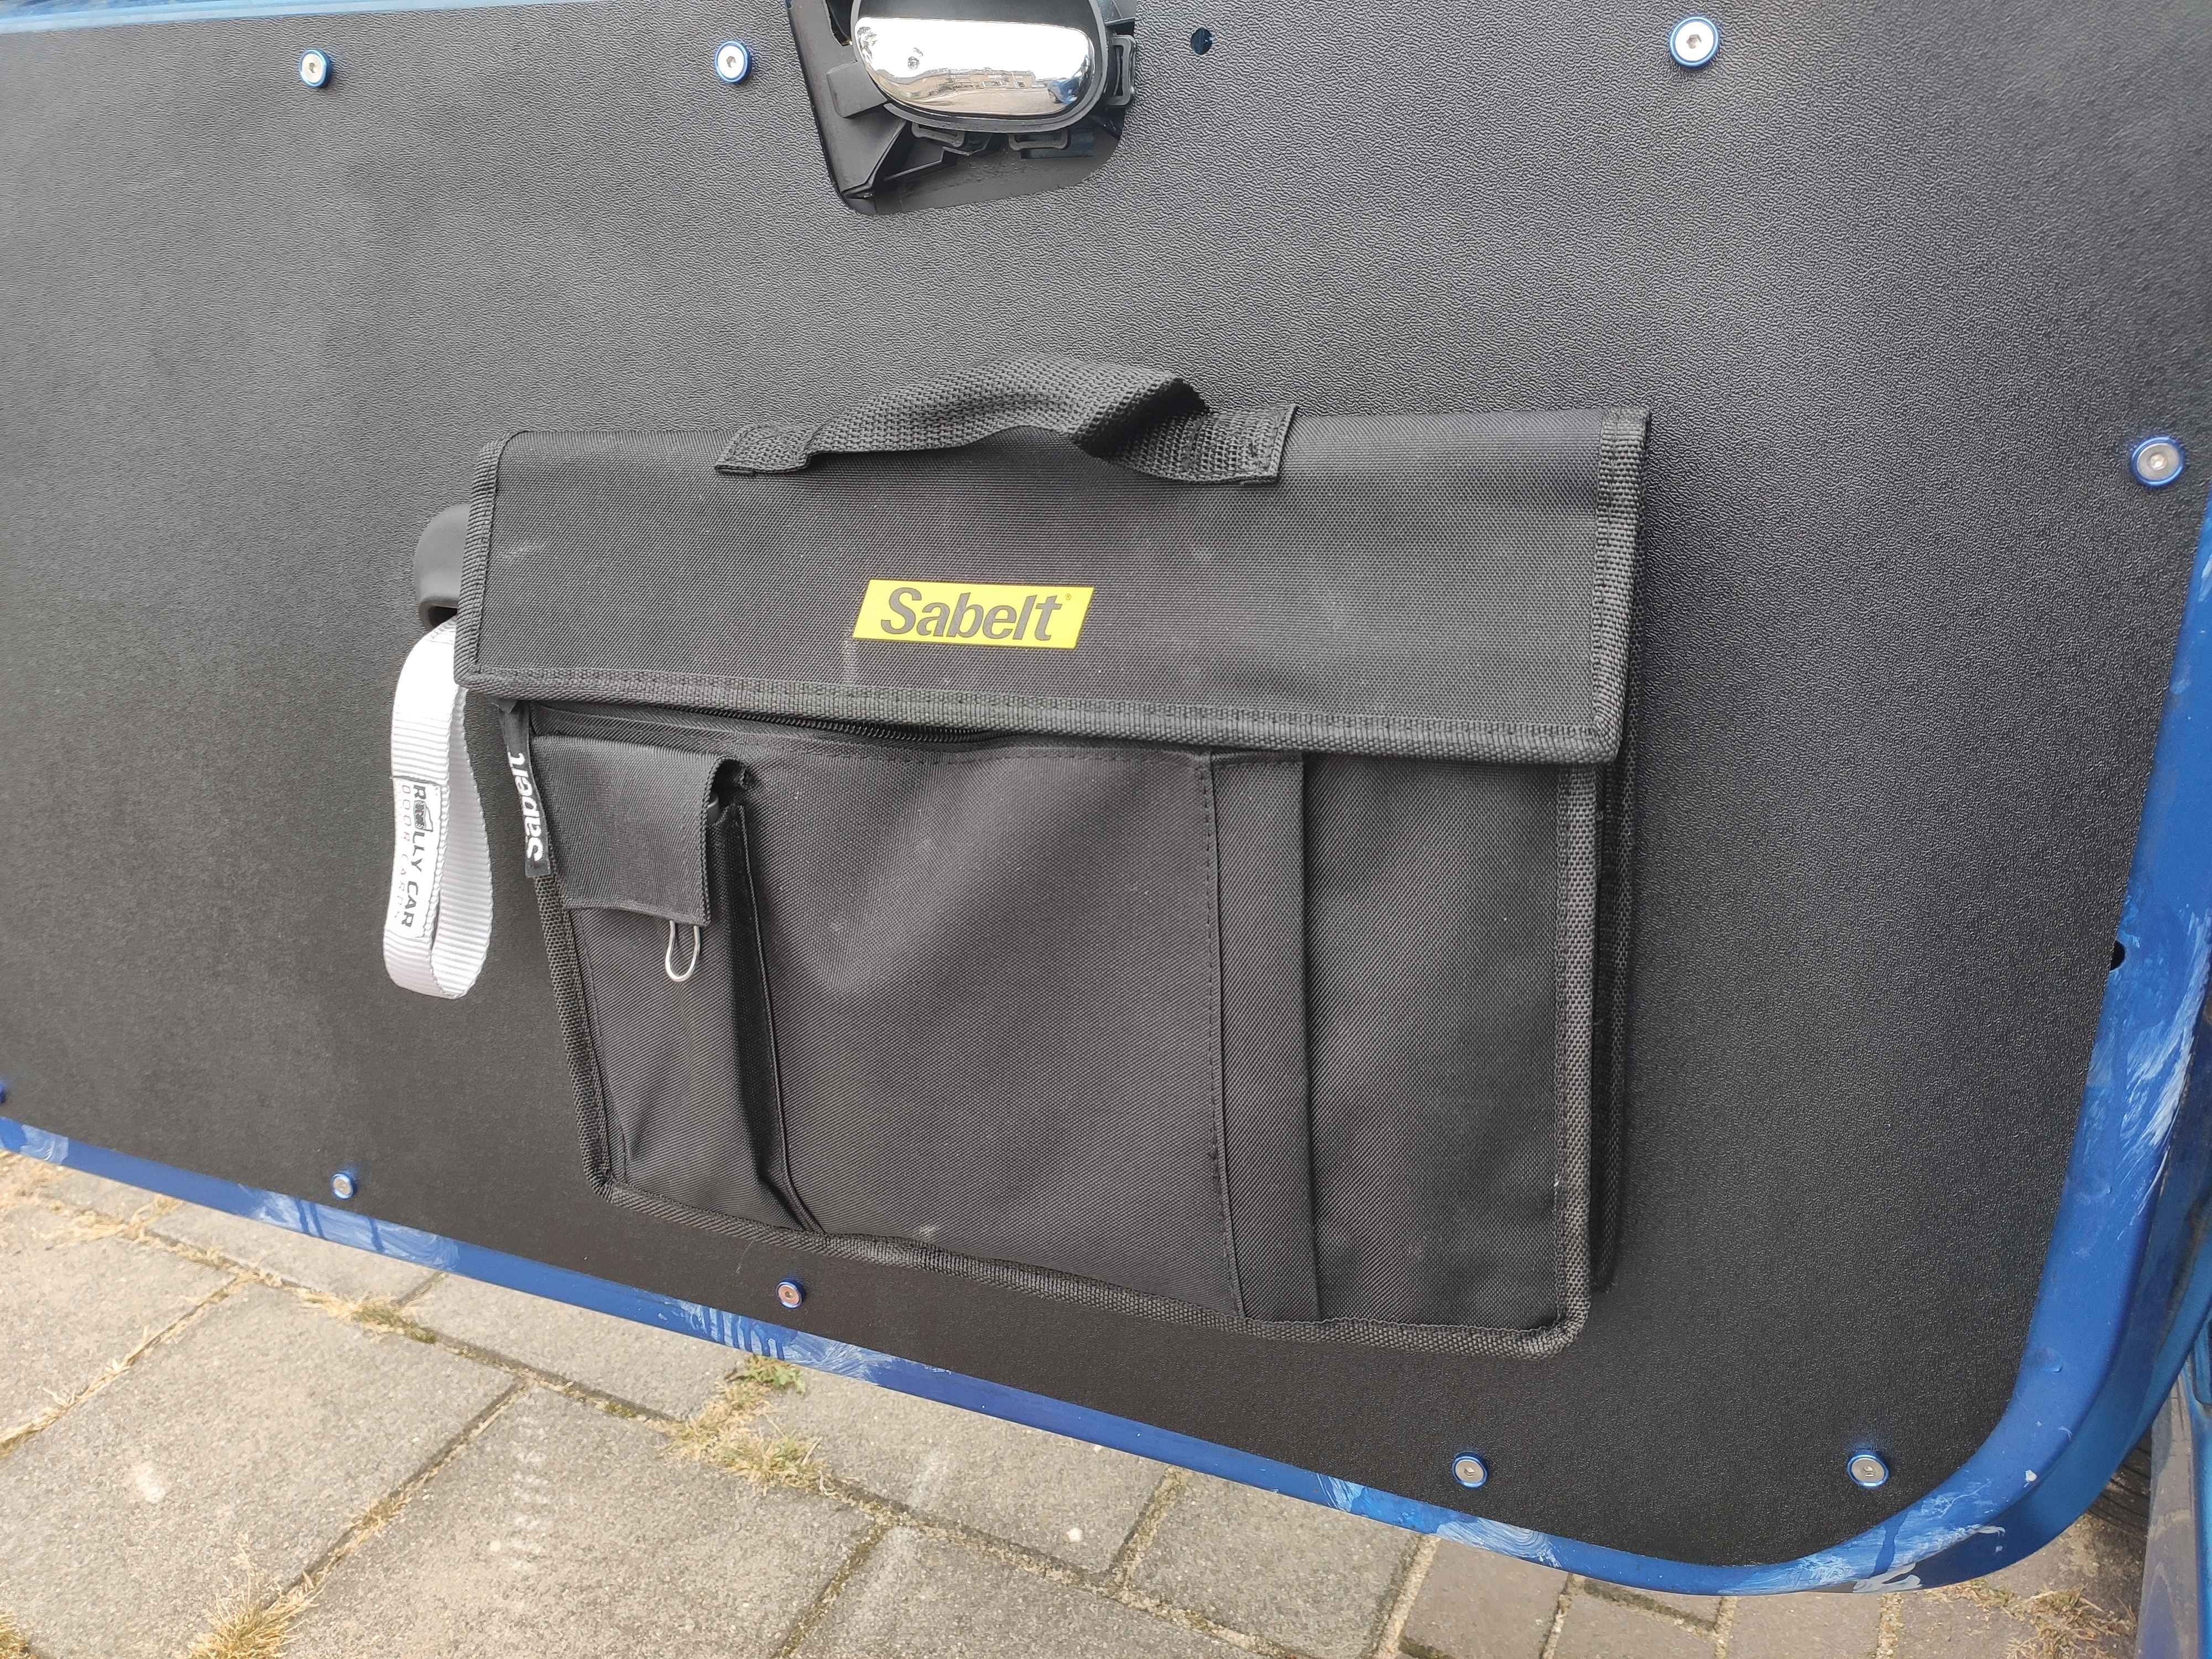
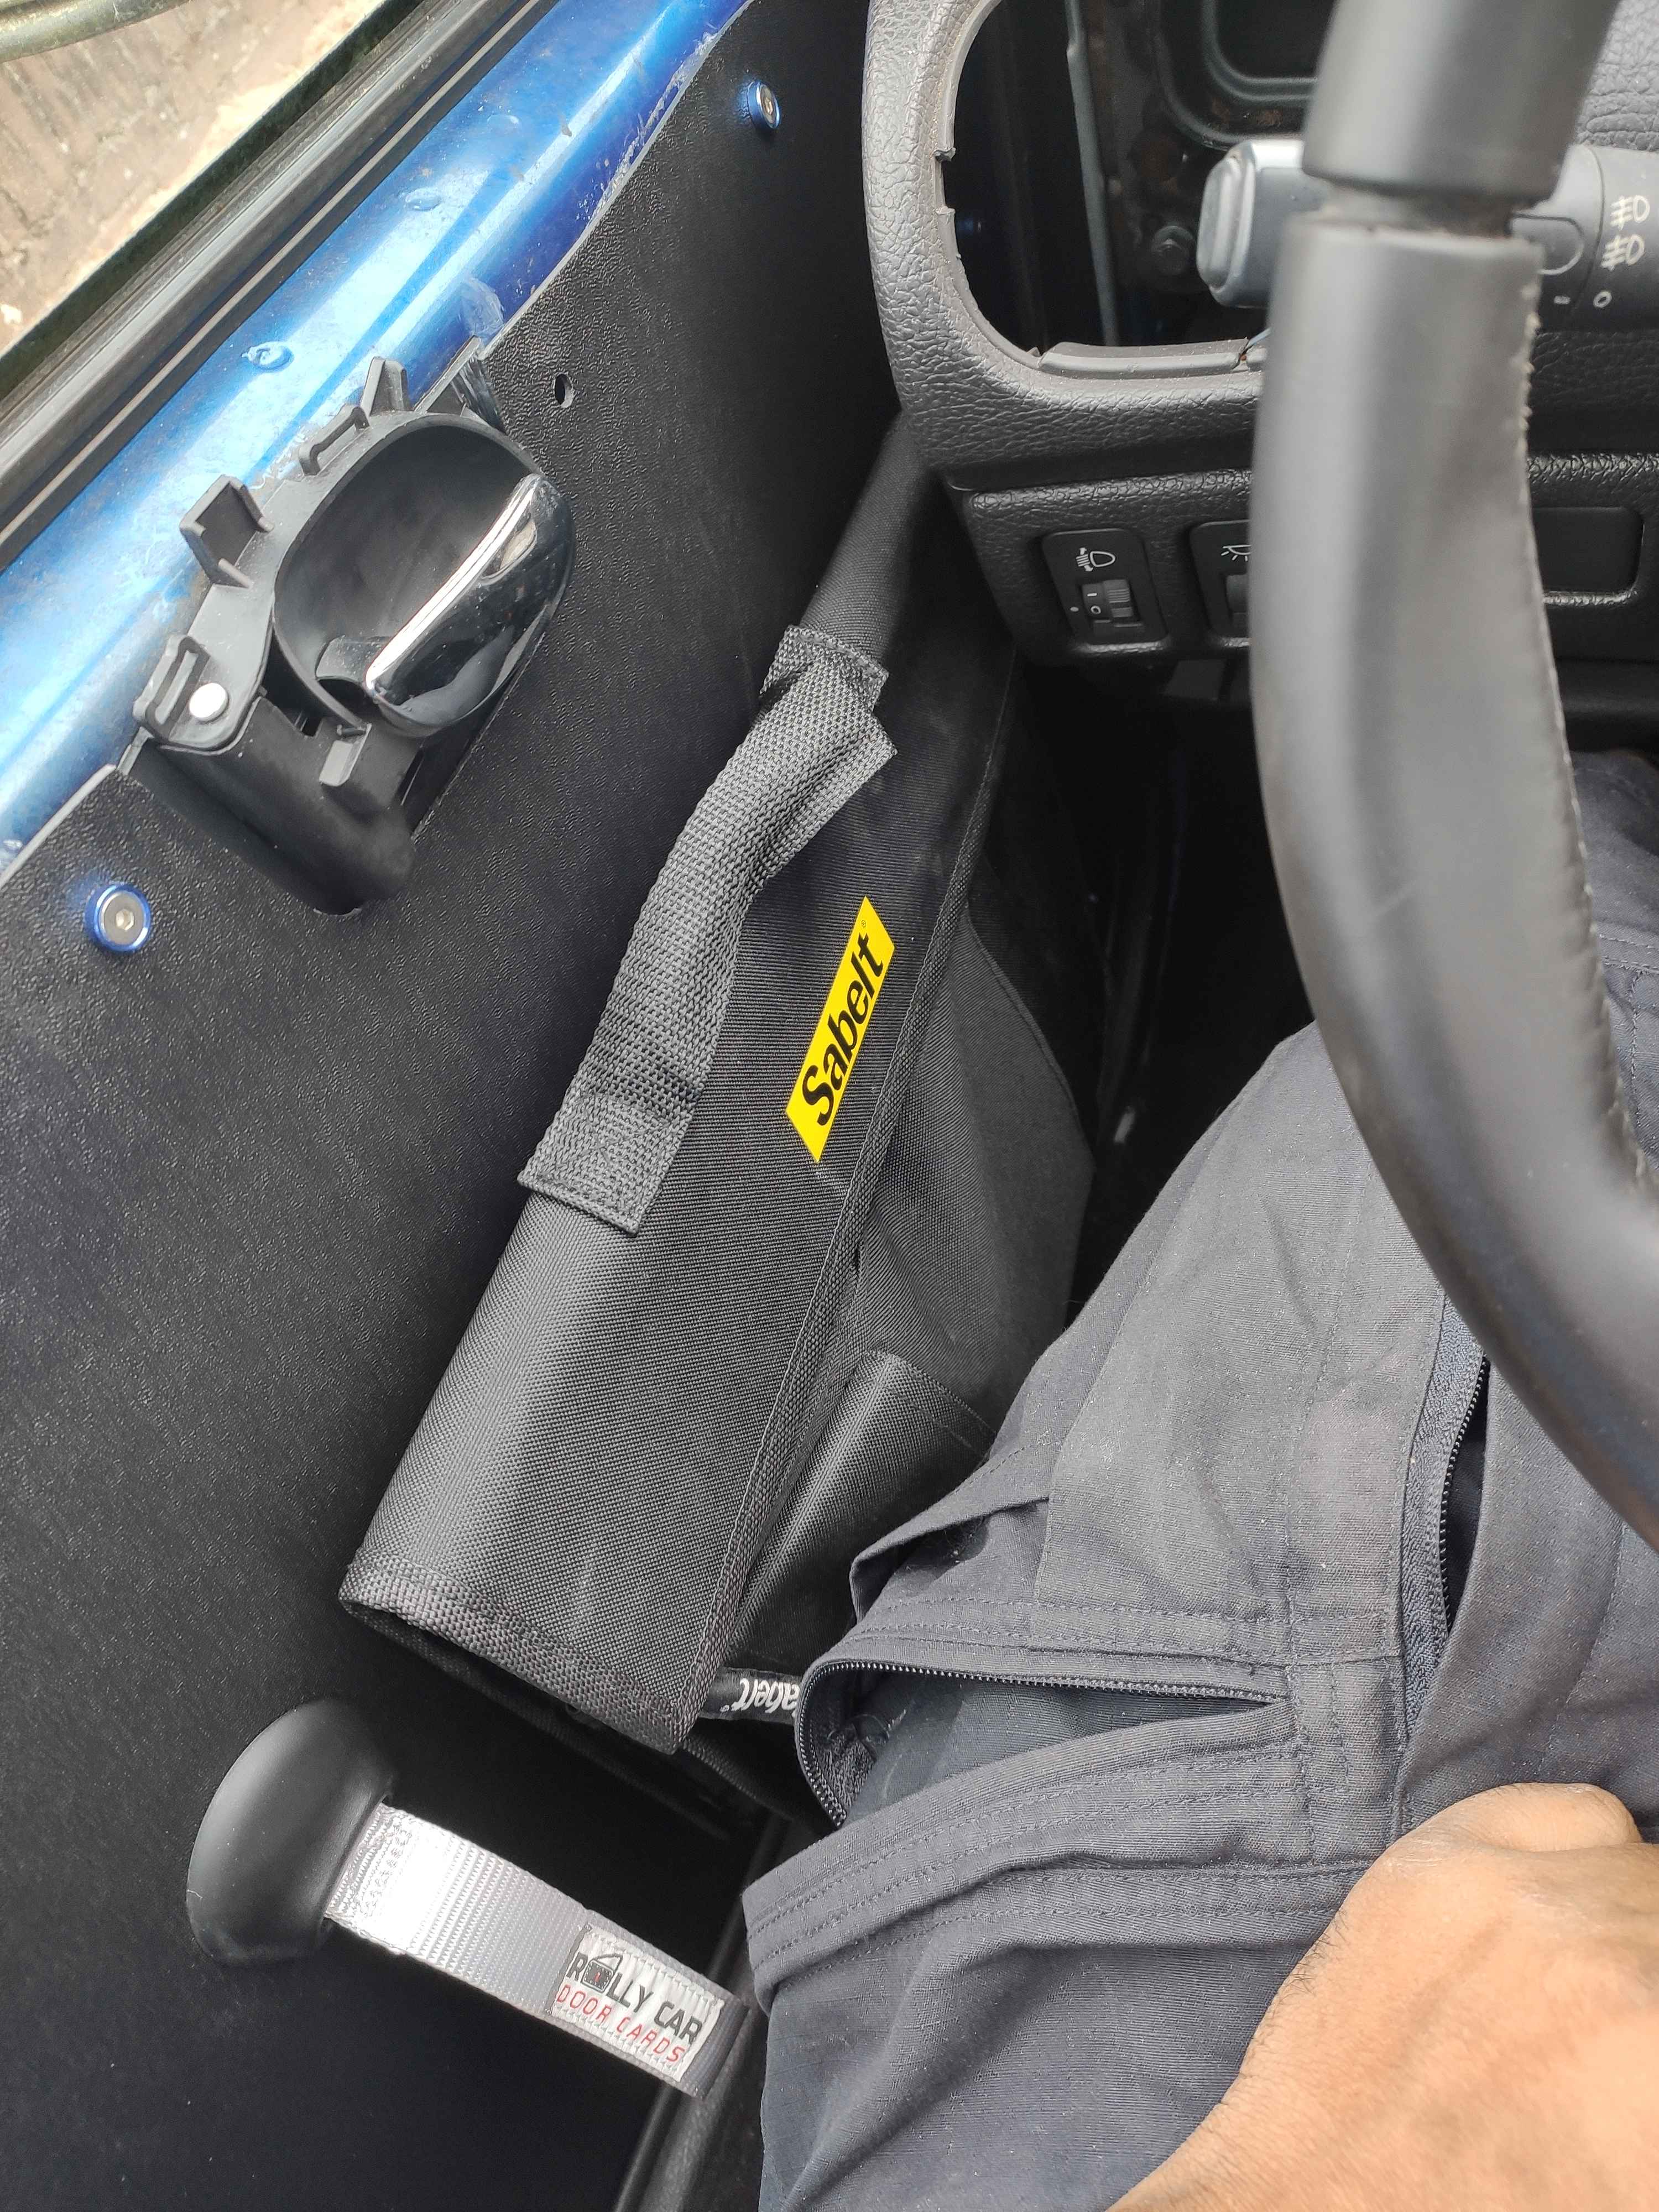
Because they kept unsticking a lot, I decided to drill some holes and just rivet them in place.

In the end, I should have placed the little strips of velcro closer to each other because sometimes, it can be a bit wonky to put the bag on.
I might fix this in the future by adding a third strip of velco in the middle.
Engine Tune 2: Engine Brake Boogaloo
While driving the car, I noticed that there was no real engine braking going on and it kept the lambda value at `1.0`0.
This may be good for race driving as letting go of the pedal won’t upset the car’s balance, however, with my road driving style, this can cost quite a bit of fuel.
Additionally, I use the engine brake quite extensively as it lowers the amount of brake force I need to apply and allows me to brake faster in case of an emergency (mostly when I’m just cruising and not using left-foot braking as a result).
And finally, that little bit of time the engine already starts braking for me can make the difference between rear-ending someone or not.
After some trial and error on a parking lot with the Base Setup → Rev Limit / Overrun / Safety tab, these are the values I ended up with:
-
Fuelcut below: 16kPa
-
Fuelcut RPM: 2000
-
Fuel Resume RPM: 1800
-
Fuelcut Delay: 0.1
This causes a very stong engine brake (especially in the higher-RPMs) but it fits my driving style.
A downside to this, is that it upsets the car’s weight both when engine braking and getting back on the gas again.
At first, I thought this was caused by a lean tip-in but in fact, it was actually the anti-stall causing things to run rich.
After some trial and error, I settled on the following parameters:
-
Fuelcut below: 10kPA
-
Fuelcut RPM: 2300
-
Fuel Resume RPM: 2200
-
Fuelcut Delay: 0.1
This pretty much caused the entire issue to go away.
However, it does mean that during city driving, I won’t be able to use as much engine braking without downshifting a lot.
I might change up the manifold pressure down the road a bit but for now, these settings are fine.
You can find the updated configs here.
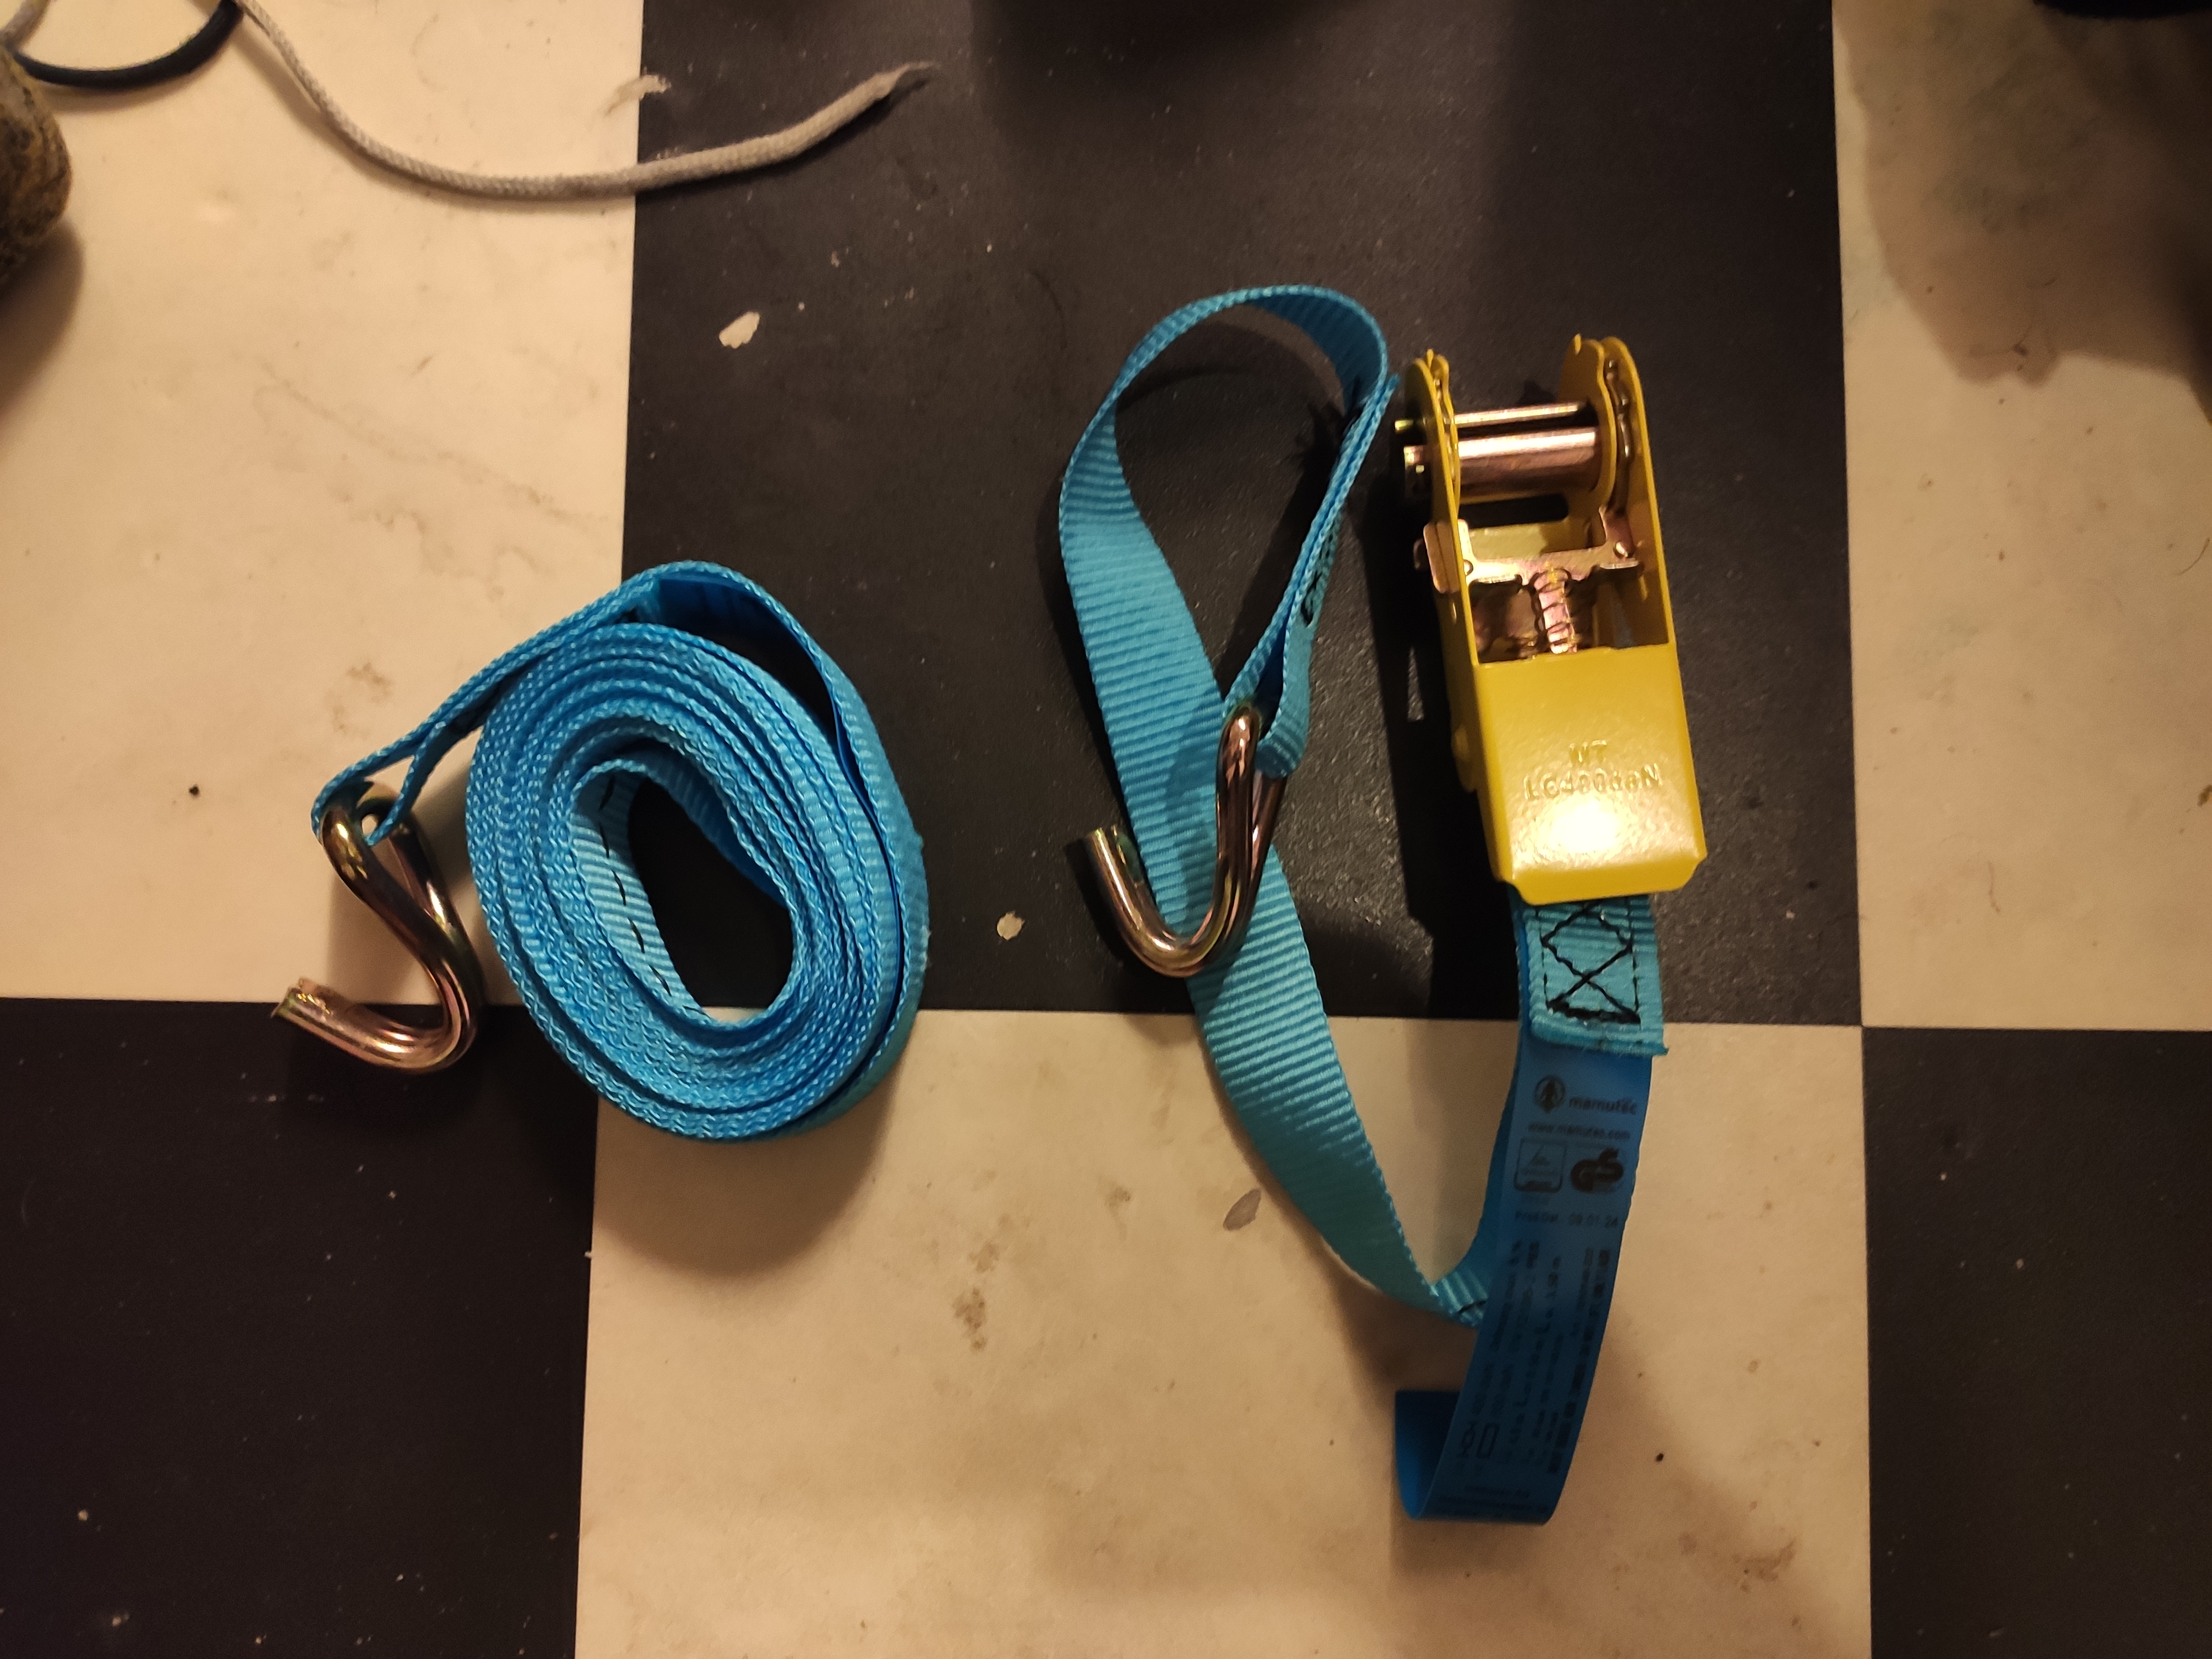
Ratchet Straps
I often try to limit the amount of fuel I have in the car to save some weight (and thus save fuel), however, this means storing the fuel in two 20L jerry cans as the fuel stations around the corner are too expensive while the cheaper one takes a 15 minute drive across the German border.
Seriously, it saves me around 29 cents/L (so almost 12 euro for 40L!), so it’s well worth it for me.
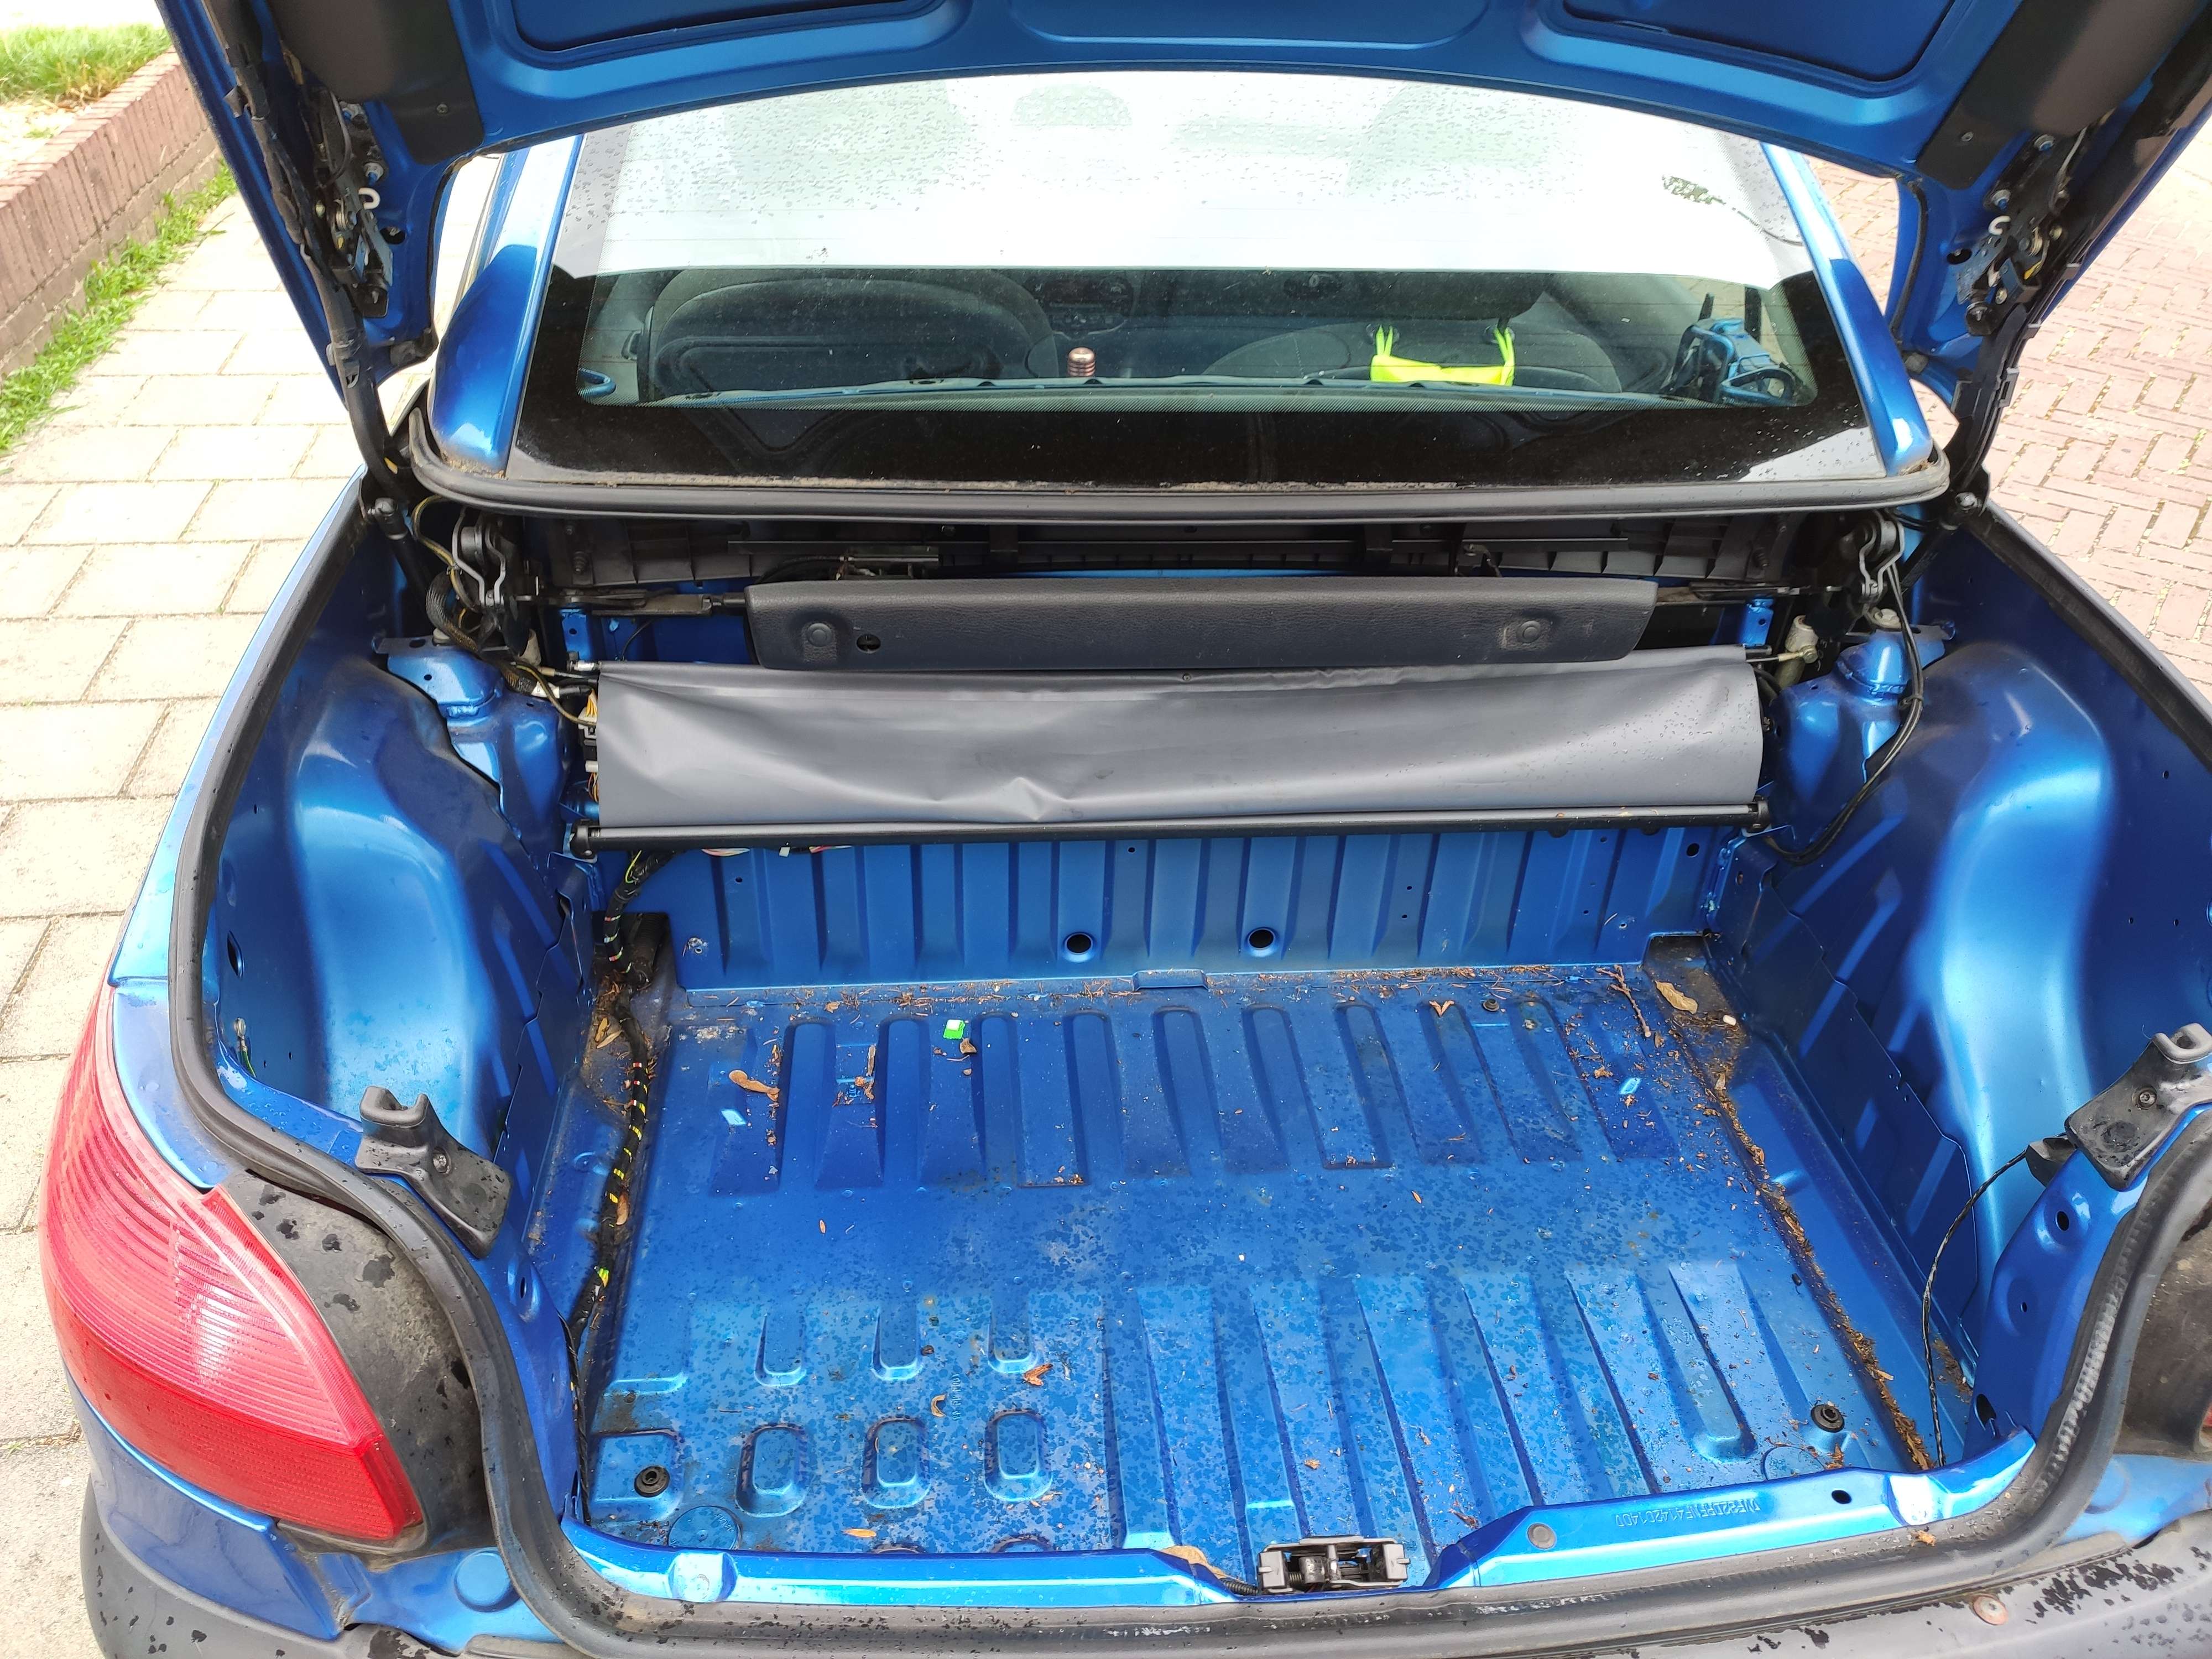
However, the jerry cans often slide around in the back while I’m cornering and since I’ve removed the carpet in the back, this has become even worse.
As a result, I’ve decided to put some ratchet straps in the back, not just useful when I’m carrying around the jerry cans but also when I’m carrying other cargo (such as camera equipment).
Sadly, my trunk doesn’t exactly have places for me to mount the strap to safely, so I had to add them myself.
Luckily, the trunk bed as a single bottom, so it was easy to work with.
My idea was to just bolt in some hooks to the bed to which I can hook the straps.
Since the maximum load I want to transport in the trunk is around 100kg, I want to be setup for that.
So I got some hooks that are rated for a WLL of 230kg because the WLL is calculated for upward stress rather than angled use (which is what most of my load will be).
For an angle of 45°, you need to lower that by 25% and for an angle of 90° you need to half it.
So by having a WLL of 230kg, it’d be at 115kg of WLL when having a 90° angle.
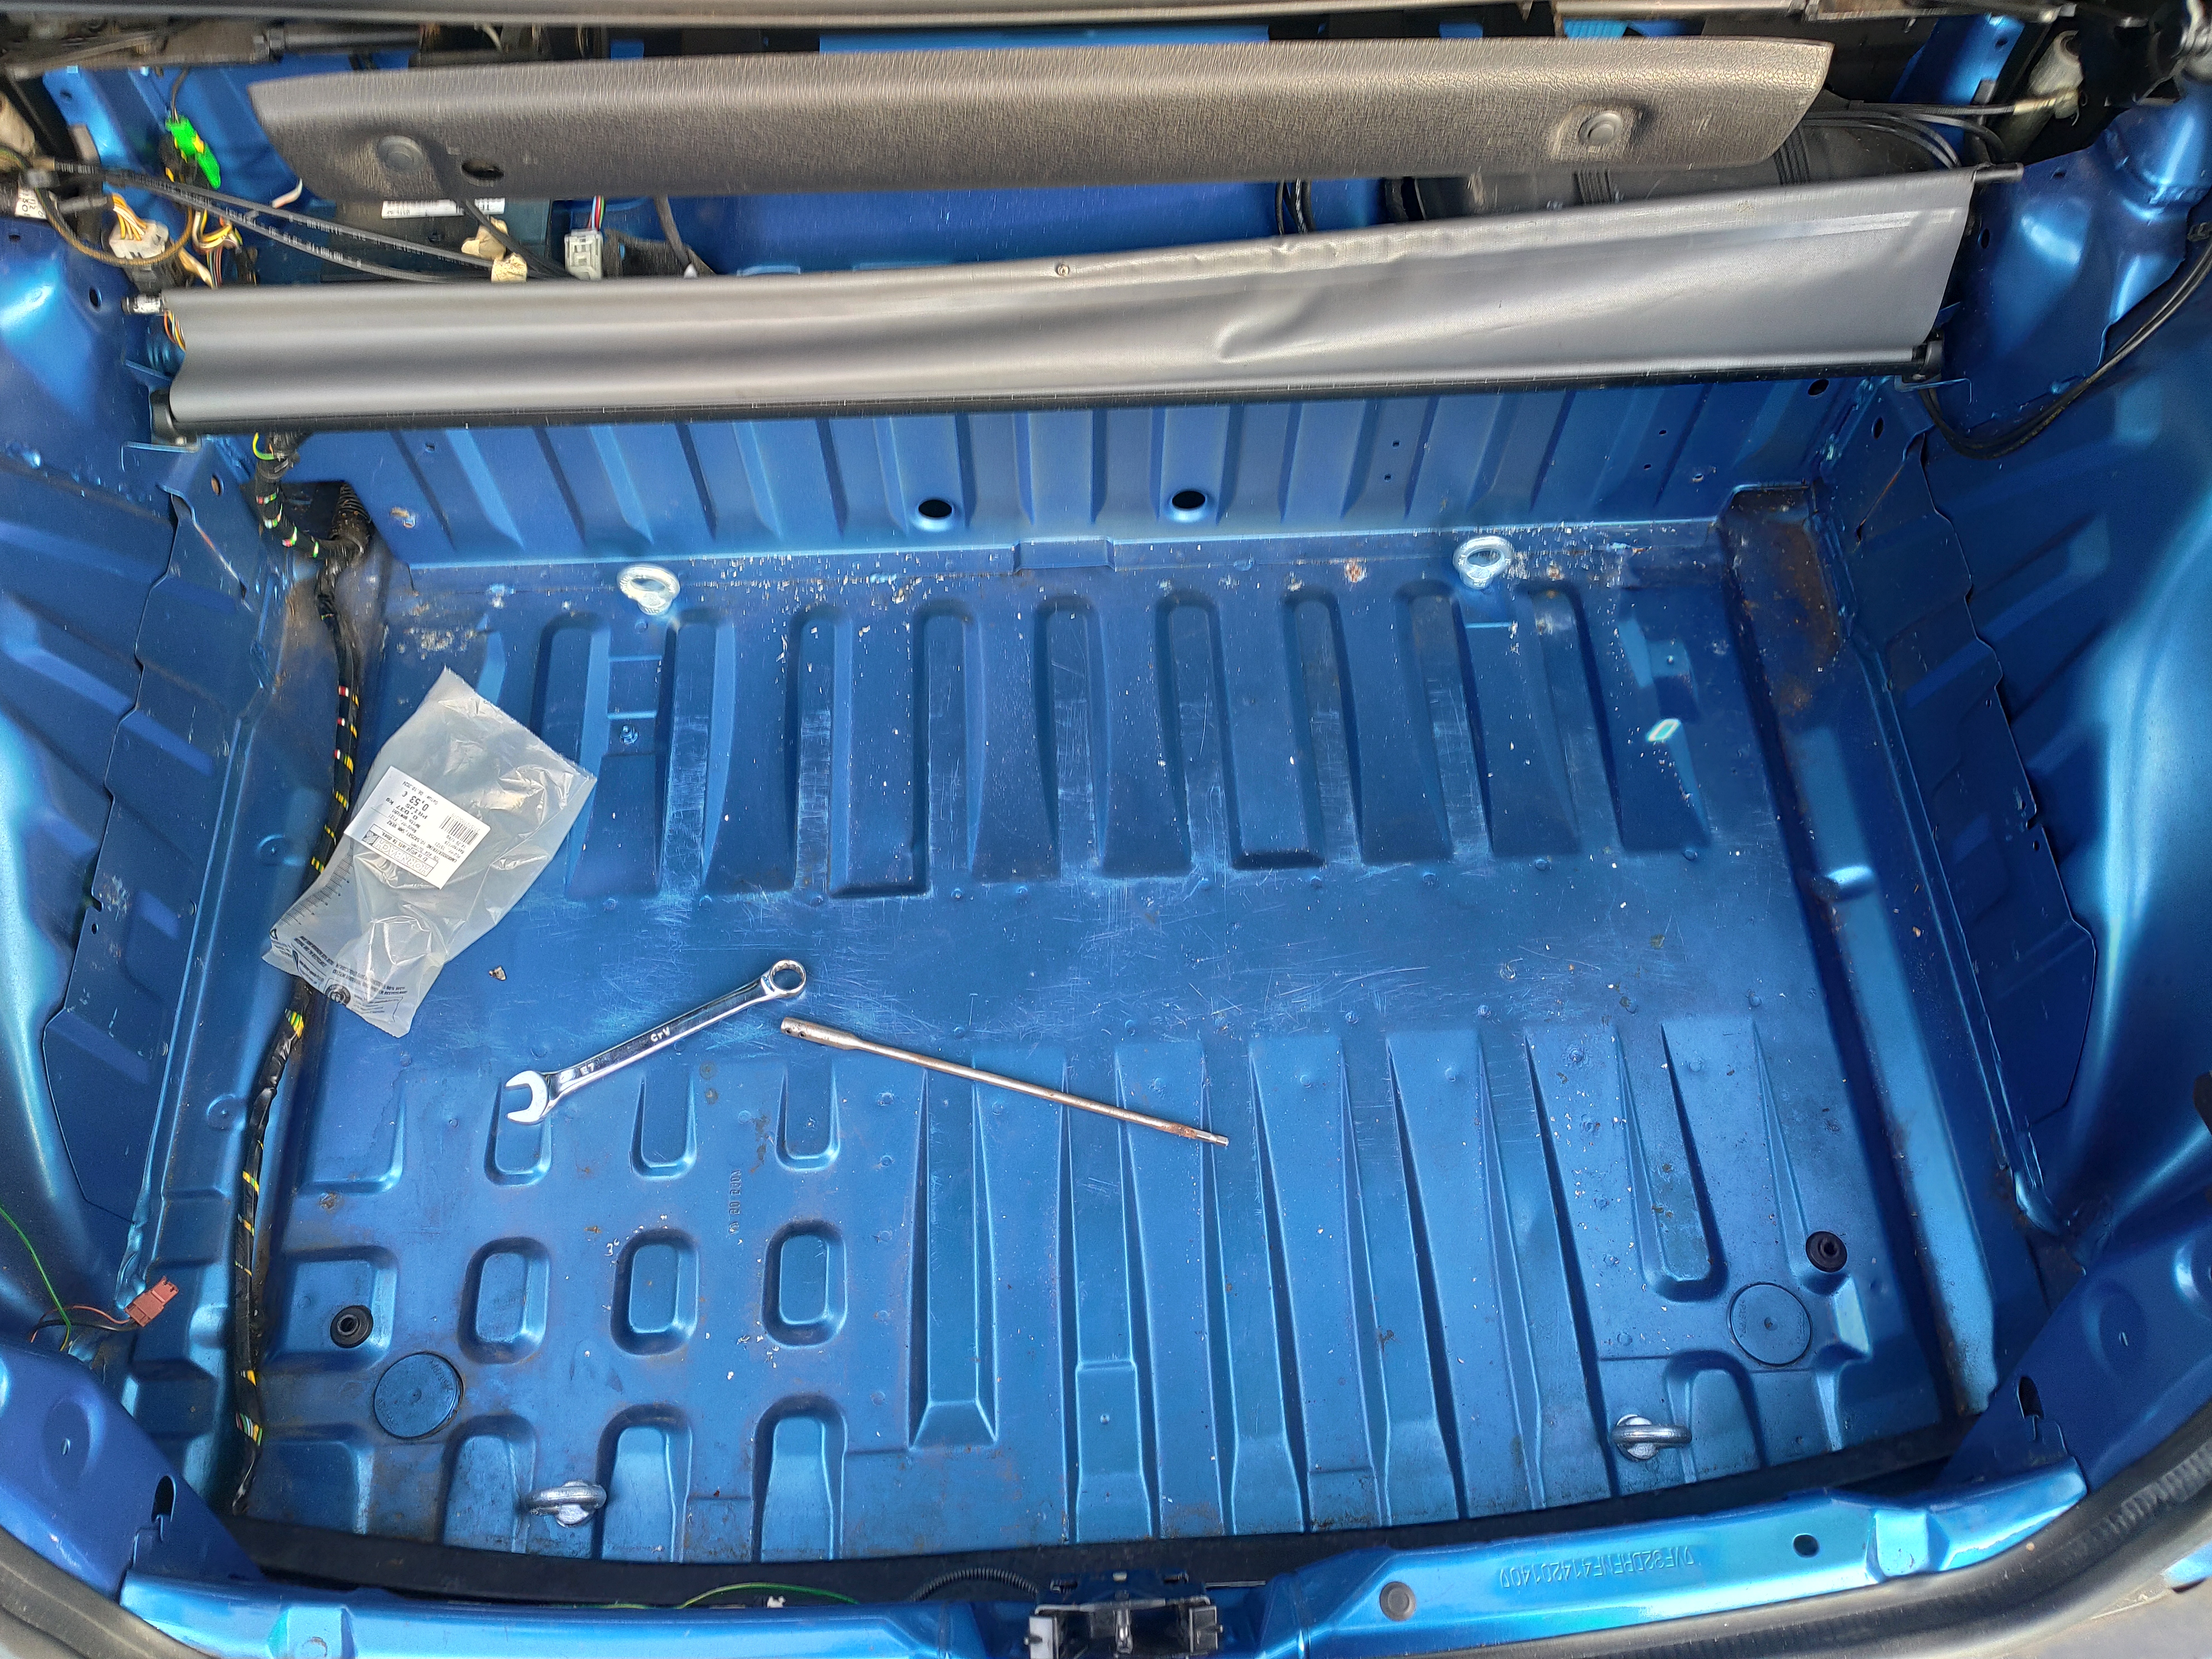
First I measured our where I wanted the hooks to be.
I decided to have them about 30cm from the walls on the sides to spread the load further out (but not so far that they are against the walls) and about 4cm from the walls front and back to give me room to hook in the ratchets.
After all the markings were done and I was happy with the placements, I drilled some holes, enlarged them with a bigger drill bit and sprayed a bit of pain in the holes to protect the bare metal.
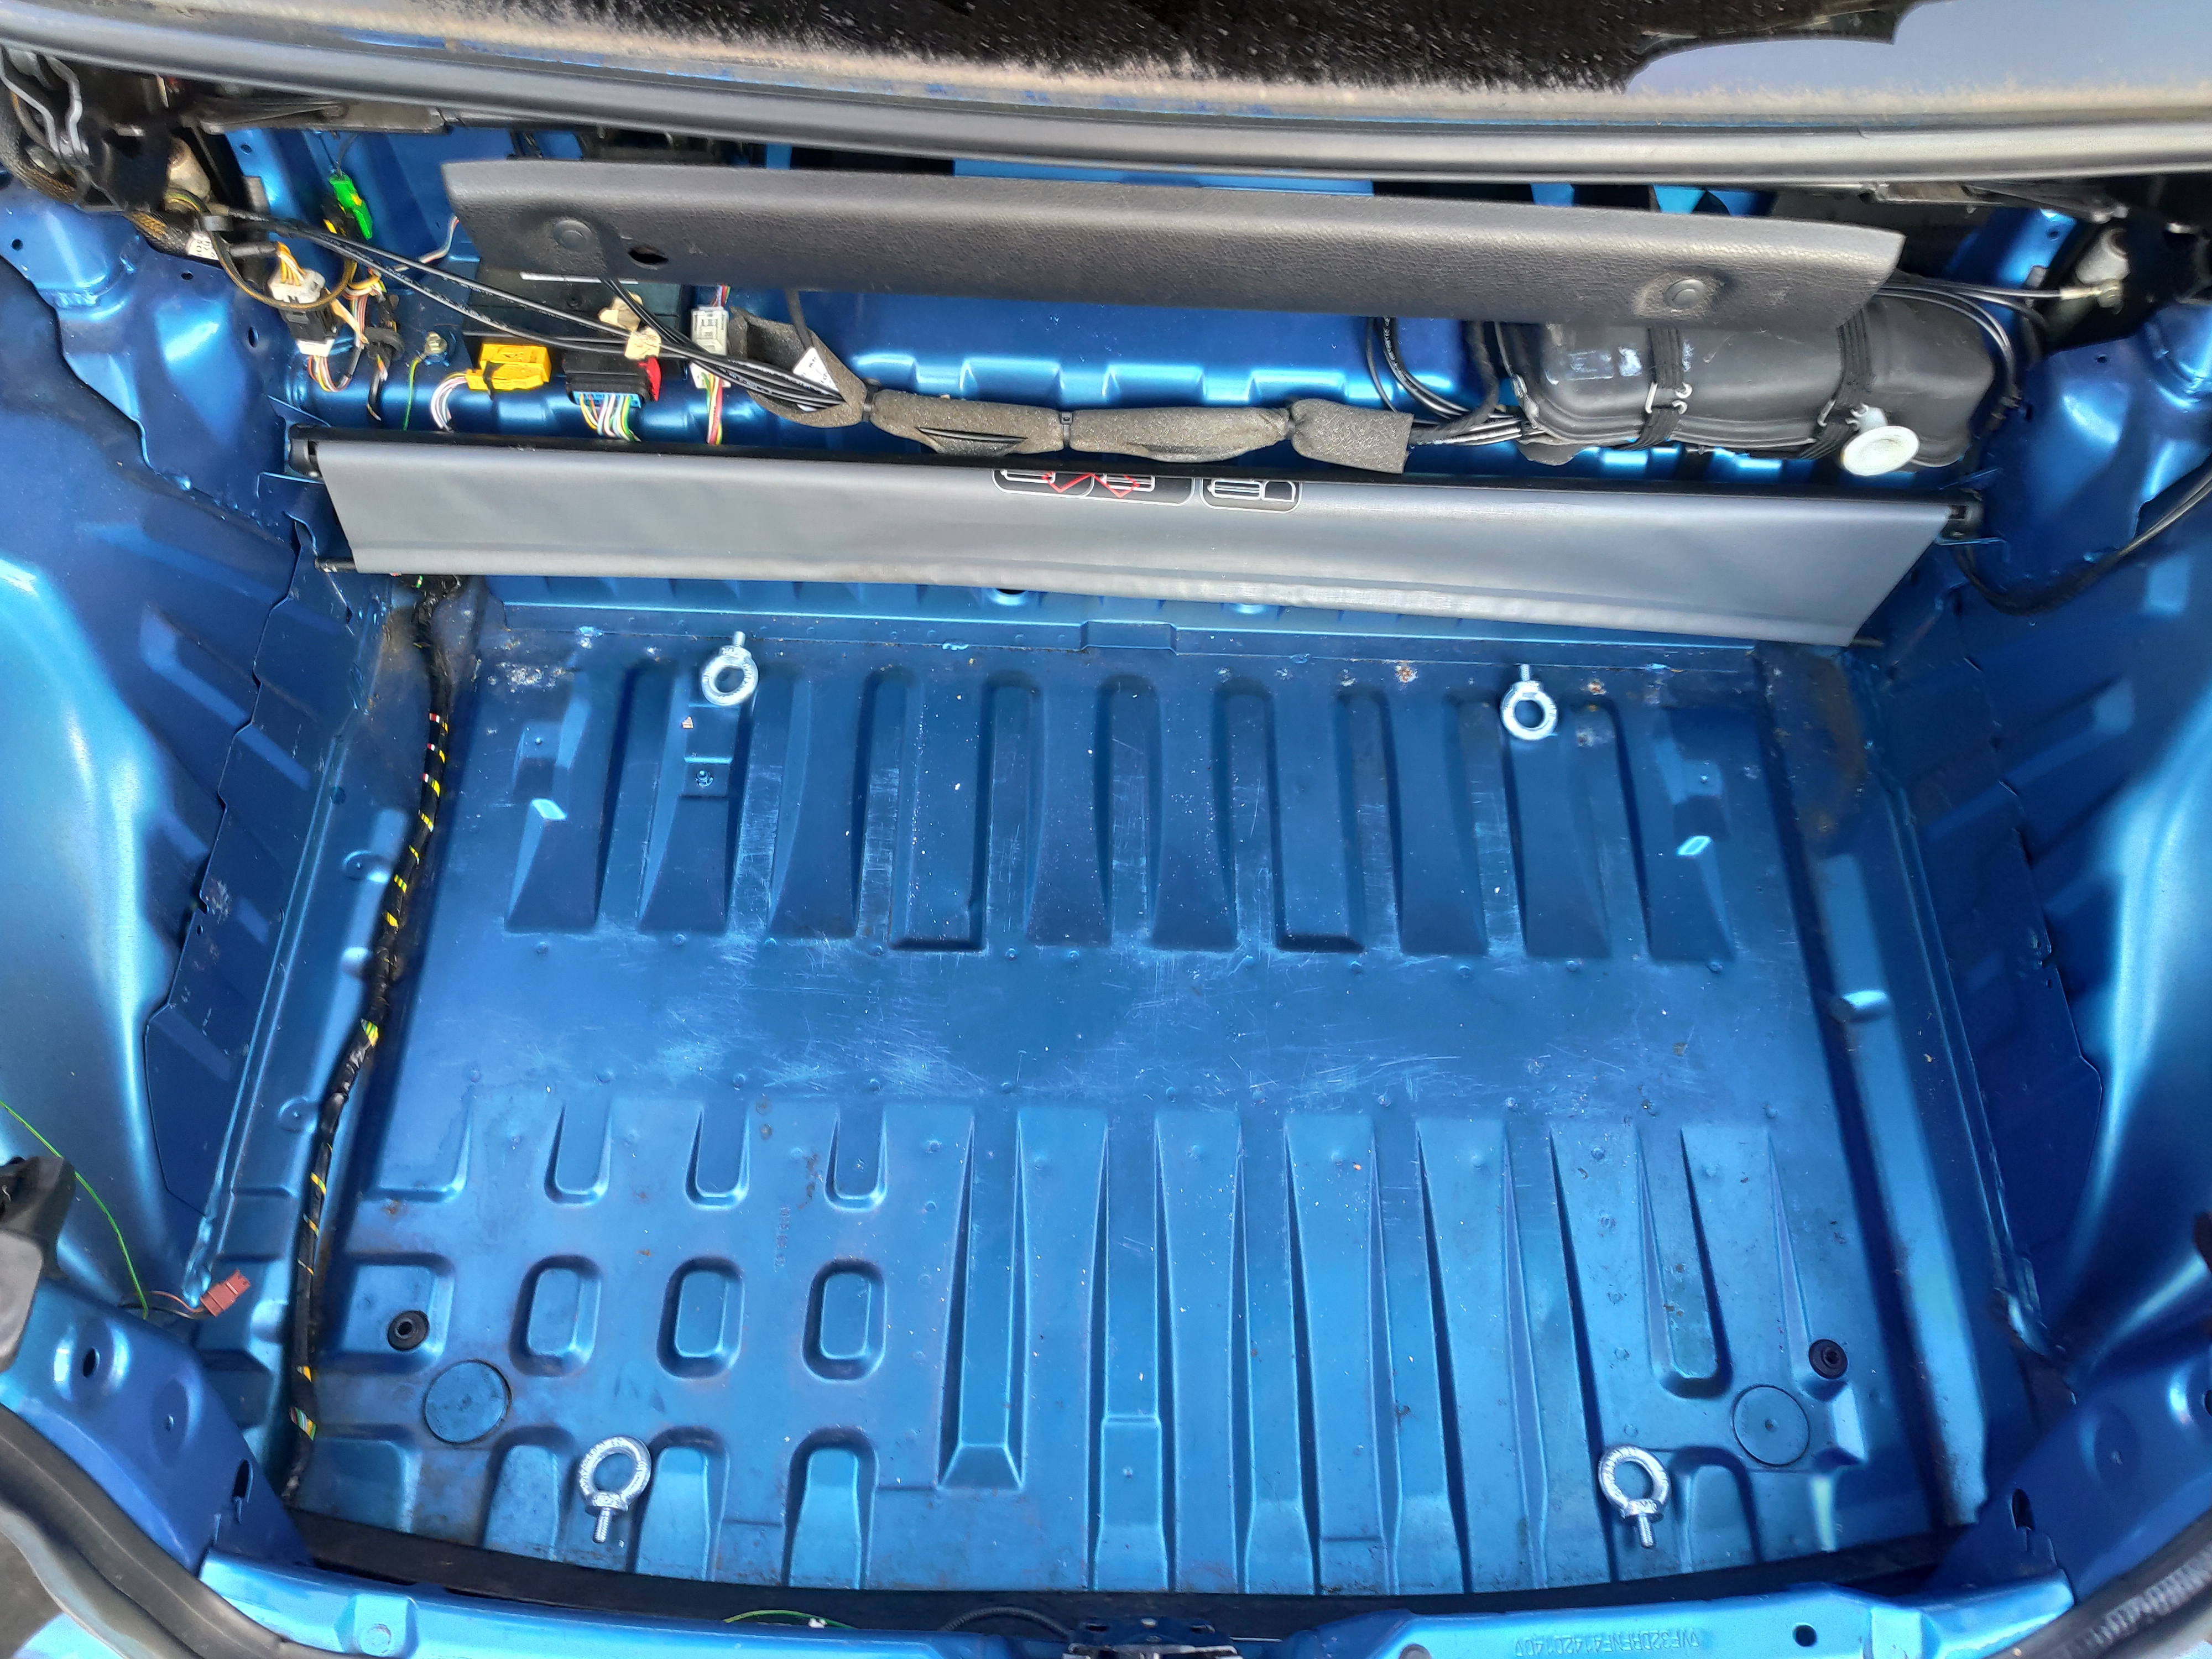
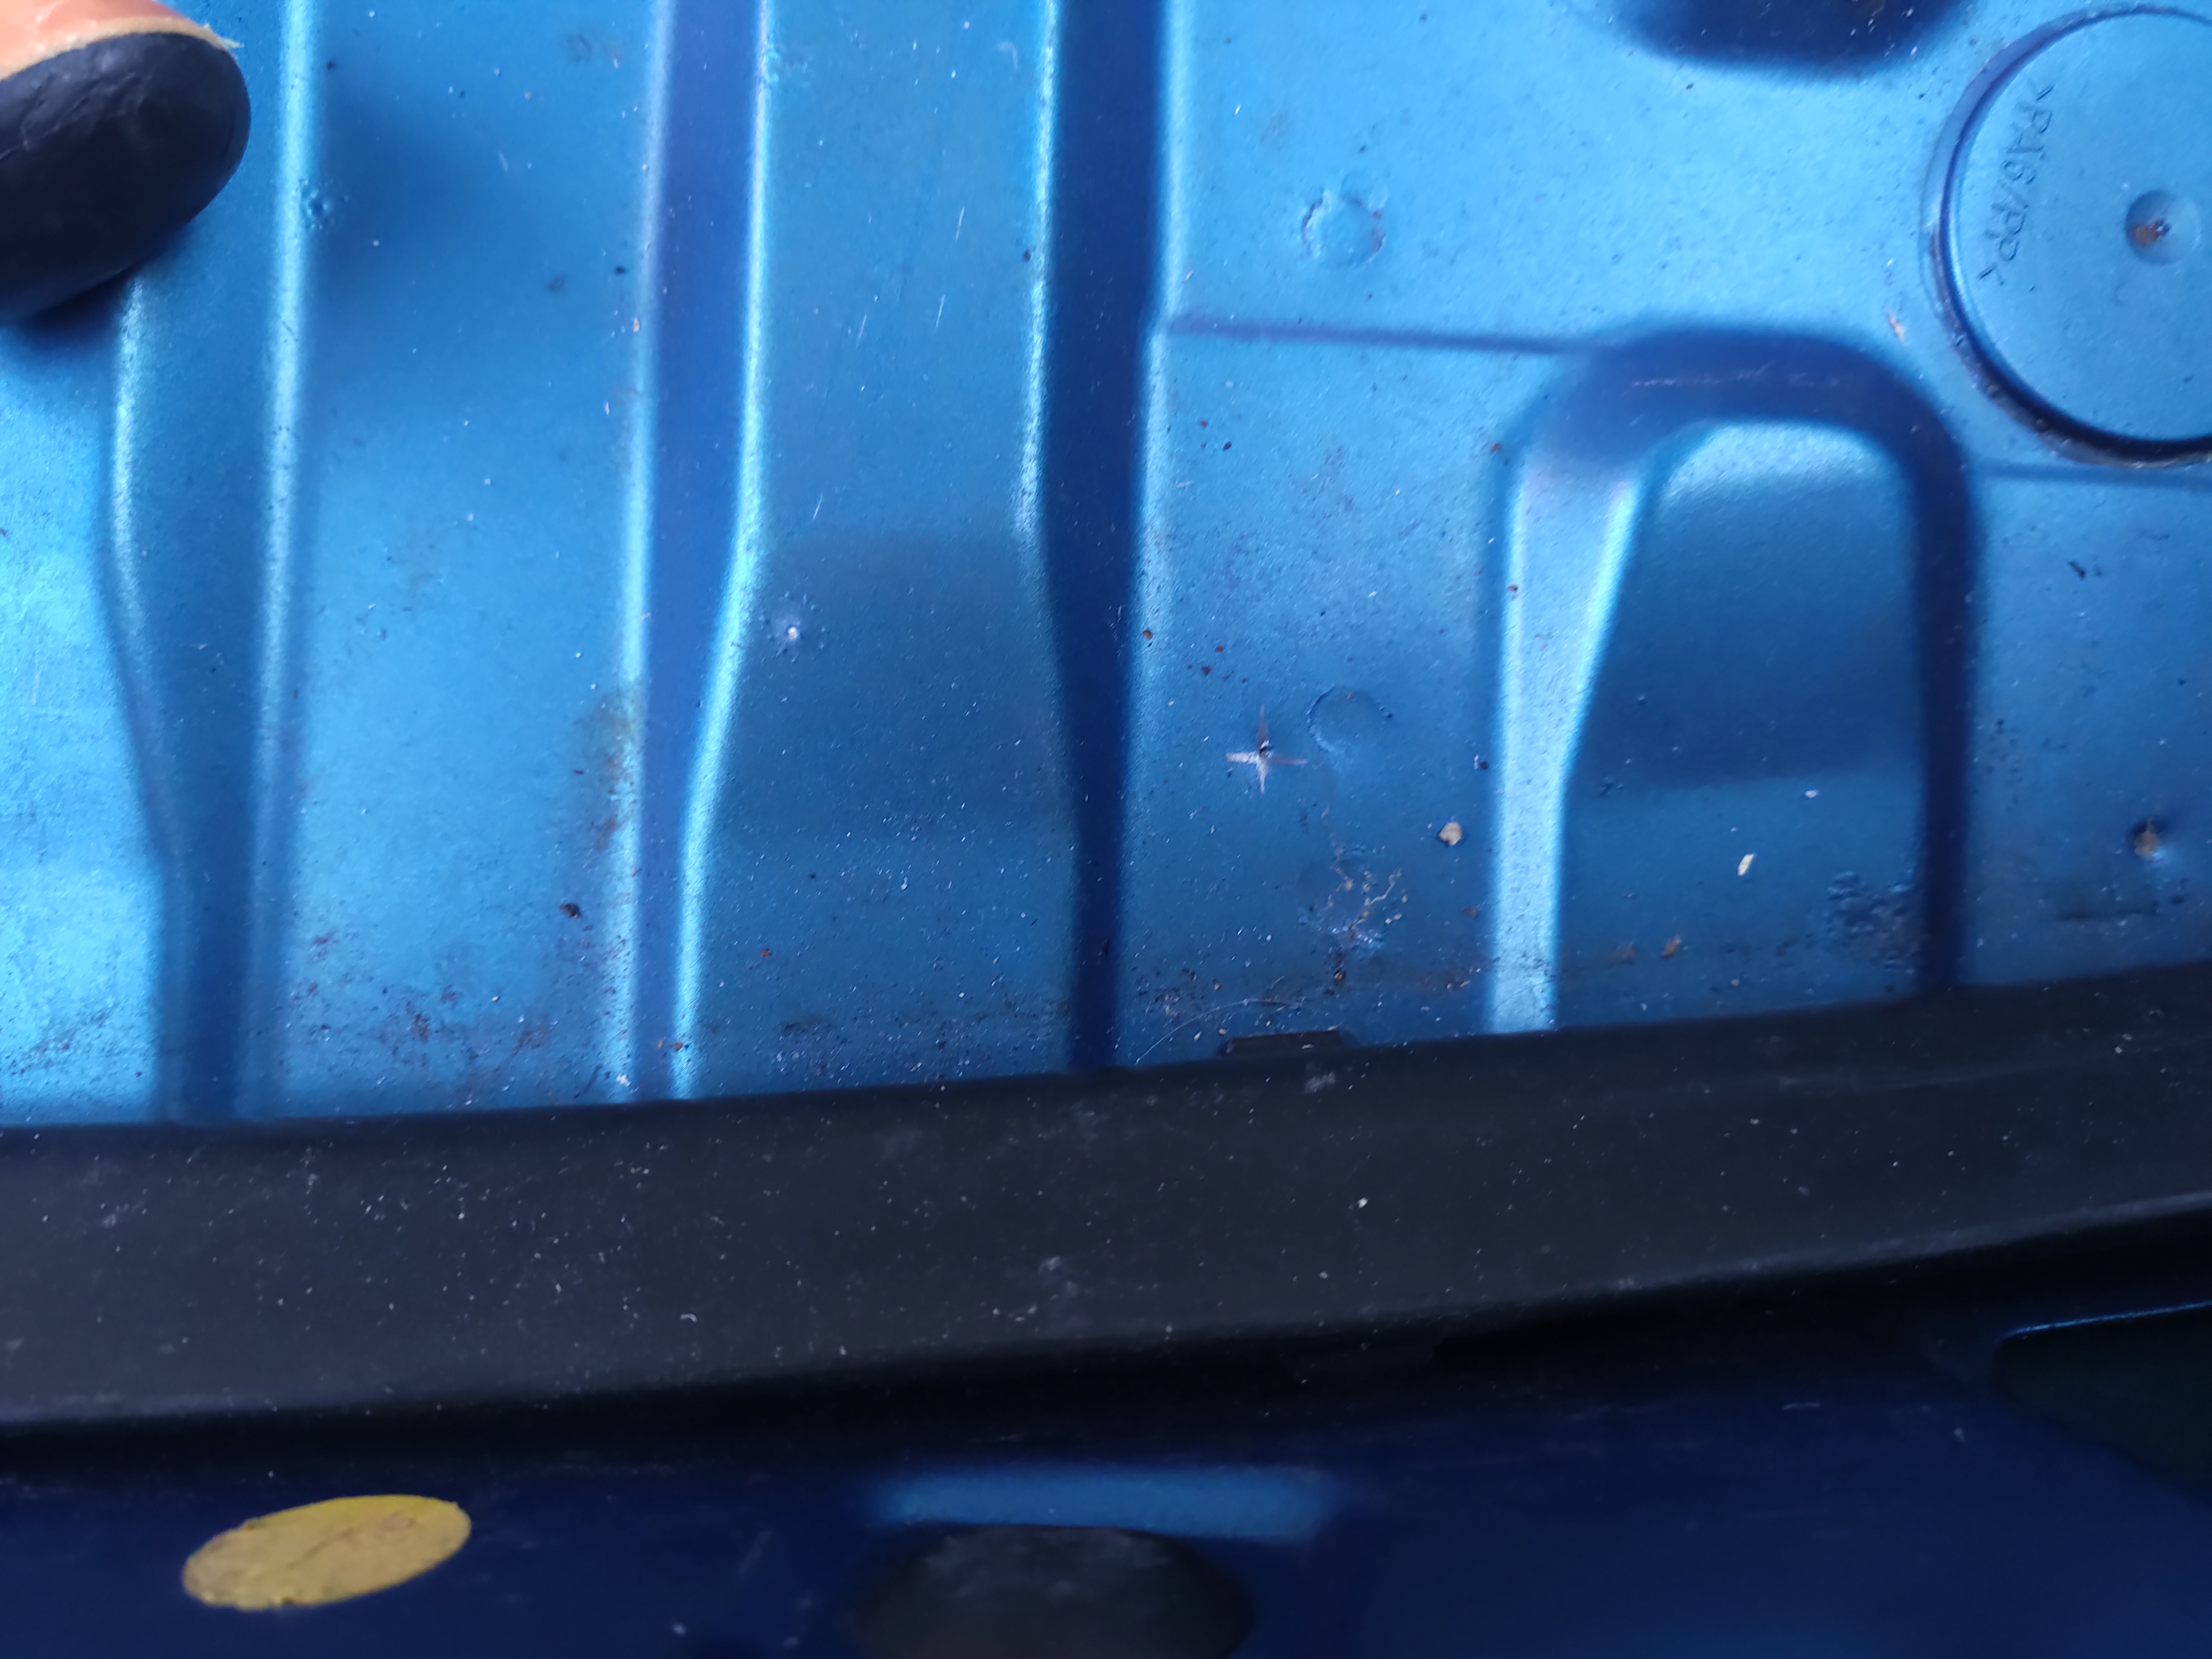
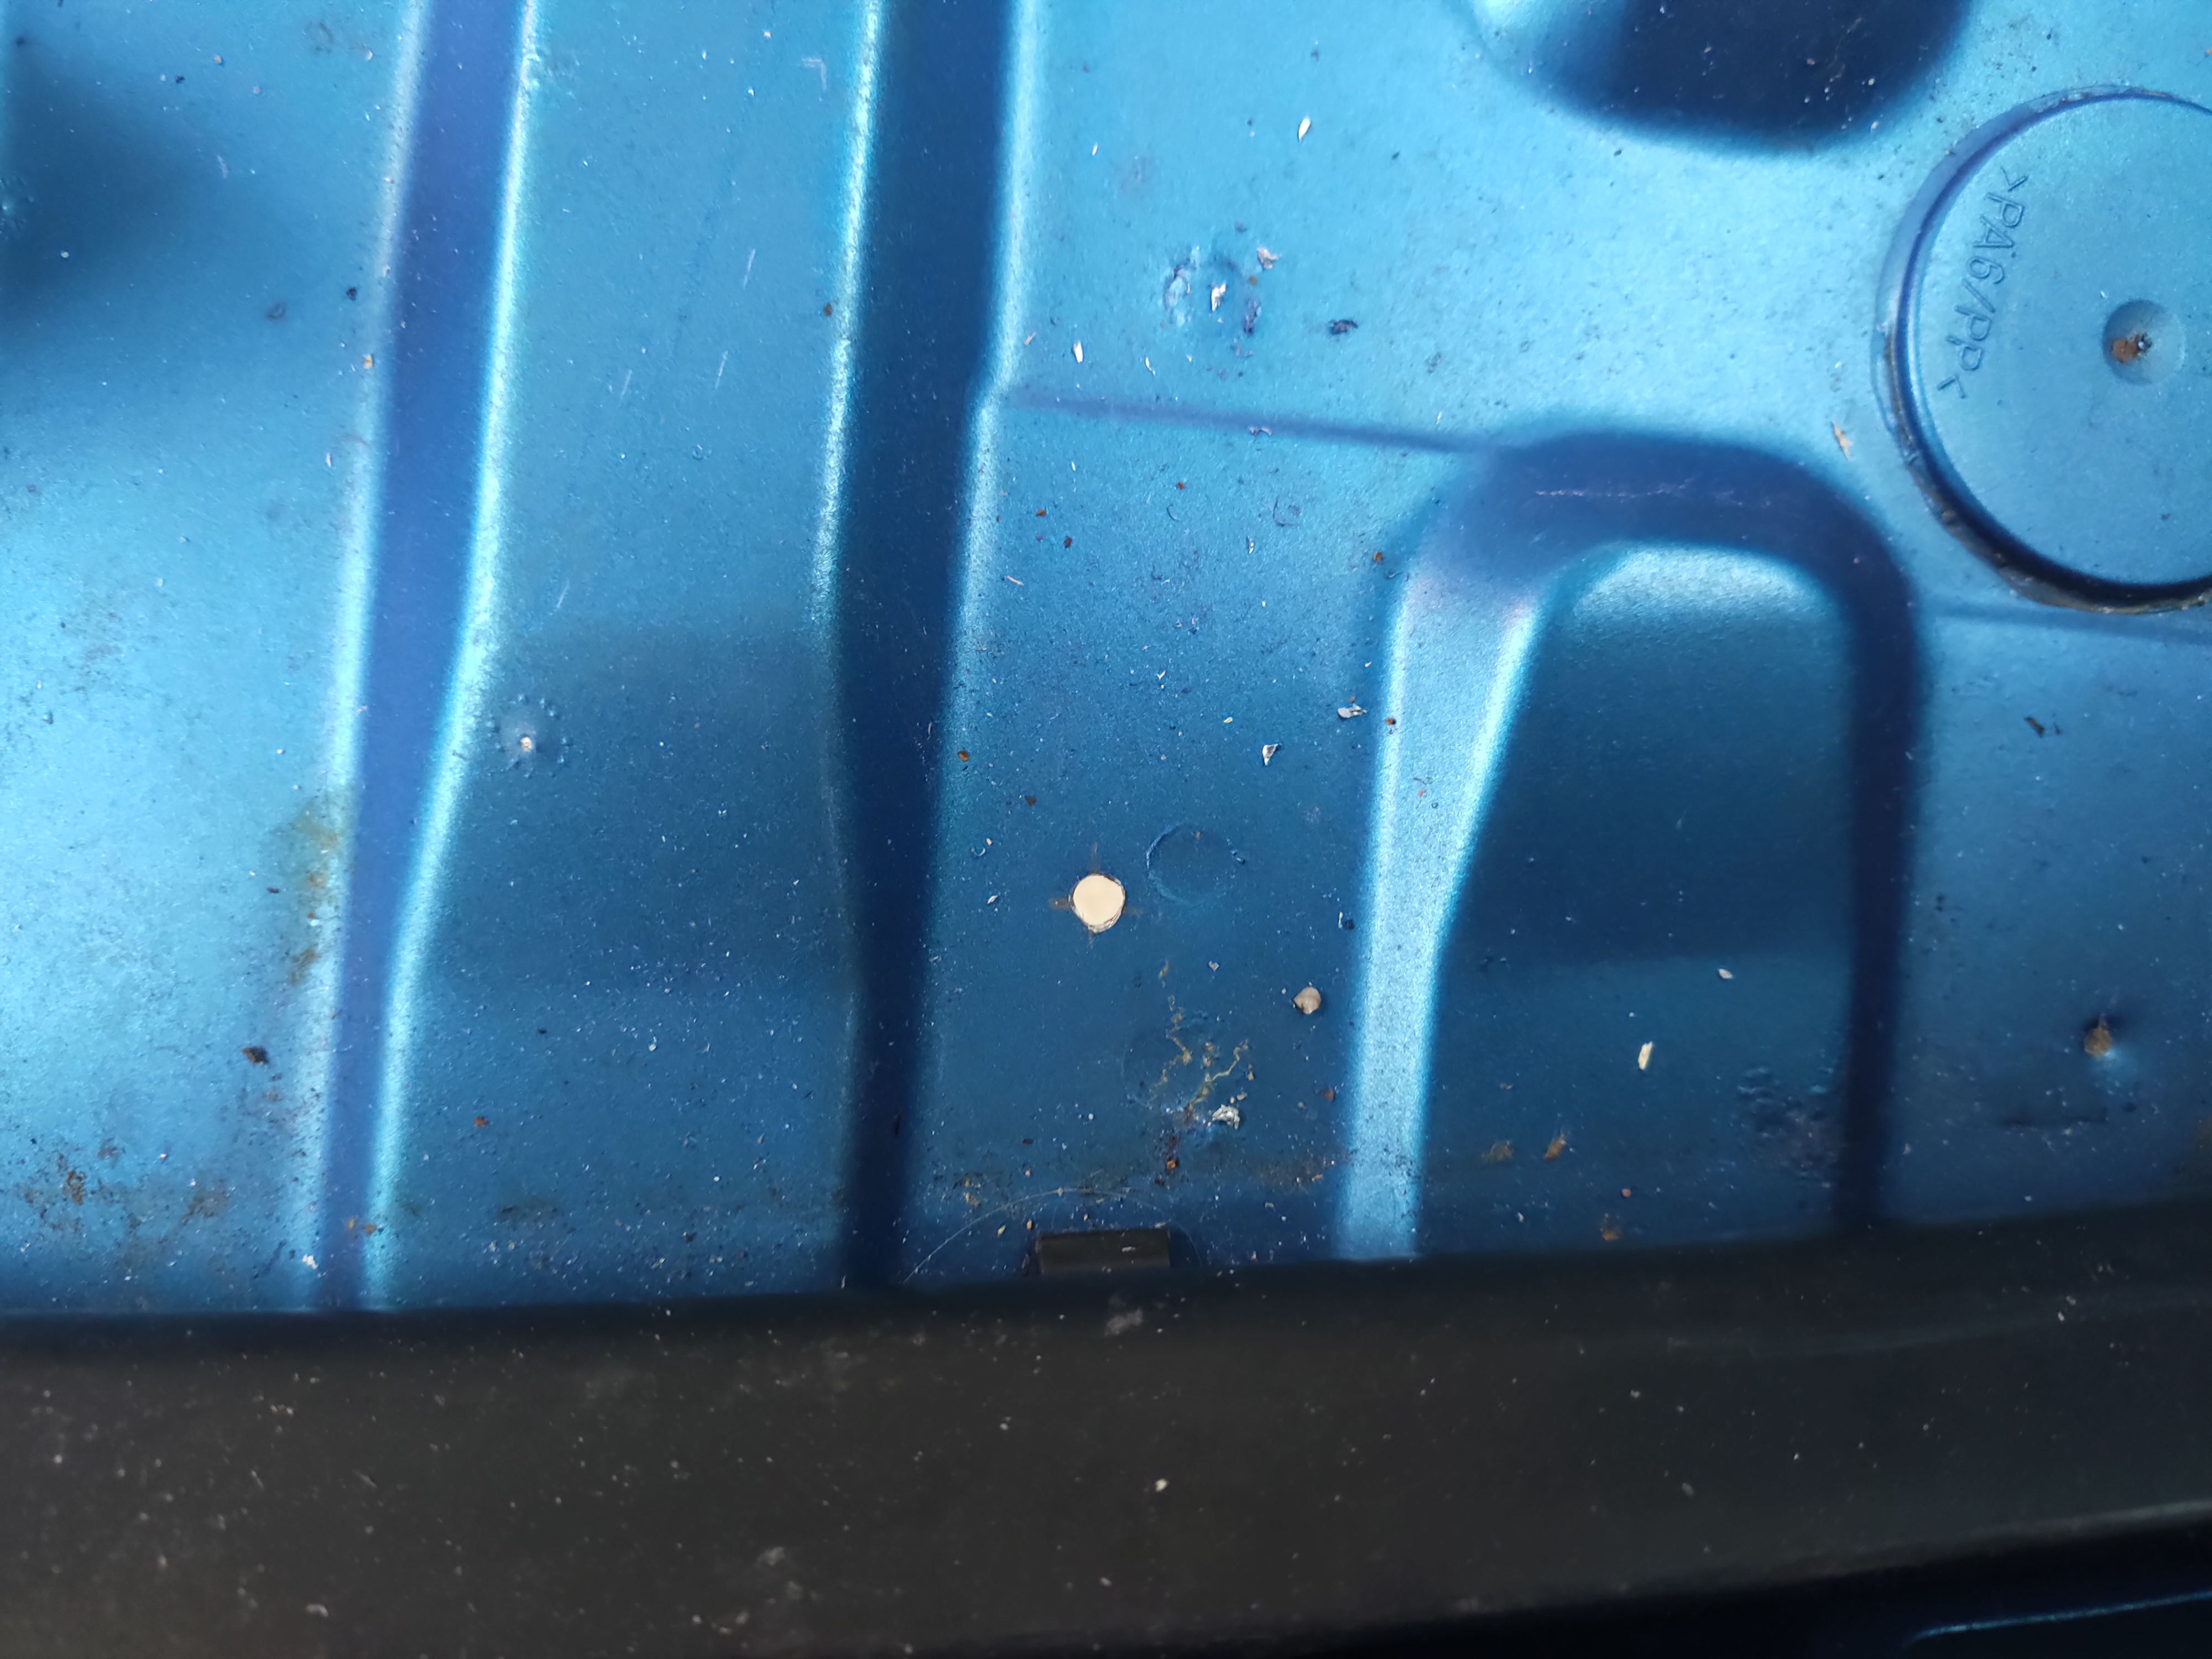
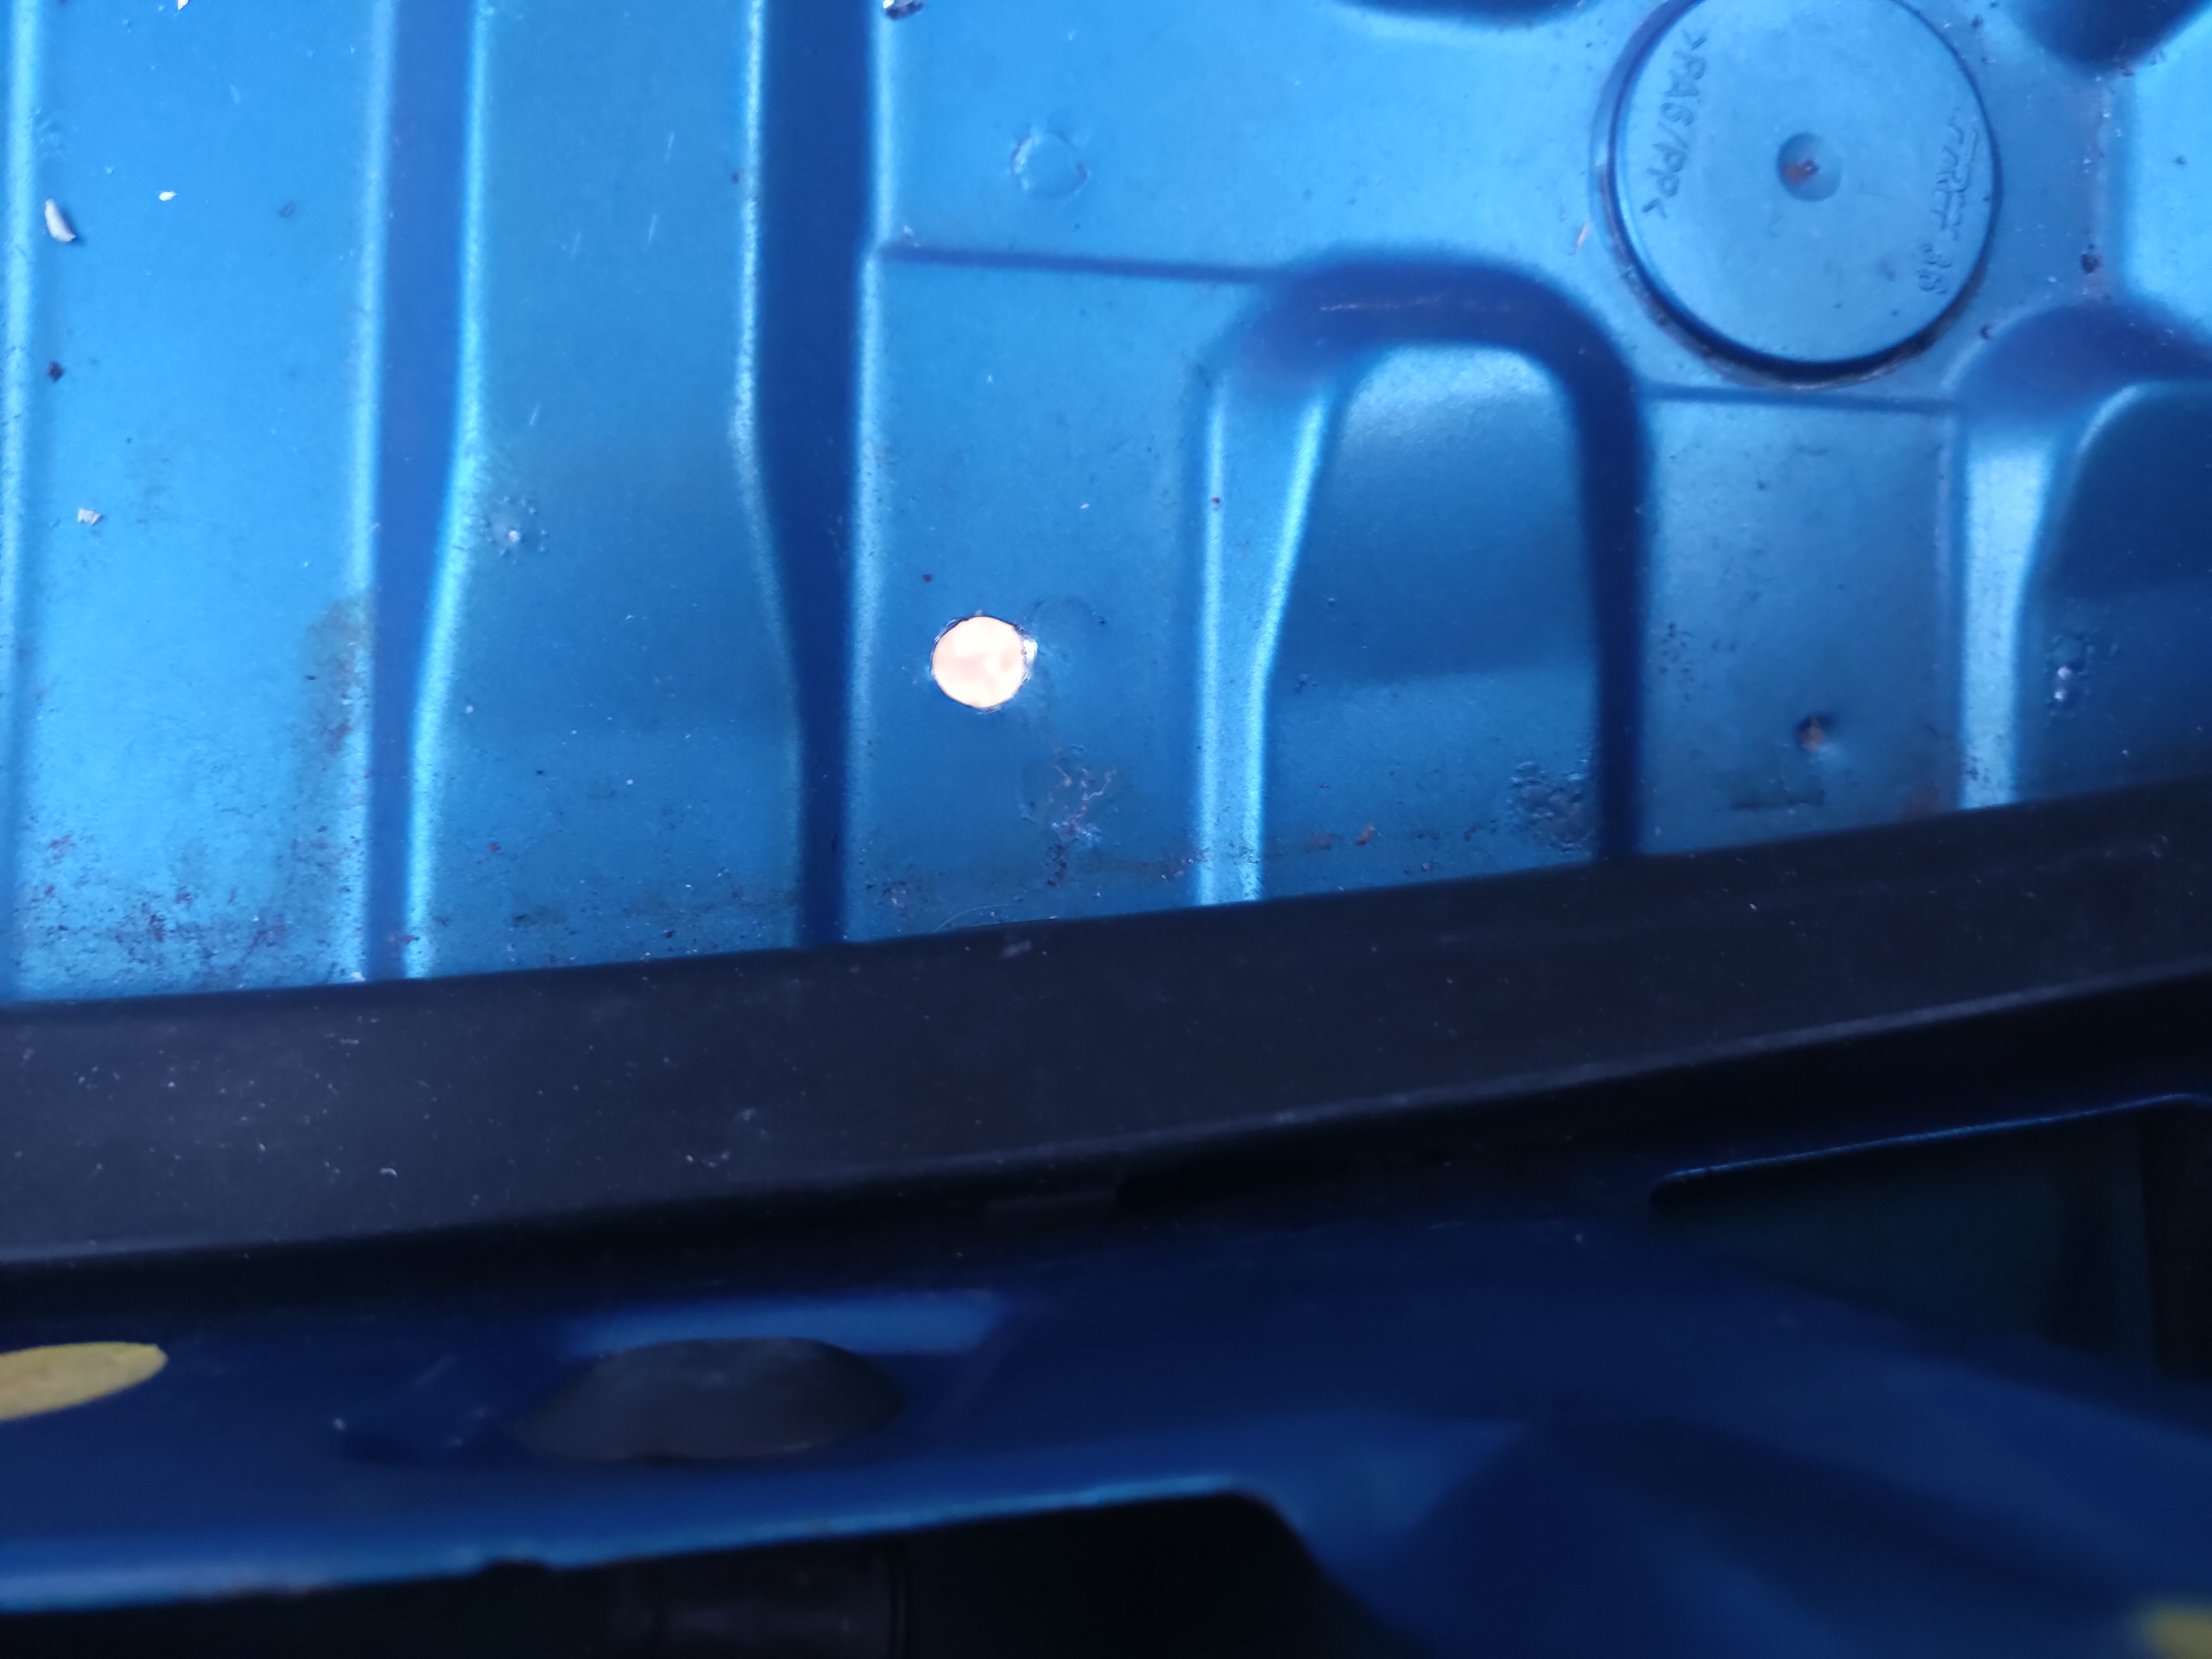
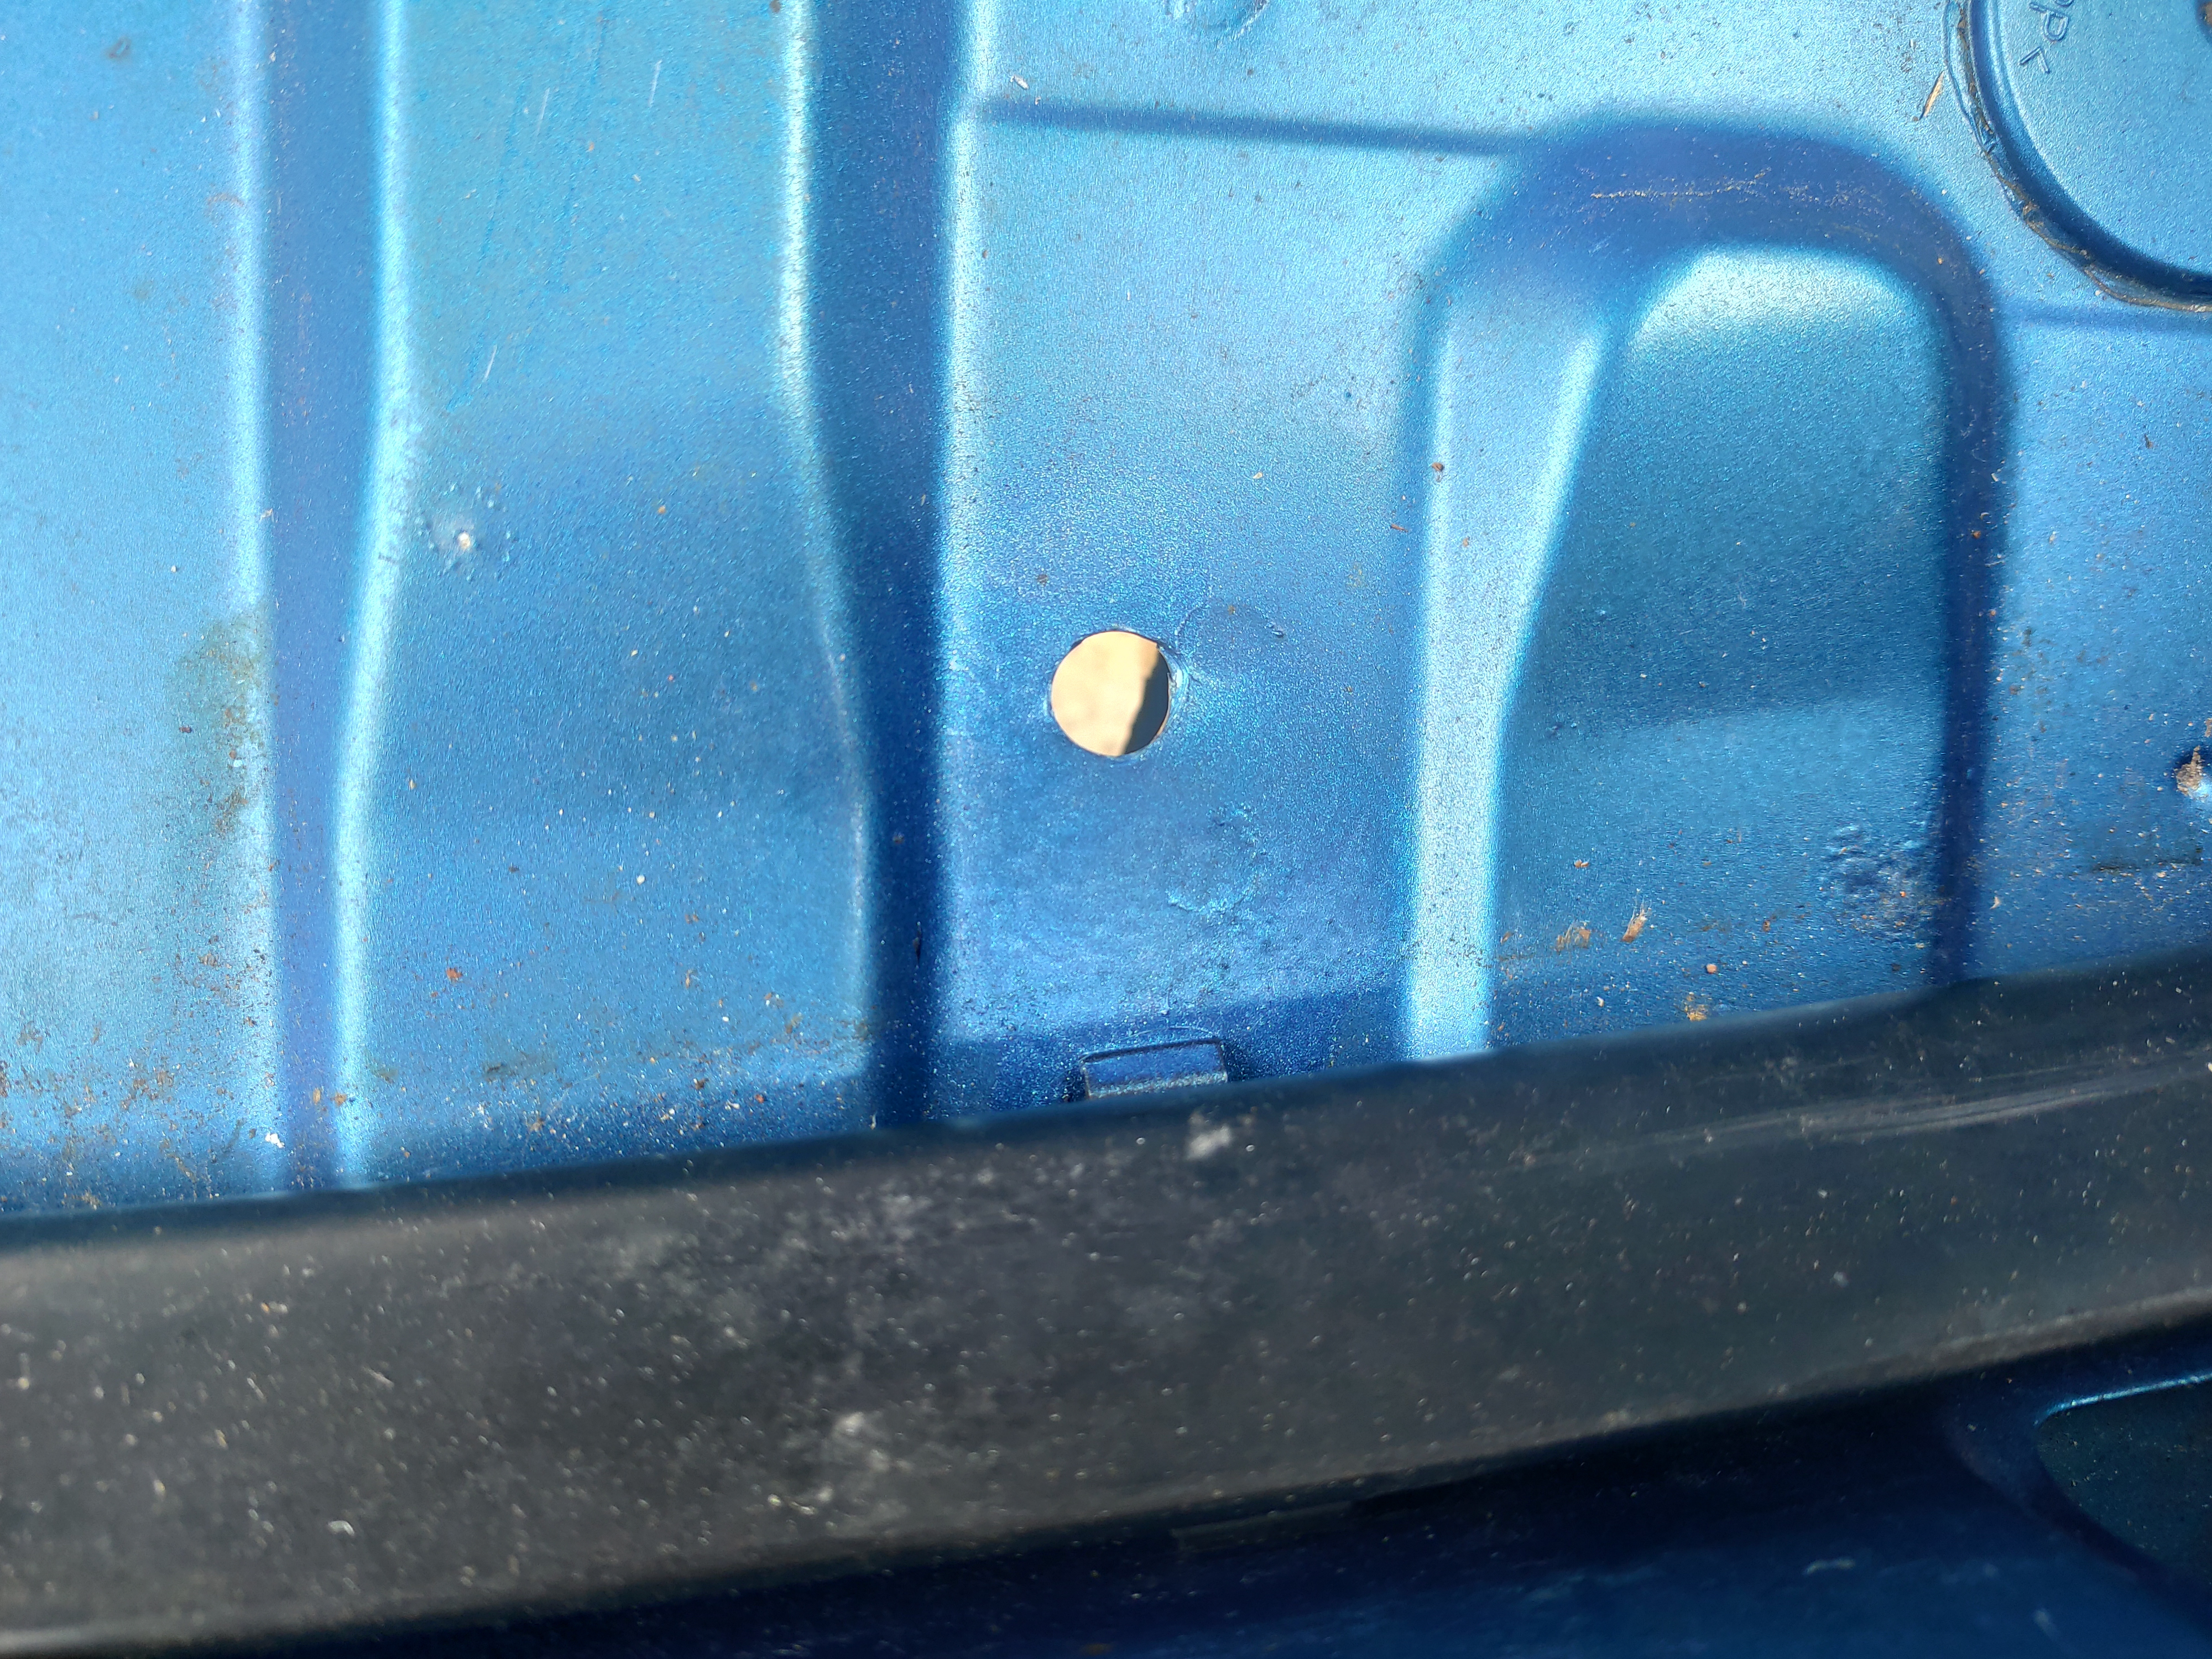
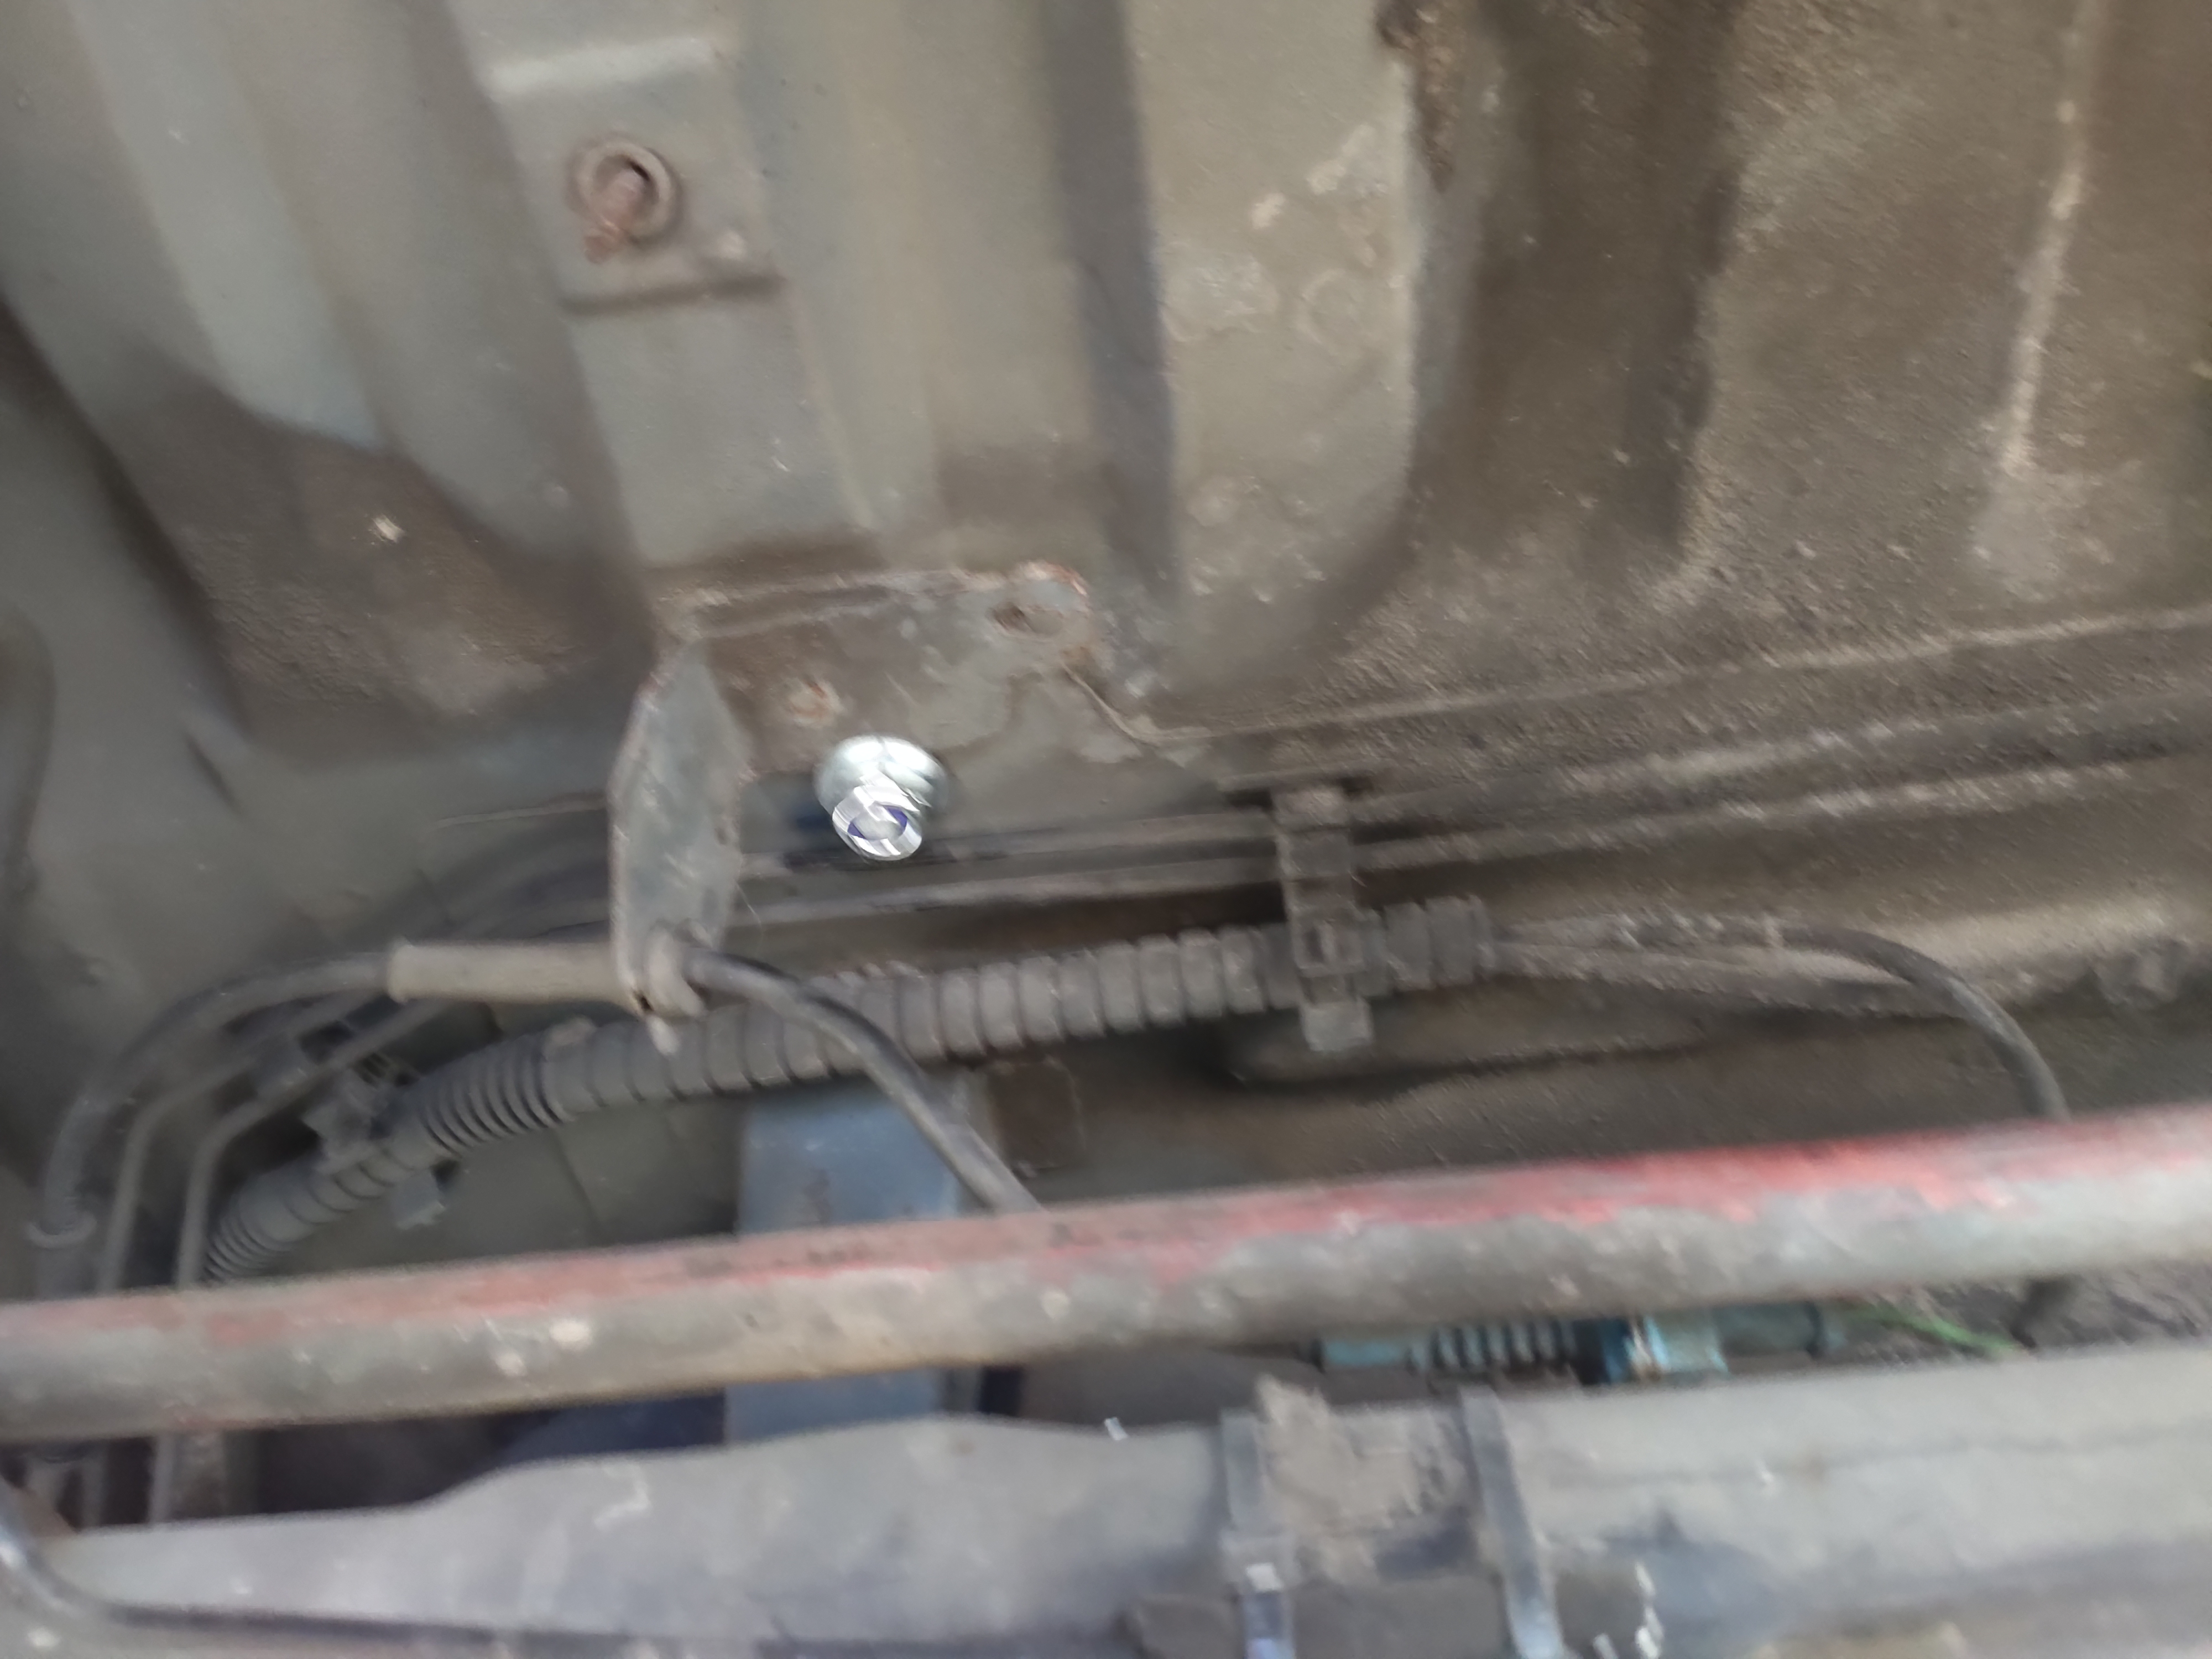
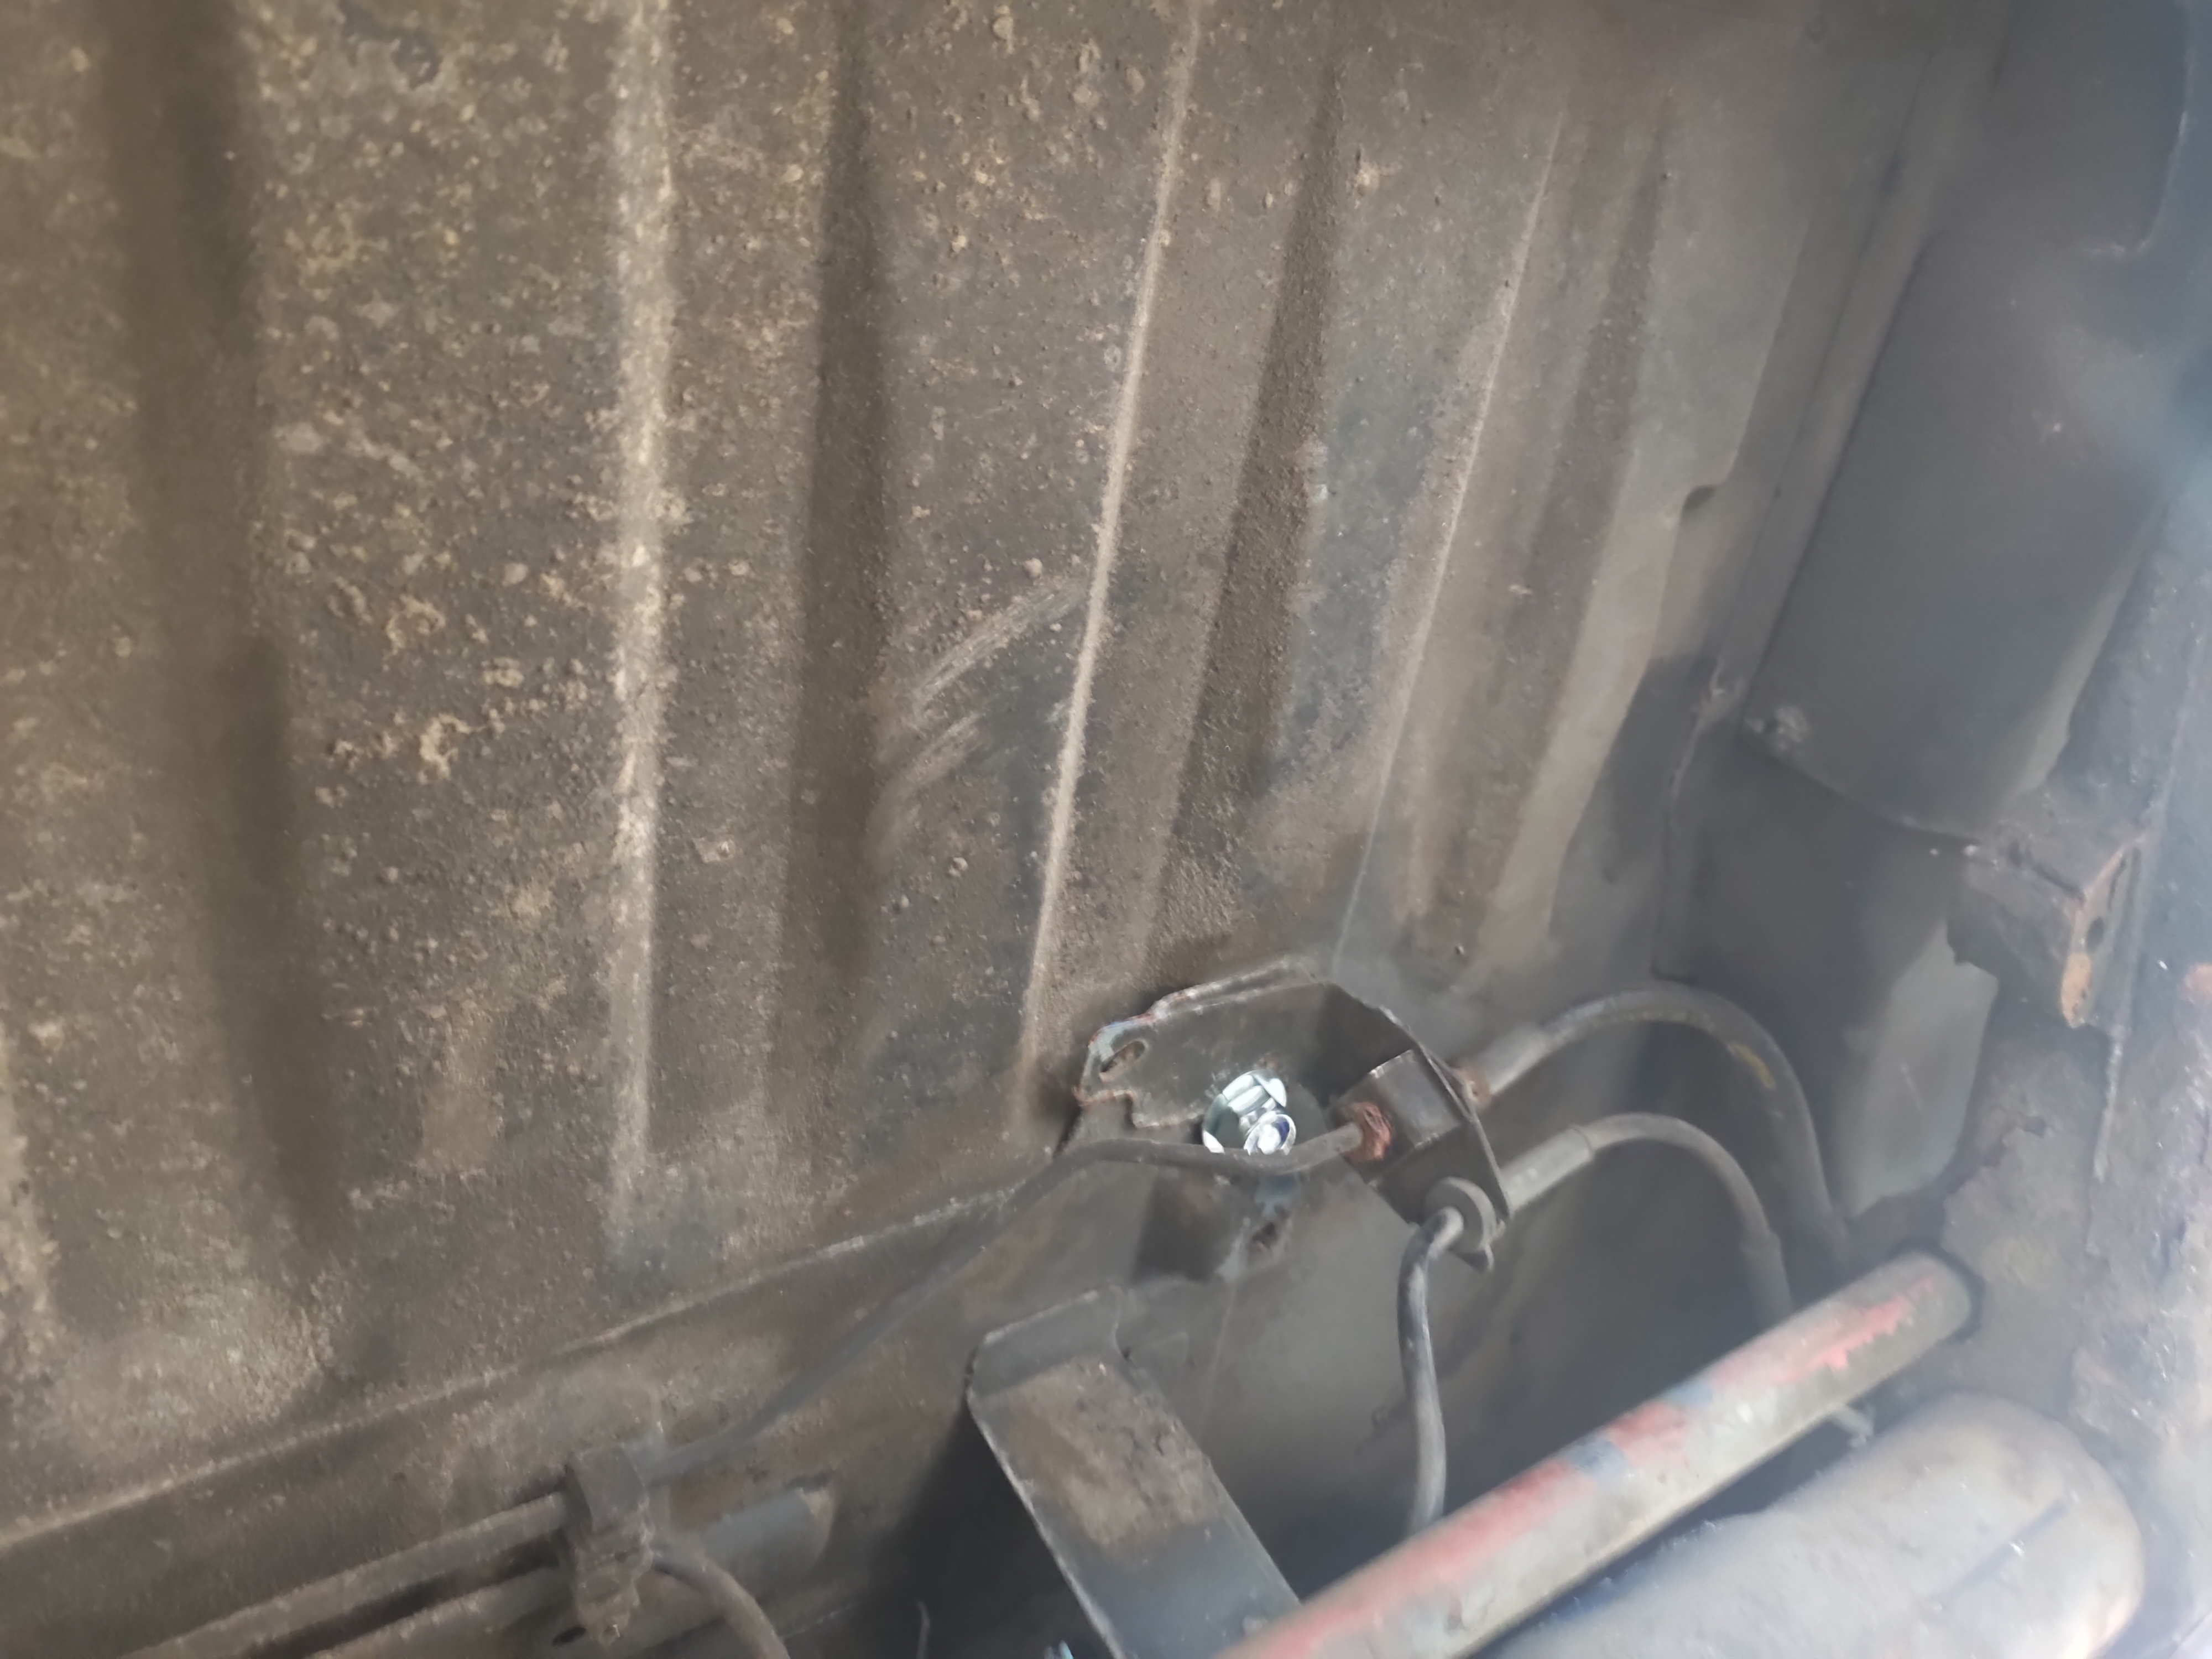
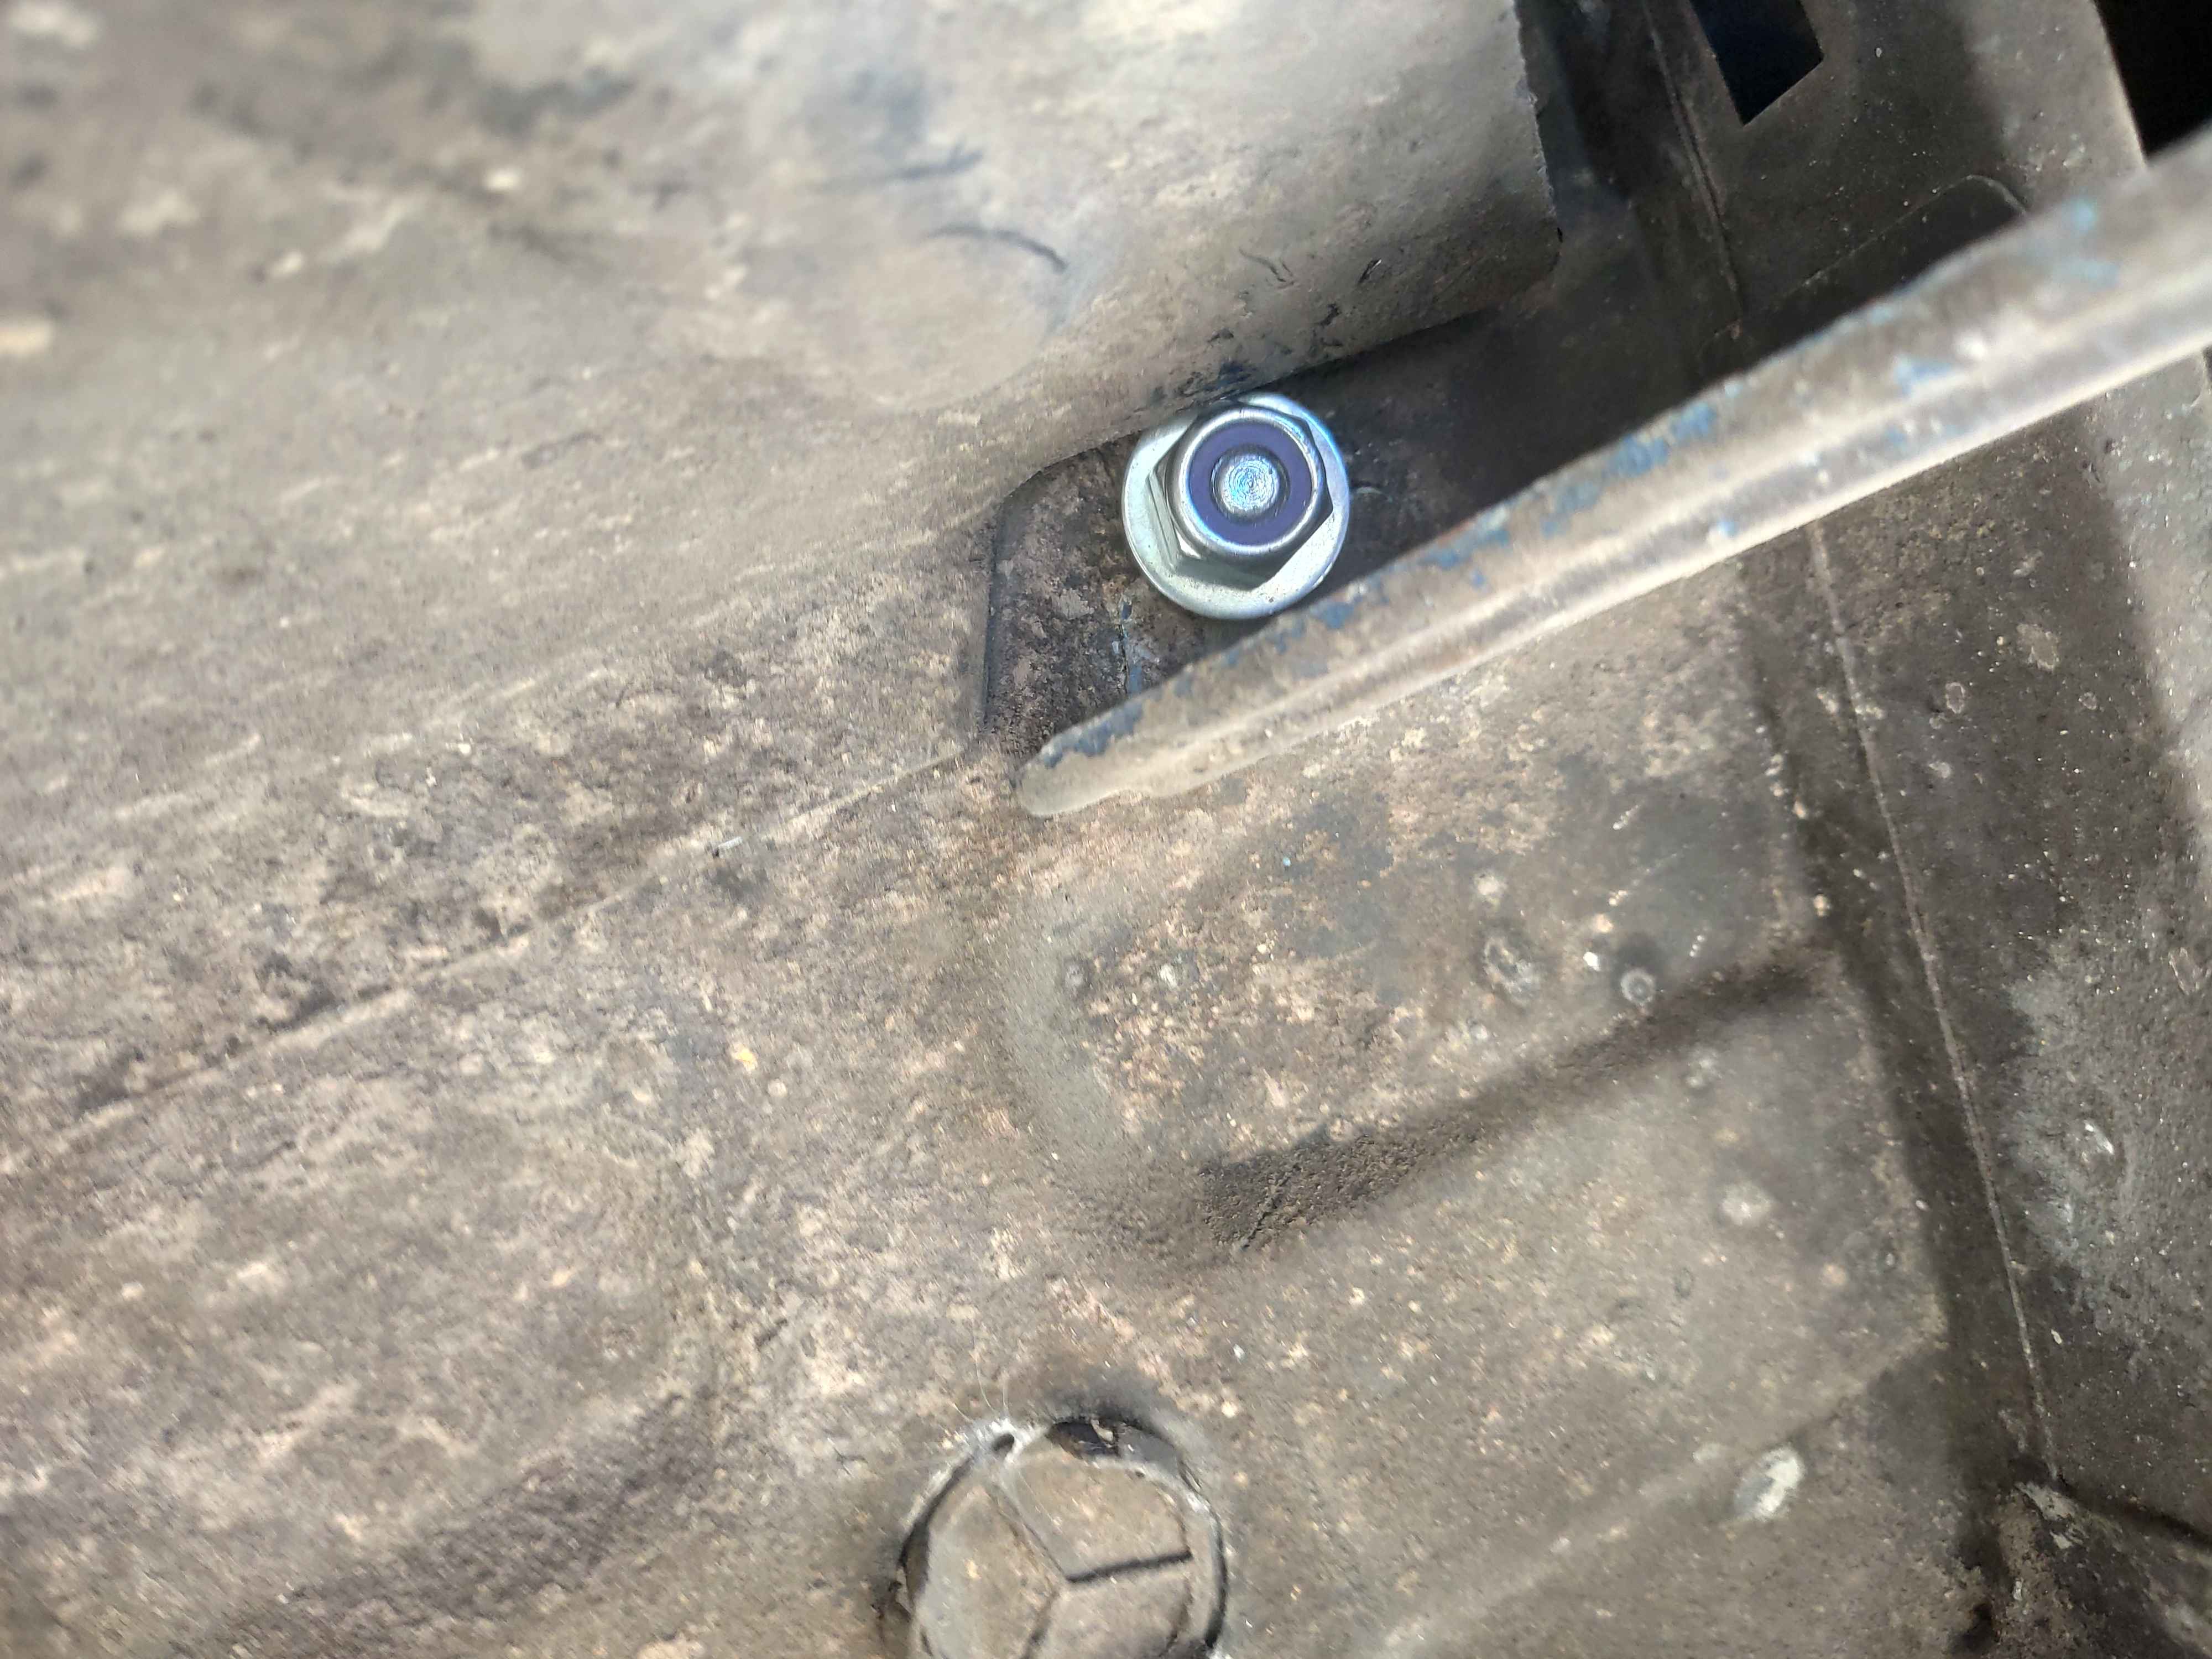
Next, I bolted everything in place.
I added some washers on the bottom to distribute the load over a bigger surface at the bottom.
Otherwise, I might risk pulling the bolt through the bottom.
Likely won’t happen but just to be safe.
However, while bolting everything in place, I quickly noticed how close I was to disaster.
The two holes in the back barely missed the rear brakelines (yes, I had to slightly bend one of the way to make it fit) and the front-right one was in between two bits of metal, making it hard to get a wrench on.
So you might wanna do a better job at measuring than I have.
Luckily, everything worked out.
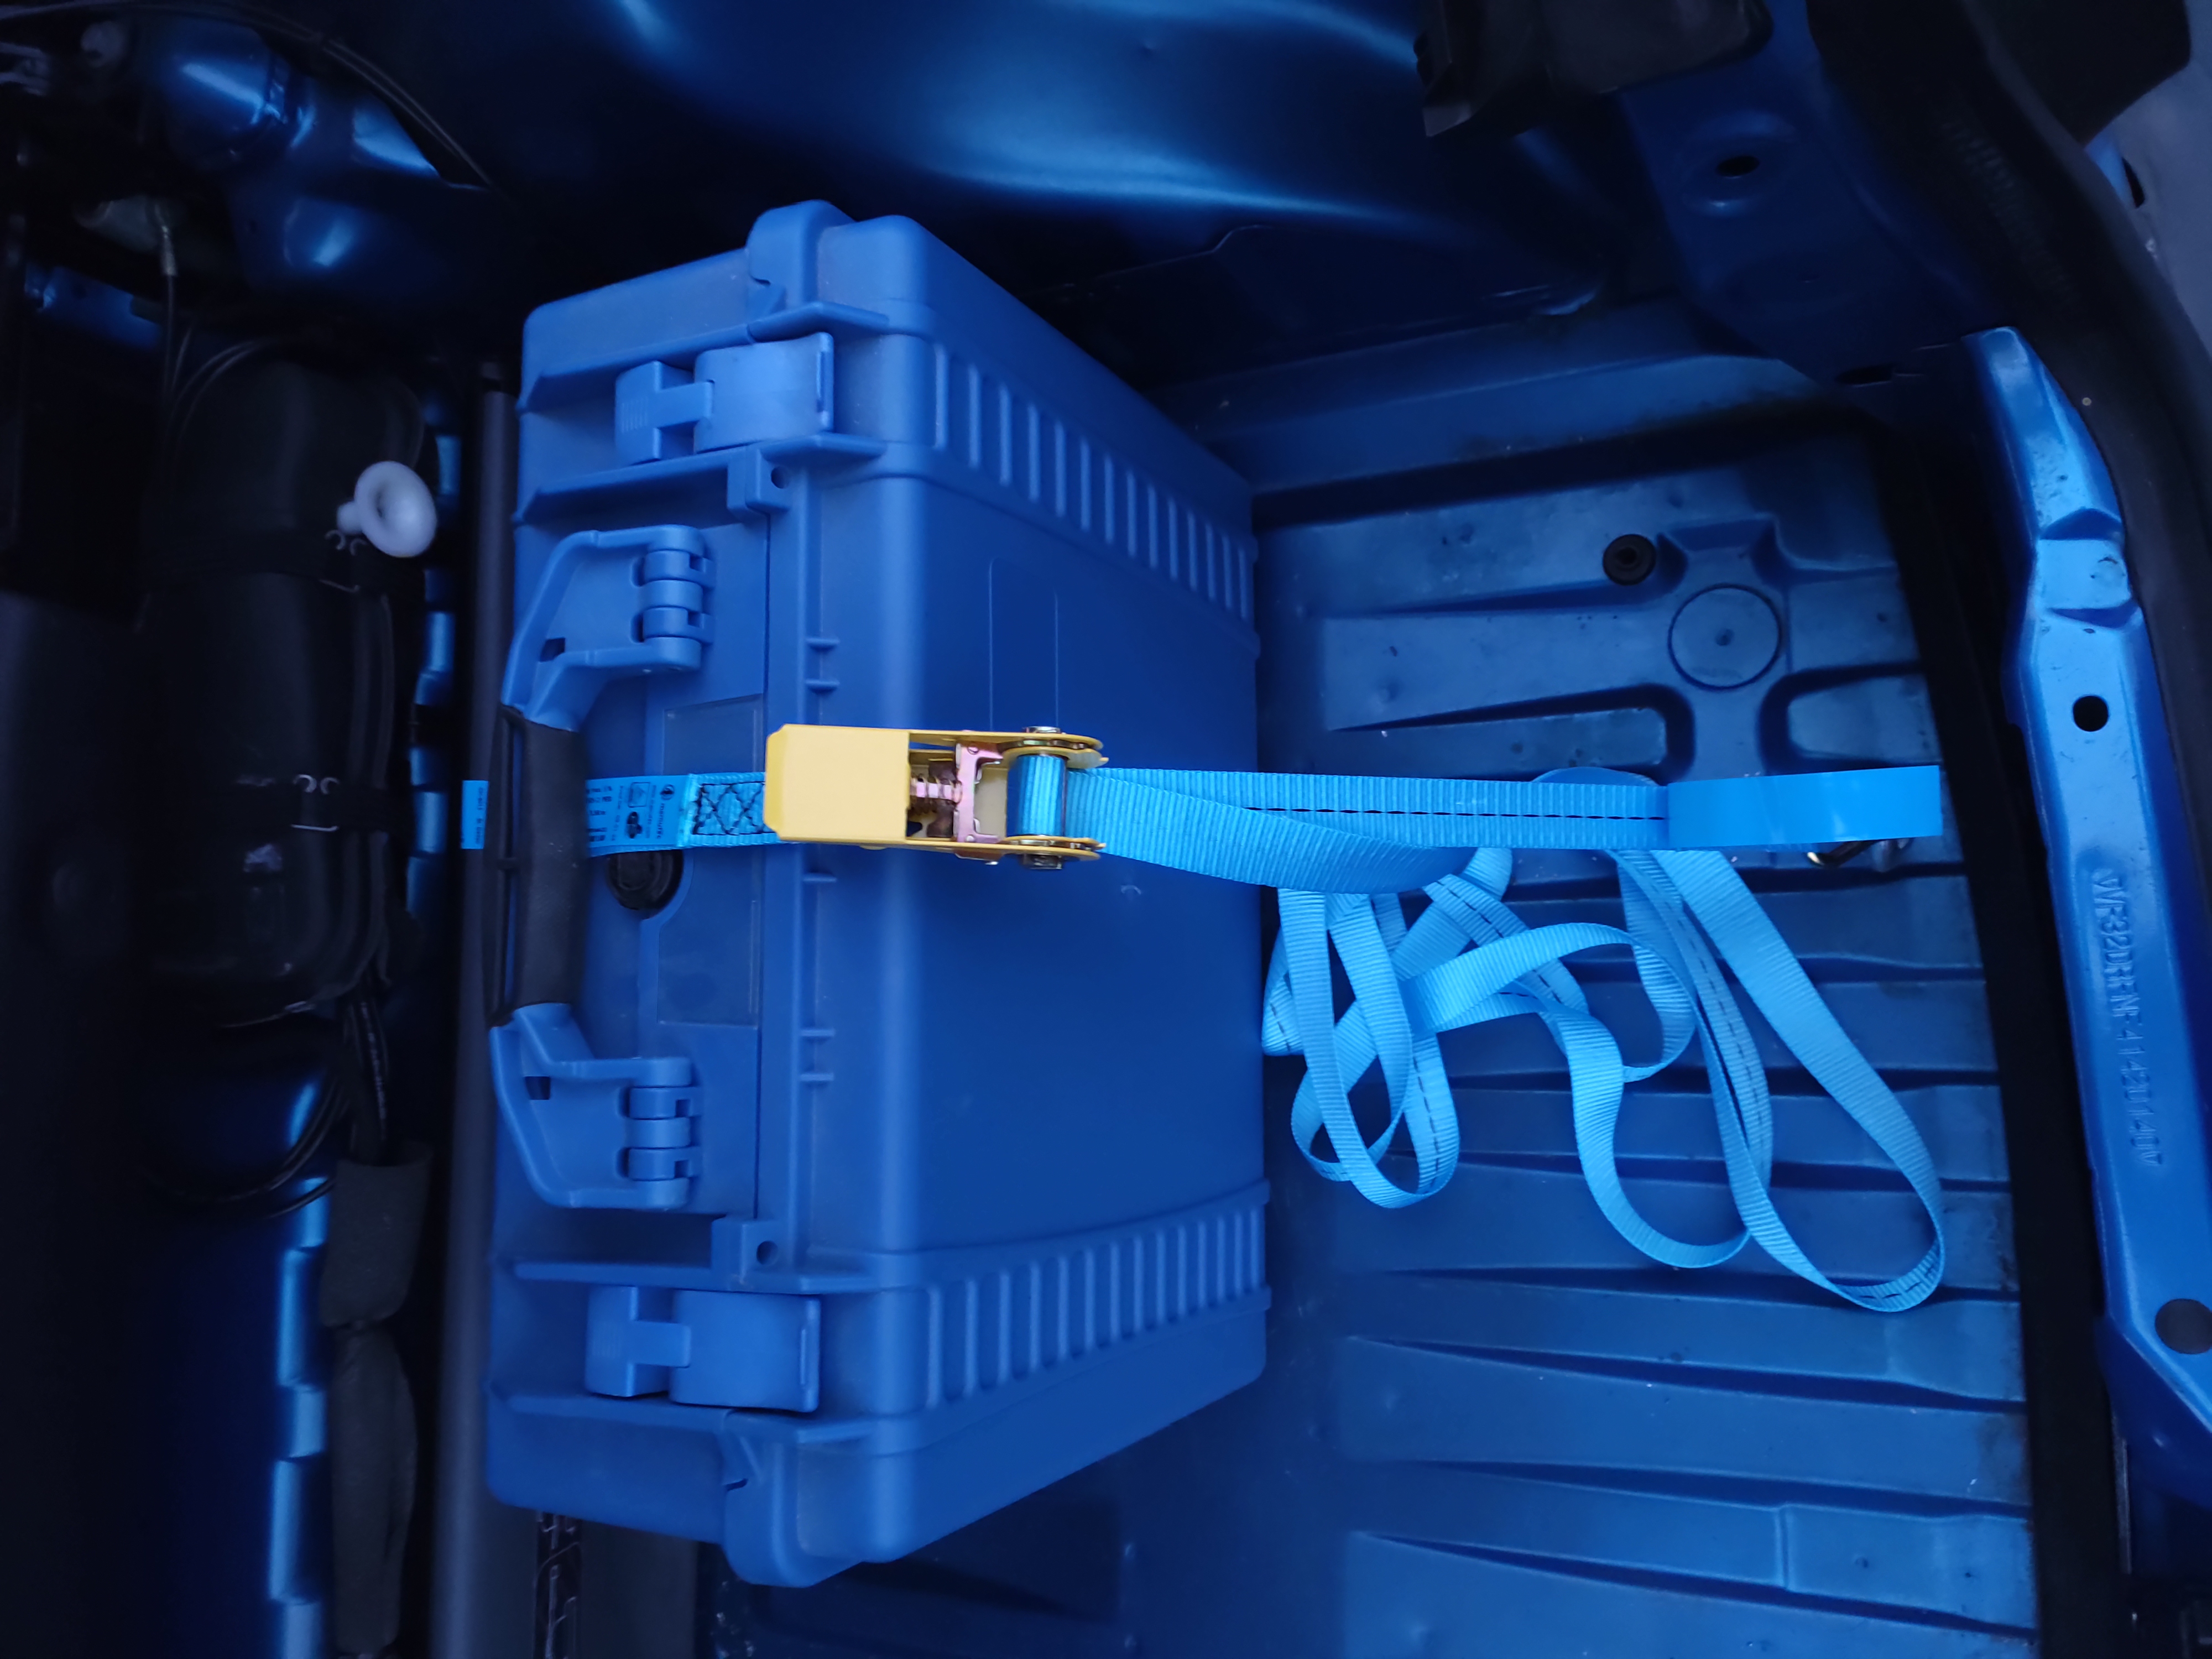
I got myself a pair of ratchet straps that are good for 800daN (800kg when braking at 1G) and here’s the final result (using a random camera case to test it out, jerry cans are heavy yo):
TODO List
Below a list of things I still want to do
-
Investigate high exhaust CO
-
New heater system
-
Fixing window leaks
-
Button panel upgrade (relocating more buttons)
-
New rims + Tyres
-
Coilovers
-
Find out target weight distribution (67/37?)
-
-
New seats
-
Anti-rollbar upgrades
-
ITBs
Extra information
Below is some extra information you can reference if need be.
Most of it should well-known but this saves the hassle of having to scour the internet.
Wheel Information
The wheel nuts are 19mm and should be torqued down at 90Nm.
When inflating the tyres, they should be set to the following pressures:
-
Front (L/R): 2.4/2.4 Bar
-
Rear (L/R): 2.5/2.5 Bar
You can add 0.1 Bar extra to all tires for some fuel savings and is 100% safe to do for regular driving.
For sporty driving, I recommend sticking to the pressures above or maybe lowering the front pressure by 0.1-0.2 Bar (increases grip but also fuel consumption and wear).
Common Maintenance Parts
Here’s just a quick list of other "maintenance parts" I use that might be helpful.
Please note that my "replace when" moments are not "manufacturer recommended", they are just my preferred moments to keep my car in good condition and probably seriously overkill for most people.
| Part | Name | Replace when | Comment |
|---|---|---|---|
Engine Oil |
Shell Helix Ultra AP-L 5W30 |
5000km or 0.5 year |
Just overall good engine oil. 5W40 recommended for track use. |
Oil Filter |
Bosch P3355 |
When replacing engine oil |
It just works. I don’t care much about the "which is the best oil filter" discussion, it’s all just very marginal gains. |
Spark Plugs |
Denso KH16TT |
10_000km or 1 year |
Has been more reliable for me than the normally used |
Interior Air Filter |
Bosch A8535 |
10_000km or 1 year |
It just works. Feel free to use a Bosch R2348 or M2048 if you want to save some money. |
Coolant |
Febi G12++ |
When needed |
Car needs about 8L. Coolant doesn’t realistically need to be changed at all (unless there is a leak or it gets dirty). |
After replacing injectors
Sometimes It may happen that you need to adjust your fuel injector settings (eg. when swapping or upgrading them).
This can be done under Base Setup → Engine Setup.
Adjust the injector size according to the following formula:
req_fuel = 6.49 * (1998 / 4 / CC) where CC needs to be replaced with your injectors flowrate.
On the stock injectors, this should be 206 (funny coincidence).
So the value becomes 6.49 * (1998 / 4 / 206) == 6.49 * 3.23 == 15.73.
But please check the specs of the injectors you’re actually using.
For my specific injectors, I had to set it to 8.